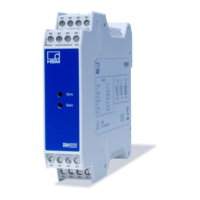
Electrical connections, LEDs
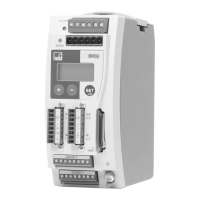
ClipX
a4643-1.0 HBM: public 33
6.5 Connecting the supply voltage
Connect the supply voltage from 10 to 30V
DC
to terminal X2 (top).
See also Available connections and LEDs
.
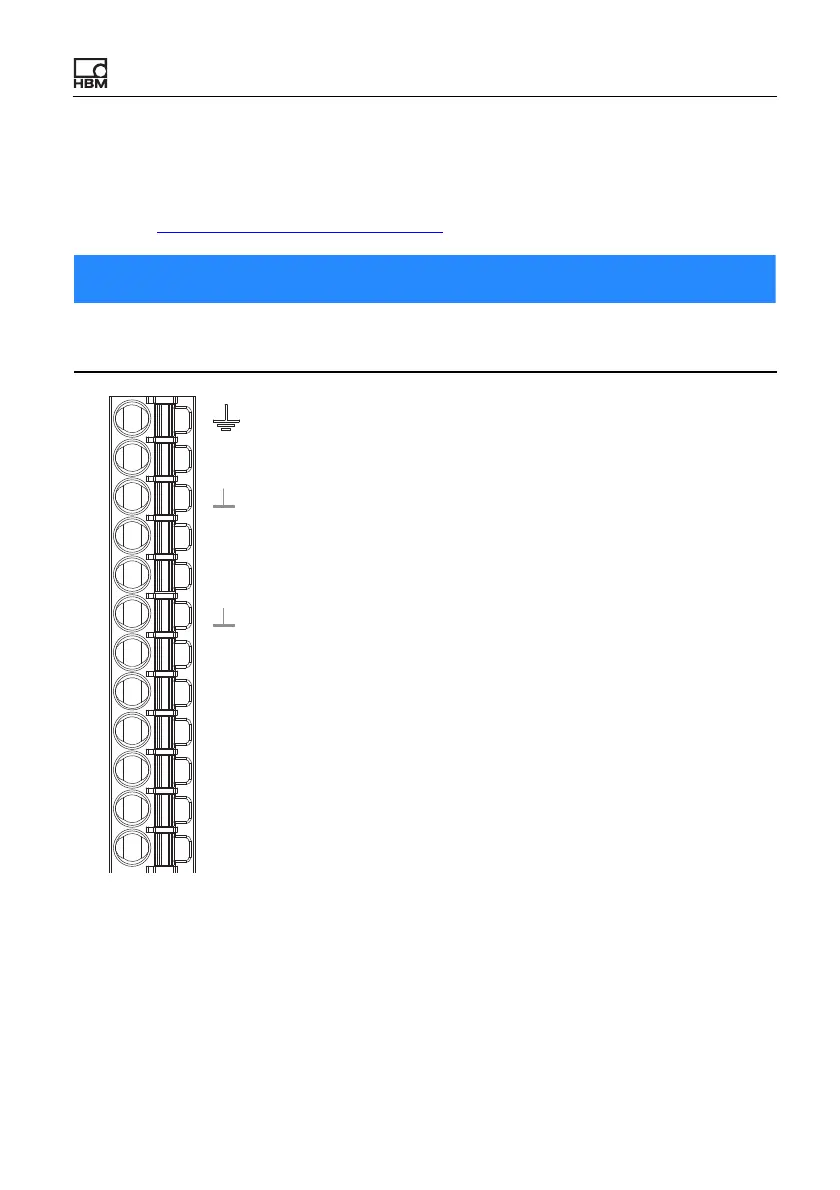
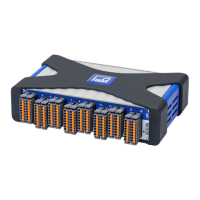
Fig. 10: Supply voltage at plug terminal X2
For each ClipX you must provide a power output of 5W plus the power required
for analog and digital outputs. Use an appropriately dimensioned cable for the
supply voltage, so as to avoid an excessive voltage drop when operating mul-
tiple devices. We recommend using wire end ferrules and a cable cross-section
of 1.5mm
2
(AWG16).
Voltages above 30V
DC
can destroy the ClipX.
Make sure that the supply voltage is between 10 and 30V
DC
.
Plug terminal X2, supply, DIO, Sync, ClipX bus
X
Housing
ClipX bus
ClipX bus GND
ClipX bus
Synchronization
Sync
Digital In GND
Digital In 2
DI2
DI1
DI
DO2
DO1
Digital In 1
Digital Out 2
Digital Out 1
Supply 0 V
0V
24V
Supply 10 … 30 V
CxA
CxB