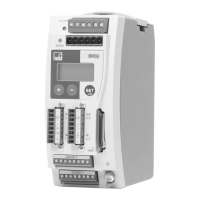
Operation via fieldbus
80
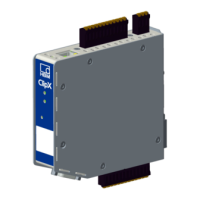
a4643-1.0 HBM: public ClipX
Then select which cyclic I/O data you want to transmit, as no configuration
object exists. Click
APPLY to apply your configuration. When you do so, a run-
ning EtherNet/IP™ connection is closed and is restarted with the changed I/O
image. At the top of the browser window you see the current settings. Import
them manually into your EtherNet/IP™ configuration tool.
You can also download your configuration to your PC as a CSV file for docu-
mentation purposes (
DOWNLOAD IO-IMAGE). Depending on your browser set-
ting, you are prompted to select a folder, or the file is saved to your Download
folder. The file is for information purposes only, however, and cannot be reim-
ported.
8.5.4 Settings for PROFIBUS
In your browser, specify the address of the ClipX on the PROFIBUS. The fac-
tory setting is 126 (invalid address). The bit rate is automatically detected by the
ClipX. Carry out the further configuration of the fieldbus using your PROFIBUS
configuration tool.
After configuring the ClipX, you can download the resultant GSD file and the
DPV1 list to the PC:
DOWNLOAD GSD and DOWNLOAD DPV1 LIST.
Depending on your browser setting, you are prompted to select a folder, or the
file is saved to your Download folder.
The names you set for the various signals are applied in the GSD file.
The DPV1 objects are addressed by way of Slot and Index. Whether a module
has been configured in a ClipX PROFIBUS slot (and if so, which one) is irrele-
From the menu choose Device Storage and BACKUP or RESTORE as
appropriate to save the configuration on your PC and transfer it to anoth-
er device.
The minimum cycle time (Min_Slave_Intervall) is 0.6ms. If the PRO-
FIBUS controller does not take this value from the GSD file, you must
set it manually.