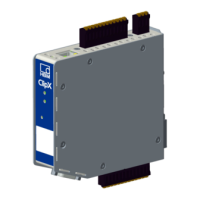
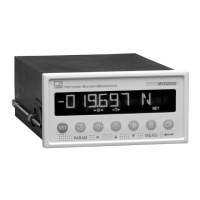
Starting up the ClipX
58
a4643-1.0 HBM: public ClipX
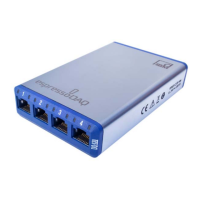
7.2 Connecting via Ethernet
Connecting
You have two options for connecting to the ClipX:
1. Make a direct 1:1 connection.
Connect your PC and the ClipX by an Ethernet cable. In rare cases, you will
need an Ethernet cross cable for this. Normally the PC will adapt automati-
cally to the cable.
2. Connect over a network.
Connect your PC to the network or switch, and connect the ClipX in turn to
the network or switch – in each case using an Ethernet cable.
In both cases, your PC should use the DHCP setting (Obtain an IP address
automatically) to connect. With fixed IP addresses this is only possible if the
PC and ClipX are using addresses from the same network segment (ClipX fac-
tory default setting: DHCP). The connections use IPv4; IPv6 is not supported.
Important: Some browsers make more than one connection. In this
case, the number of possible additional connections is reduced.
See also Using parameter sets.
Important: The transfer of commands and data is not encrypted or se-
cure (no https). So you should only operate the ClipX in an internal
network with no connection to the Internet or – if an Internet connec-
tion is essential – connect via a VPN tunnel.
Use the first variant if you want to use multiple ClipX devices. First con-
nect to each individual ClipX, and assign each one a unique device
name through your web browser. This will enable you to identify the in-
dividual ClipX devices later, otherwise (depending on the connection
method you use) it will not always be possible to distinguish between
them.