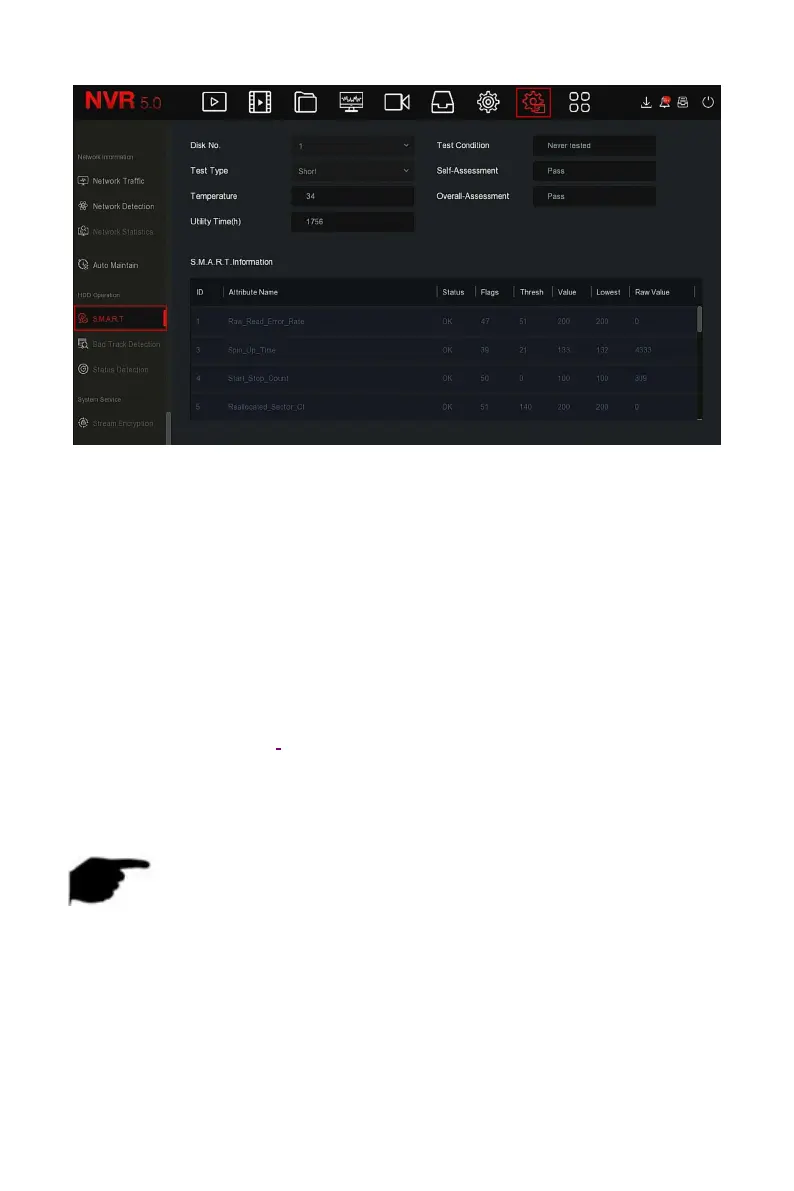
Figure 5-89
Steps 2: Select the hard disk to be tested and set "Self-Test Type".
Steps 3: The device starts to detect the hard disk.
Steps 4: After the hard disk is detected, the hard disk details will be displayed
in the S.M.A.R.T. information list.
S.M.A.R.T Configuration:
Disk No: Pull down to select the drive number.
Test condition: Shows whether the hard disk has been detected.
Test type: Short and extended.
Temperature: Display hard disk temperature.
Utility time(h): Shows how long the hard disk is used (hours).
Self-assessment: Show whether the hard disk is passed.
Overall-assessment: Show whether the whole hard disk through.
S.M.A.R.T information: Display the hard disk information.
Self test: Click "Self test" to detect the hard disk information.
NOTE
Only some devices support hard disk detection. Please refer to the
actual situation.
When the self-assessment or overall evaluation results are "not passed",
the hard disk must be replaced to avoid data loss.
Through the S.M.A.R.T self test function, the user can use the S.M.A.R.T
command to perform a self-test on the hard disk to detect the overall
status of the hard disk.