b) Find the LED pointer on the top of the drive carrier. This pointer should point toward the front of the
unit as shown in the following image.
Figure 106: LED Pointer Orientation
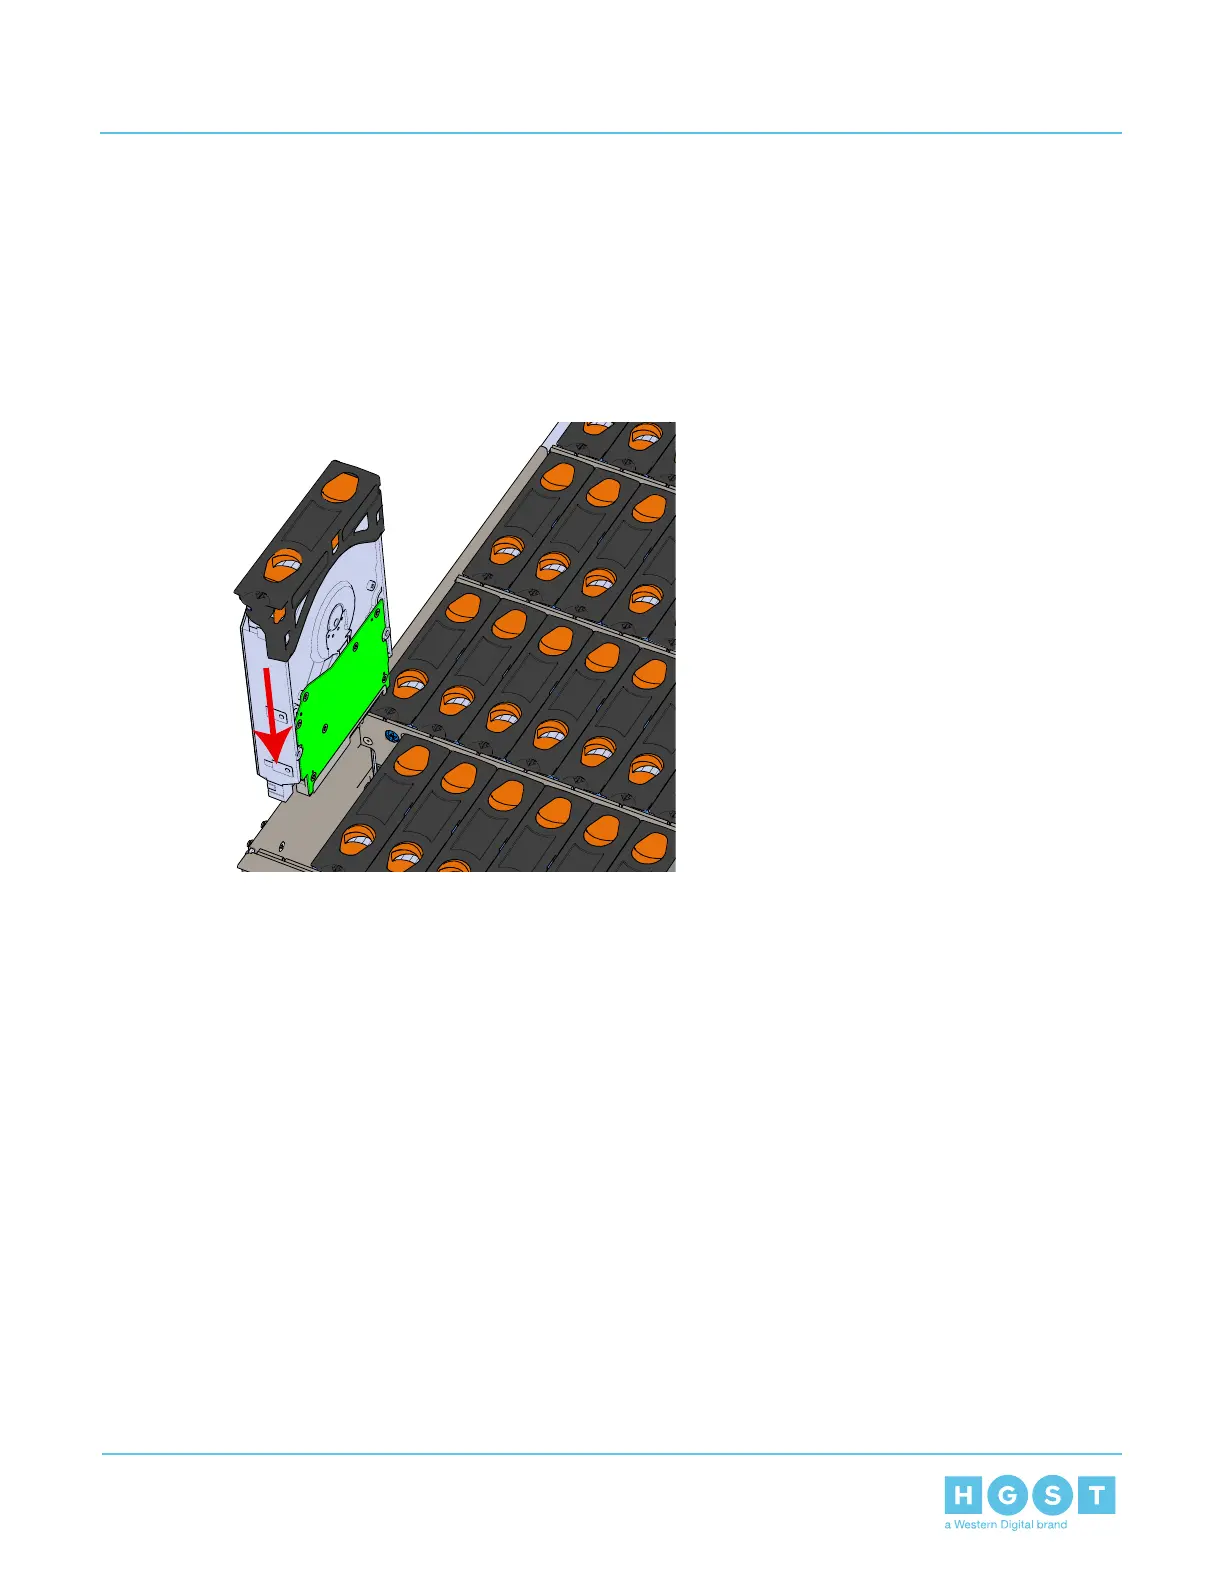
c) Align the drive with the empty slot that will receive it. Lower it into the slot, making sure it stays level
and does not snag.
Figure 107: Installing a Drive Assembly
d) Pinch the latch release and carefully press downward to seat the Drive Assembly the rest of the way.
28. Install each drive in the place it was removed from by following the labels or marks that were added
earlier.
29. Install the upper CMA.
104
4 Part Replacement
User Guide 4.8 Rails Replacement

 Loading...