EasyManuals Logo

HGST Ultrastar Data60 H4060-J User Manual

HGST Ultrastar Data60 H4060-J
218 pages
To Next Page IconTo Next Page
To Previous Page IconTo Previous Page
Page #72 background imageLoading...
Page #72 background image
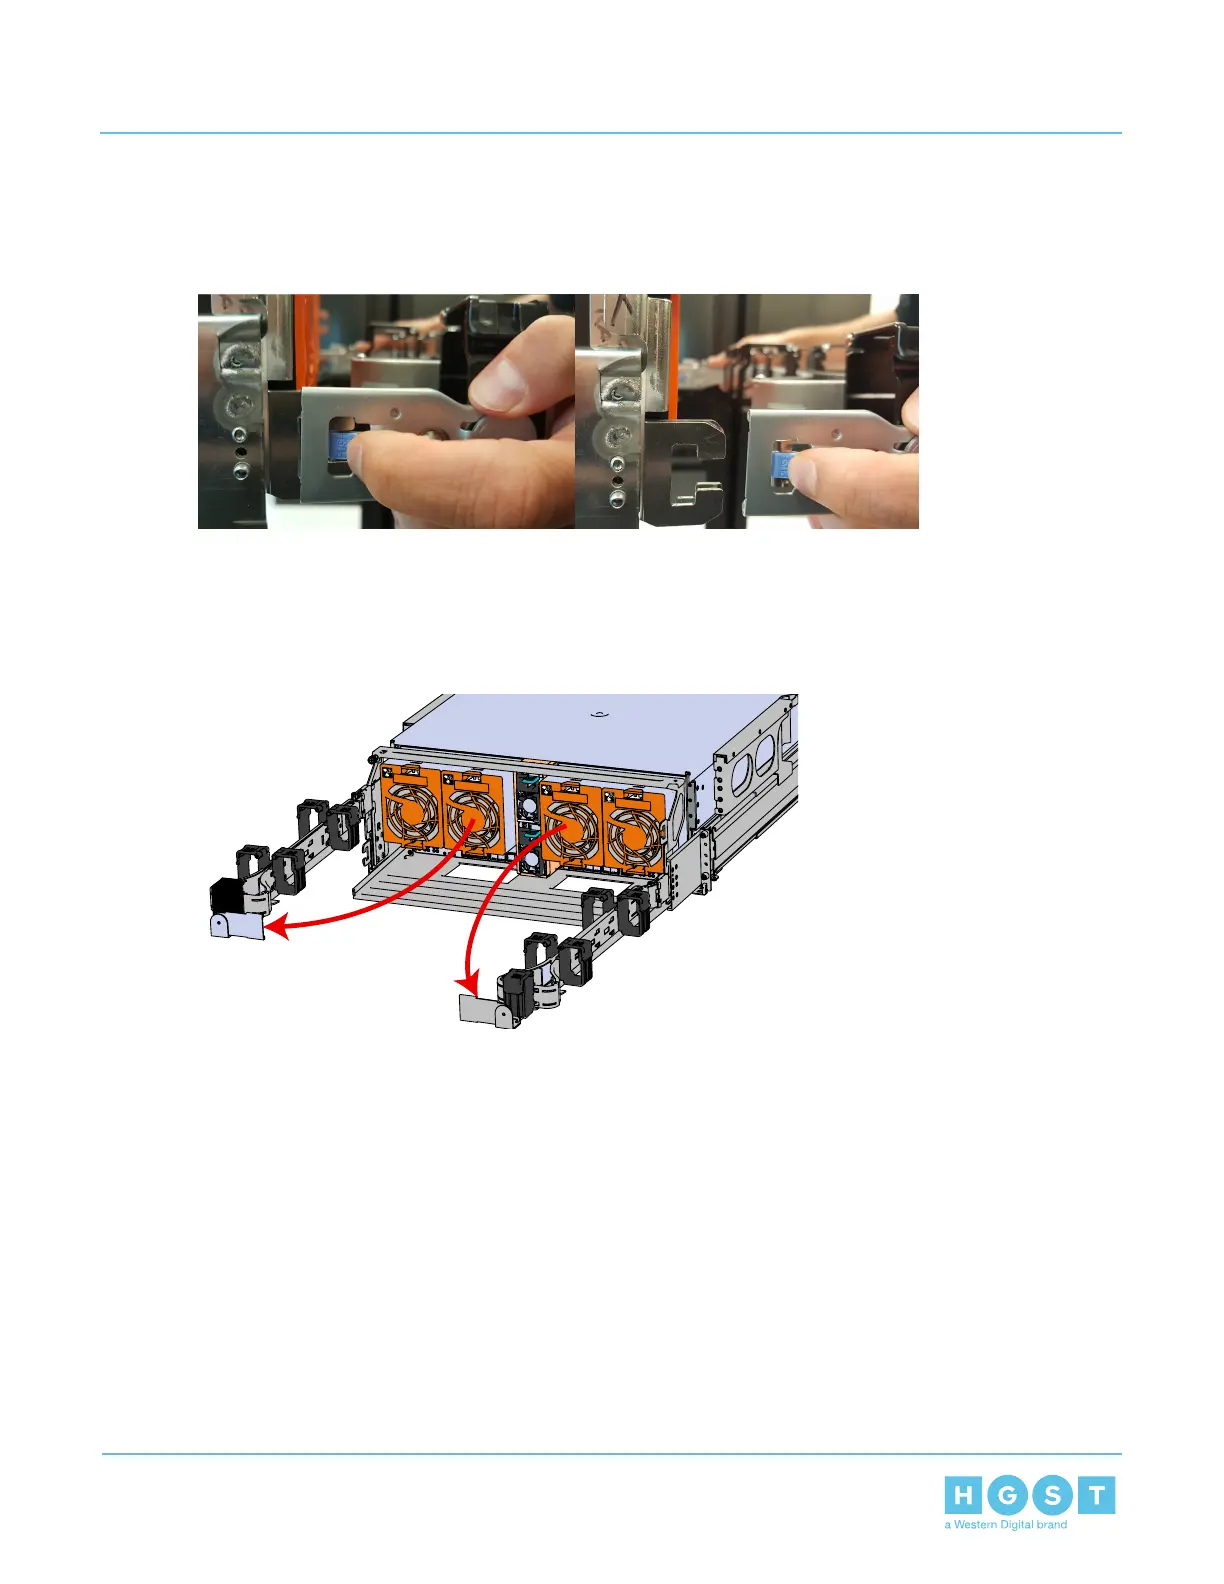
a) Unlatch the upper CMA at the elbow connector by pressing the blue release button to unlatch the
connector from the rail.
Figure 61: Unlatching a CMA Connector
b) Swing the CMA away from the enclosure.
c) Do the same for the lower CMA arm as what was done for the upper.
d) Both arms should be extended away from the enclosure as shown in the following example.
Figure 62: CMAs in service position (Cables not shown)
2. Power down the Enclosure.
a) Locate the redundant PSUs at the rear of the enclosure.
72
4 Part Replacement
User Guide 4.7 CMA Replacement

Table of Contents

Questions and Answers:

Question and Answer IconNeed help?

Do you have a question about the HGST Ultrastar Data60 H4060-J and is the answer not in the manual?

HGST Ultrastar Data60 H4060-J Specifications

General IconGeneral
BrandHGST
ModelUltrastar Data60 H4060-J
CategoryServer
LanguageEnglish

Related product manuals