b) Attach all of the connectors to the brackets on the rails and chassis. There should be one at the elbow
side and two at the other end.
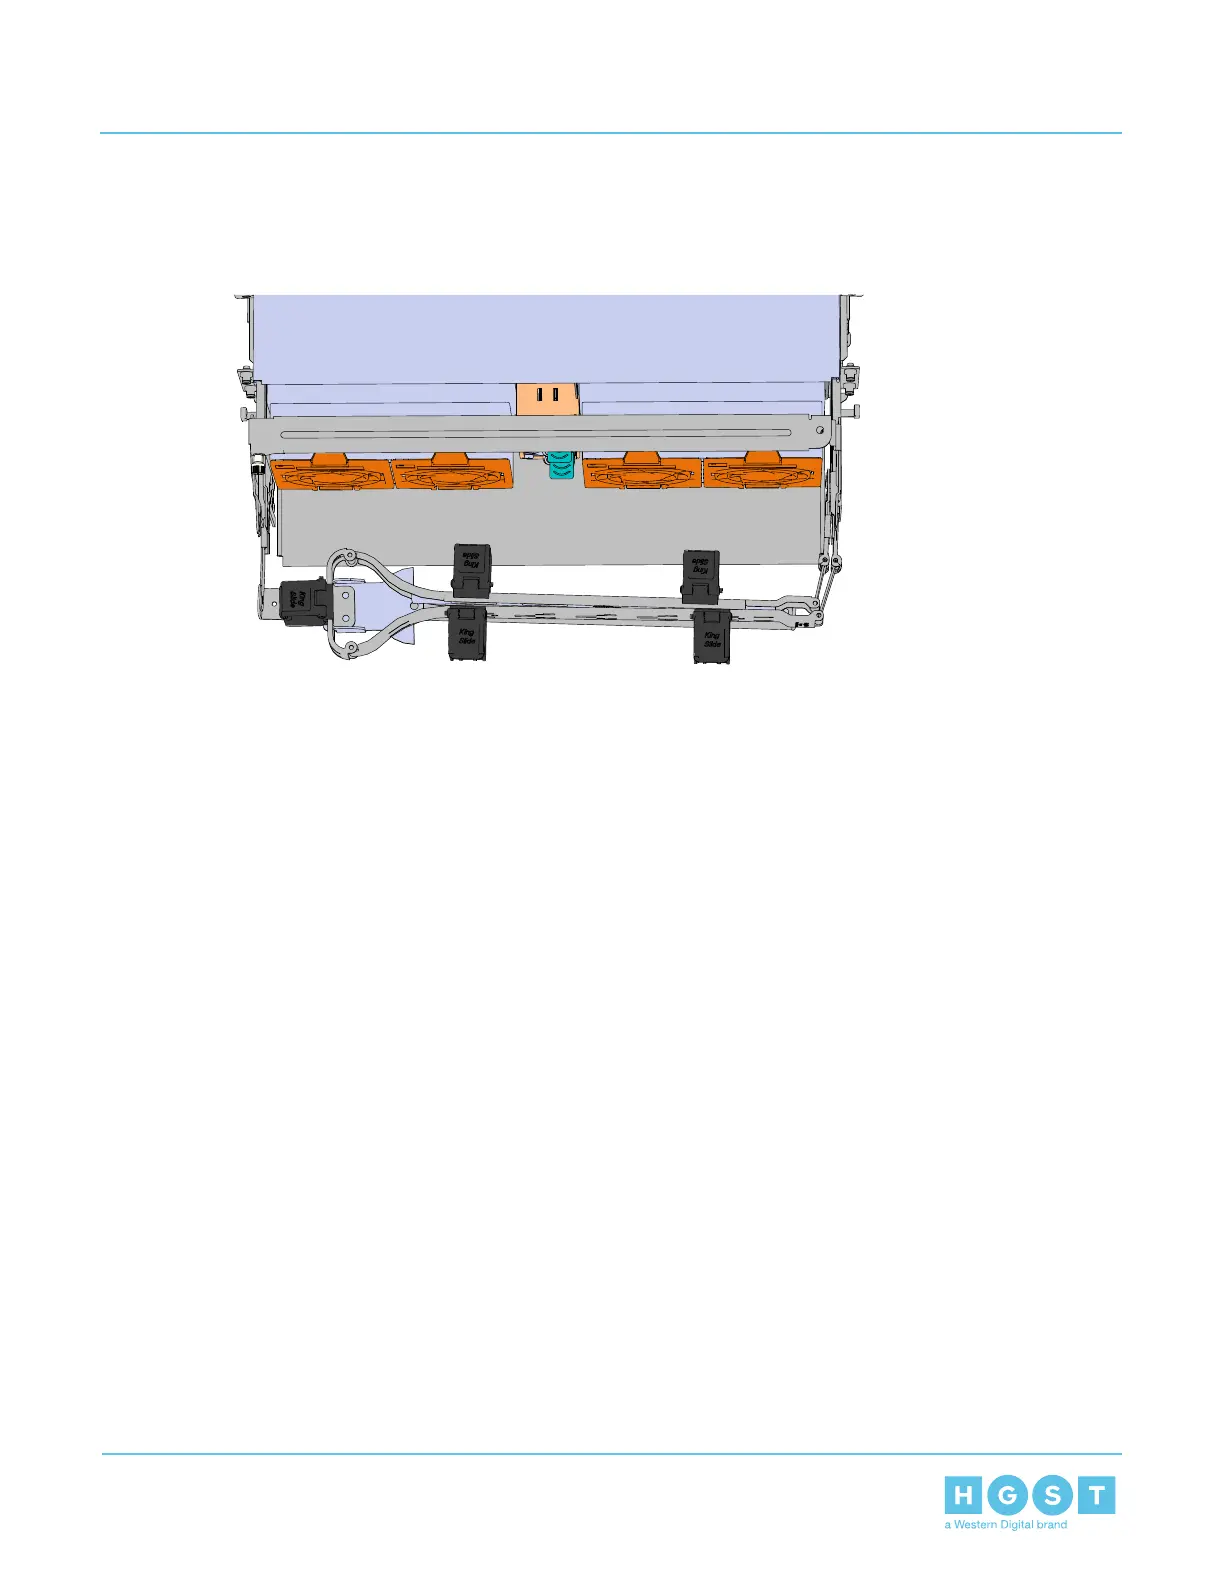
Figure 66: Lower CMA Orientation
c) Slowly slide the enclosure forward to ensure the CMA arm is operating properly, then slide it back
into the rack.
9. Install the upper CMA.
75
4 Part Replacement
User Guide 4.7 CMA Replacement

 Loading...