6. Identify F/W version and take notes of it. See F/W version identification
procedure on page 4-22 section.
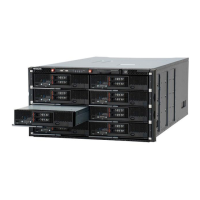
7. Loosen the thumbscrew and release blue lock tab, as shown below.
8. Pull the two levers on both sides, as shown below.
9. Holding the server blade and storage expansion blade, carefully slide out
from the chassis and place it on an anti-static mat.
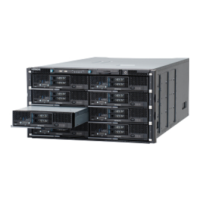
Figure 5-9 Removing the storage expansion blade
Notice:
Do not leave a slot open for a long time. Leaving it open can cause the
overheat problem for other components.
Installing a storage expansion blade
Note: To change configuration from half-wide server blade to storage
expansion blade, remove a shelf from the server chassis. Refer to the
Replacing a shelf in the server chassis on page 5-129 section.
1. Put on an anti-static wrist strap.
2. Reverse the removal procedure.
3. Turn on LID LED for identifying the target blade. See Identify LED (LID)
on/off procedure on page 4-7 section.
4. If you need to update the BMC and/or EFI firmware, consult with Hitachi
Data Systems Customer Support team.
5. Restore the Blade configuration data (FRU/ BMC configuration/ EFI
configuration) from the automatic back up field in server chassis. See
Backup/restore procedure on page 4-30 section.
6. BMC will restart. Wait for about 10 minutes.
7. Select Alerts tab and select All Logs > System Event Log, and then
click Refresh to identify the latest information.
8. Confirm the Server blade: BMC initialization complete message.
5-12
Replacing parts
Hitachi Compute Blade 500 Series System Service Manual
 Loading...


