Do not leave a slot open for a long time. Leaving it open can cause the
overheat problem for other components.
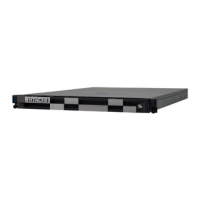
Installing a PCI expansion blade into server chassis
Note: To change configuration from half-wide server blade to PCI expansion
blade, remove the shelf from the server chassis. Refer to the Replacing a
shelf in the server chassis on page 5-129 section.
1. Put on an anti-static wrist strap.
2. Reverse the removal procedure.
3. Turn on LID LED for identifying the target blade. See
Identify LED (LID)
on/off procedure on page 4-7 section.
4. If you need to update the BMC and/or EFI firmware, consult with Hitachi
Data Systems Customer Support team.
5. Restore the Blade configuration data (FRU/ BMC configuration/ EFI
configuration) from the automatic back up field in server chassis. See
Backup/restore procedure on page 4-30 section.
6. BMC will restart. Wait for about 10 minutes.
7. Select Alerts tab and select All Logs > System Event Log, and then
click Refresh to identify the latest information.
8. Confirm the Server blade: BMC initialization complete message.
If this massage was indicated, go to next step.
Figure 5-12 Confirming system log
9. Turn on LID LED for identifying the target blade again.
See
Identify LED (LID) on/off procedure on page 4-7 section.
10. Execute the CBTP and check the replaced PCI expansion blade.
See Diagnostic procedure overview on page 8-2 section.
11. Turn off the maintenance mode from web console.
See
Maintenance mode on/off procedure on page 4-10 section.
12. Restart BMC when you installed a new server blade. See Restarting BMC
procedure on page 4-56.
5-16
Replacing parts
Hitachi Compute Blade 500 Series System Service Manual

 Loading...