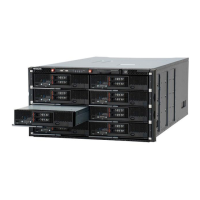
Figure 5-58 Removing the DIMM
Installing a DIMM
1. Put on an anti-static wrist strap.
2. Ensure that the DIMM socket ejector tabs are in the open position.
3. Line up the spare DIMM with the socket.
4. Push the spare DIMM into the socket until the ejector tabs lock the DIMM
in place.
5. Ensure that the DIMM socket ejector tabs are in the close position.
Figure 5-59 Installing the DIMM
Notice:
Do not install the DIMM turned the wrong way. Doing so might cause
serious damage to the DIMM.
6. Install air ducts.
Replacing parts
5-47
Hitachi Compute Blade 500 Series System Service Manual
 Loading...


