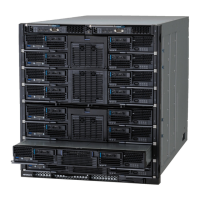
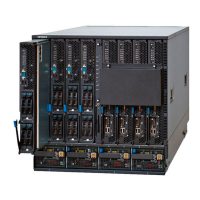
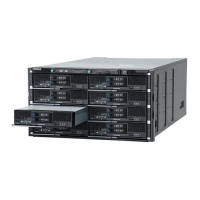
Removing a PCI expansion blade from the shelf
1. Removing a PCI expansion blade with a server blade.
See Removing a PCI expansion blade from server chassis on page 5-15
section.
2. Opening a top cover of server blade and PCI expansion blade.
See
Opening a top cover, Server blade on page 5-38 and Opening a top
cover, PCI expansion blade on page 5-40 section.
3. Open a latch of the connector of the connection kit F/H in the PCI
expansion blade, and then pull out the connector straight upward.
See Figure 5-33 Removing the connection kit F/H on page 5-30.
4. Open two latches of the connection board in the server blade, and then
pull out the board straight upward.
See
Figure 5-33 Removing the connection kit F/H on page 5-30.
5. (Skip this step when the connection kit L/P is not installed.)
Pull out the connector of the connection kit L/P in the PCI expansion blade
straight upward, and then turn over the connector toward server blade.
See Figure 5-34 Removing the connection kit L/P on page 5-30.
6. Loosen a thumbscrew of the connection bracket, and then remove the
bracket. See Figure 5-35 Removing the connection bracket on page
5-31.
7. (Skip this step when the connection kit L/P is not installed.)
Pull out the connection board of the connection kit L/P in the server blade
straight upward. See
Figure 5-36 Removing the connection kit L/P on
page 5-31.
Figure 5-32 Location of the connection kit
Replacing parts
5-29
Hitachi Compute Blade 500 Series System Service Manual
 Loading...


