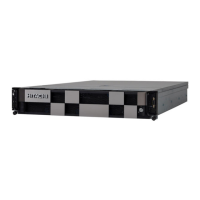
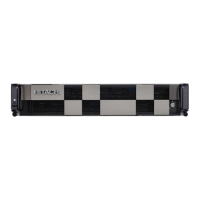
RAIL KIT ASSEMBLY RAIL KIT ASSEMBLY
3-2
3.1 Rail Kit Assembly
Make sure you have a stable, clean working environment. Dust and dirt can get into com-
puter components and cause a malfunction. Many of the screws on the server are different
sizes; use containers to keep screws and small components separated.
Adequate lighting and proper tools can prevent you from accidentally damaging internal
components. Most of the following procedures require only a few simple tools, including
the following:
A Philips screwdriver
A flat-tipped screwdriver
A set of jeweler’s screwdrivers
A grounding strap
An anti-static pad
Humid environments tend to have less static electricity than dry environments. A ground-
ing strap is warranted whenever danger of static electricity exists.
Assembling the rail kit involves the following procedures:
Rack Installation Overview
Installing the Rails
TO INSTALL TWO SYSTEMS, INSTALL THE FIRST SYSTEM IN THE LOWEST AVAILABLE POSITION.
DUE TO WEIGH AND HEIGHT CONSIDERATIONS, MORE THAN ONE PERSON IS RECOMMENDED TO INSTALL A SYS-
TEM IN THE RACK.
ONLY PULL ONE COMPONENT OUT OF THE RACK AT A TIME TO PREVENT THE RACK FROM TIPPING OVER.
MORE THAN ONE PERSON IS RECOMMENDED TO LIFT THE SYSTEM.