EasyManuals Logo

Hitachi PXR User Manual

Hitachi PXR
231 pages
To Next Page IconTo Next Page
To Previous Page IconTo Previous Page
Page #83 background imageLoading...
Page #83 background image
3-20
(8) Turn the power on.
(9) Before software options are added and the EZJ99 board is attached to the IJP, set the
software option.
*) This procedure is not necessary when the software options have been installed and
only the EZJ99 is replaced. Jump to (10) in this case.
(10) Execute the system reset.
(11) Return the backed up data to IJP.
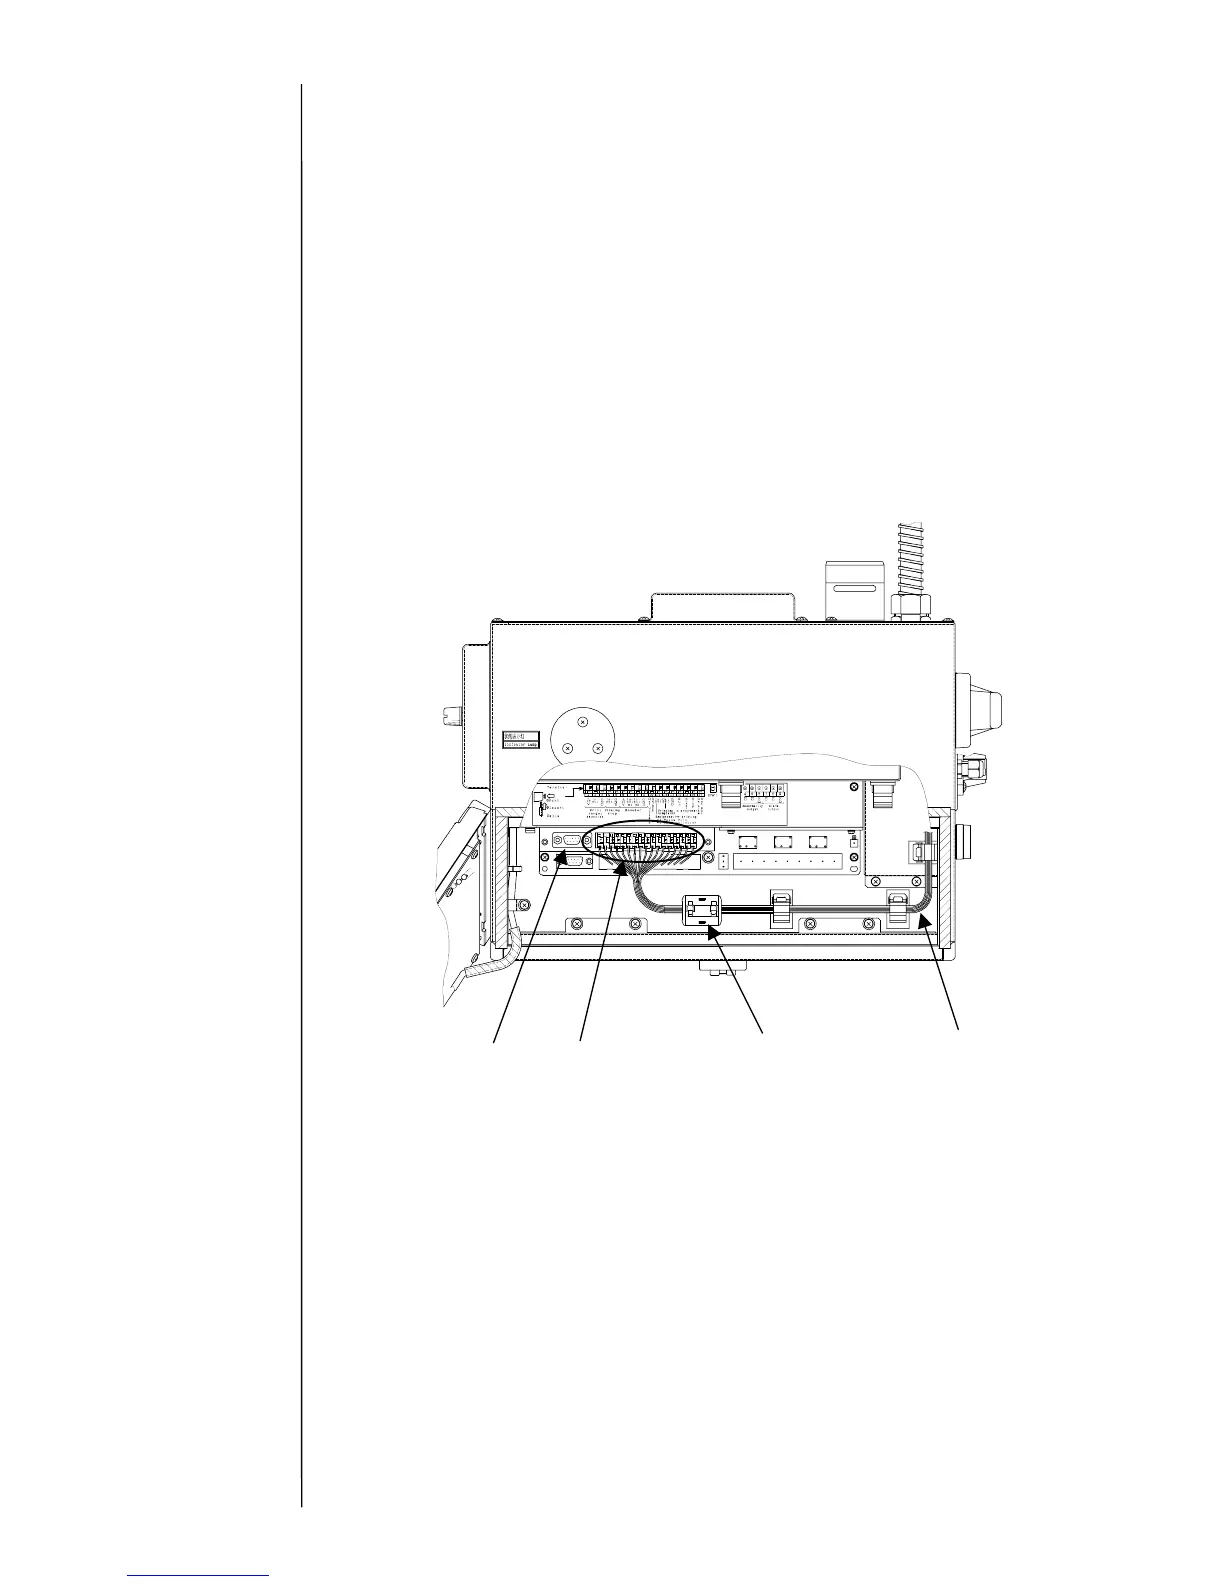
(12) Turn the power off. Connect wires from external devises to the TB1 depending on
software options.
Attach the included ferrite core to the cables as below.
- Applied wire size: AWG26 – 14 (0.4 mm –1.6 mm)
- Peeling length of cables: 9 mm
Connection cable
Ferrite core
TB1
EZJ99circuit
board
A
s for the copy data
function, see “2.9
Backup”.
A
s for the System
reset, see “2.8 System
reset”.
A
s for the software
option setup, see “2.14
Software option setup”.

Table of Contents

Questions and Answers:

Question and Answer IconNeed help?

Do you have a question about the Hitachi PXR and is the answer not in the manual?

Hitachi PXR Specifications

General IconGeneral
BrandHitachi
ModelPXR
CategoryPrinter
LanguageEnglish

Related product manuals