Chapter 1
Overview—Server Upgrade
Accessing a Rack Mounted Server
13
Step 2. Flip out the two pull handles at either end of the front bezel and slowly pull the unit forward by the
handles. The server is fully extended when the rail clips are locked in place. When fully extended,
the front and top covers are fully accessible.
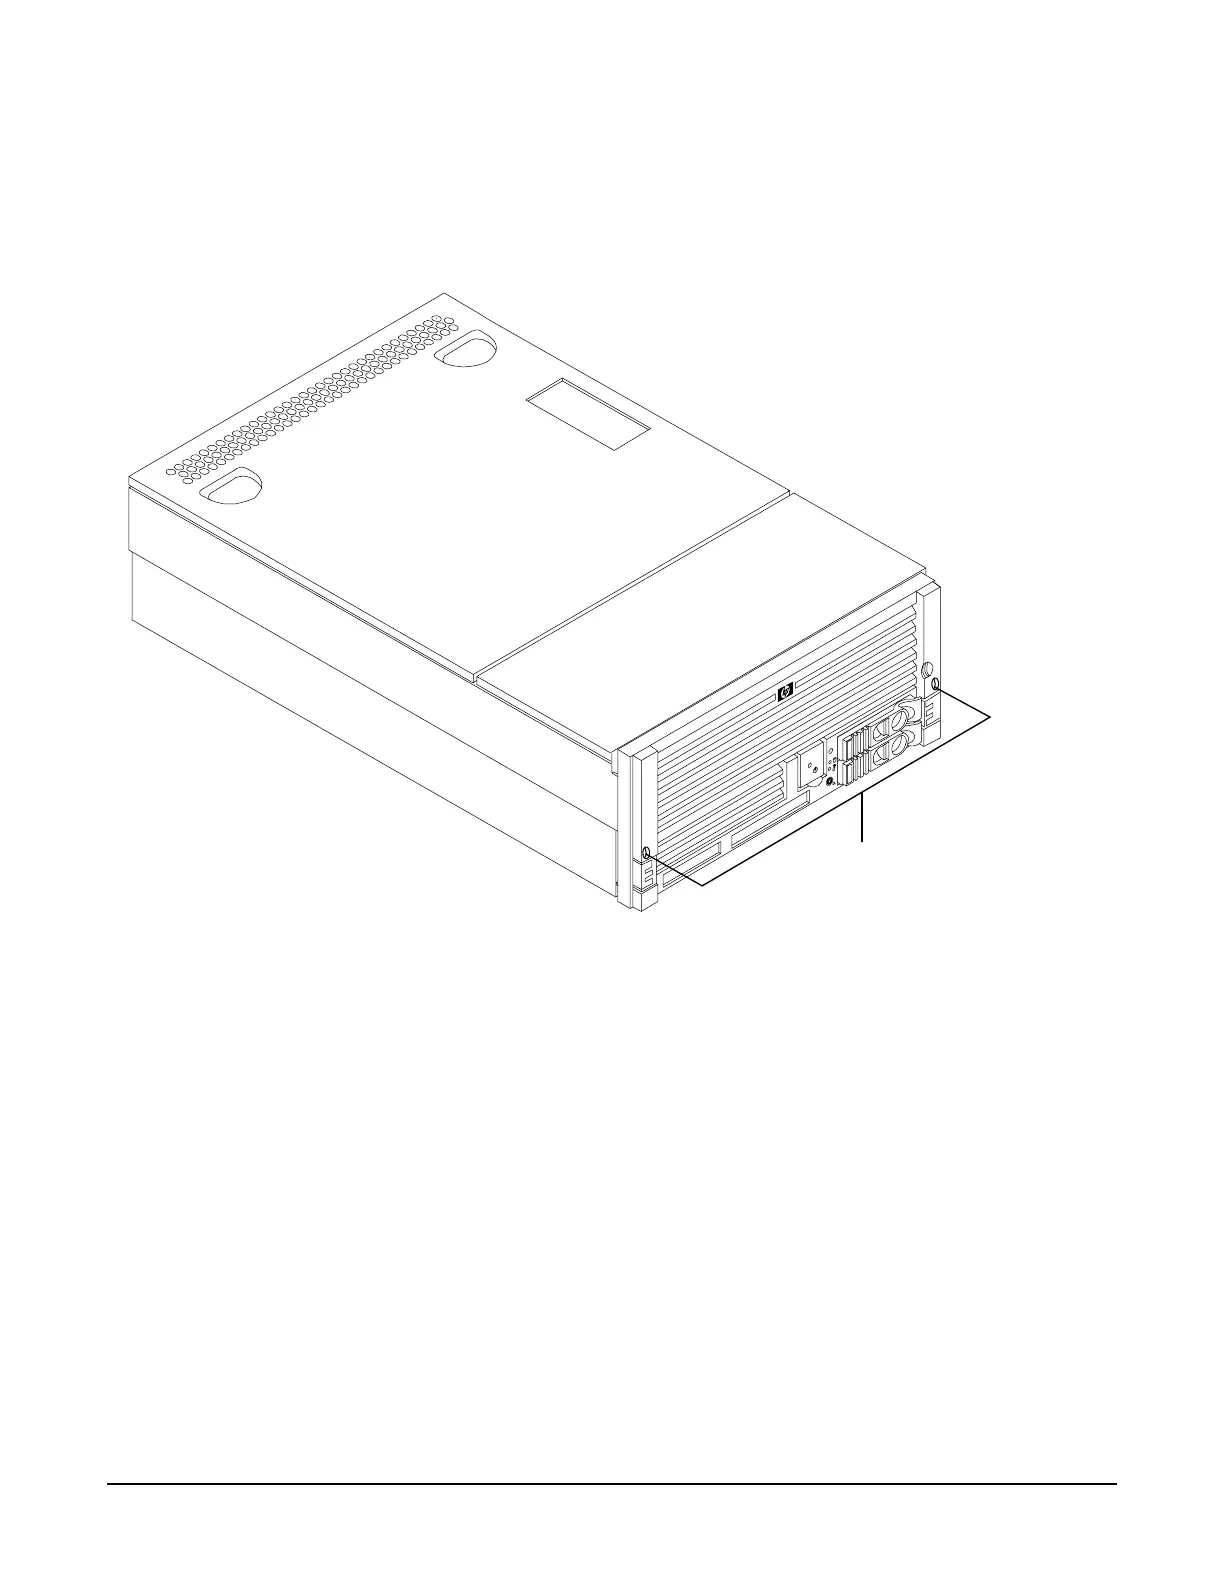
Figure 1-2 Accessing 25MM Torx Screws
Insert the Server into the Rack
To insert the server into the rack, perform the following steps:
Step 1. Press the rail clips on either side of the server inward and push the server into the rack until it
stops.
Step 2. Replace the T-25 screws that fasten the server to the rack.
Accessing a Pedestal Mounted Server
The hp Integrity rx4640 server is also designed to be pedestal mounted. You do not need to remove the
pedestal from the hp Server to gain access to internal components. The front bezel, front cover, and top cover
may be removed with the pedestal attached to the hp Server.
25MM Torx
screw 2X
 Loading...


