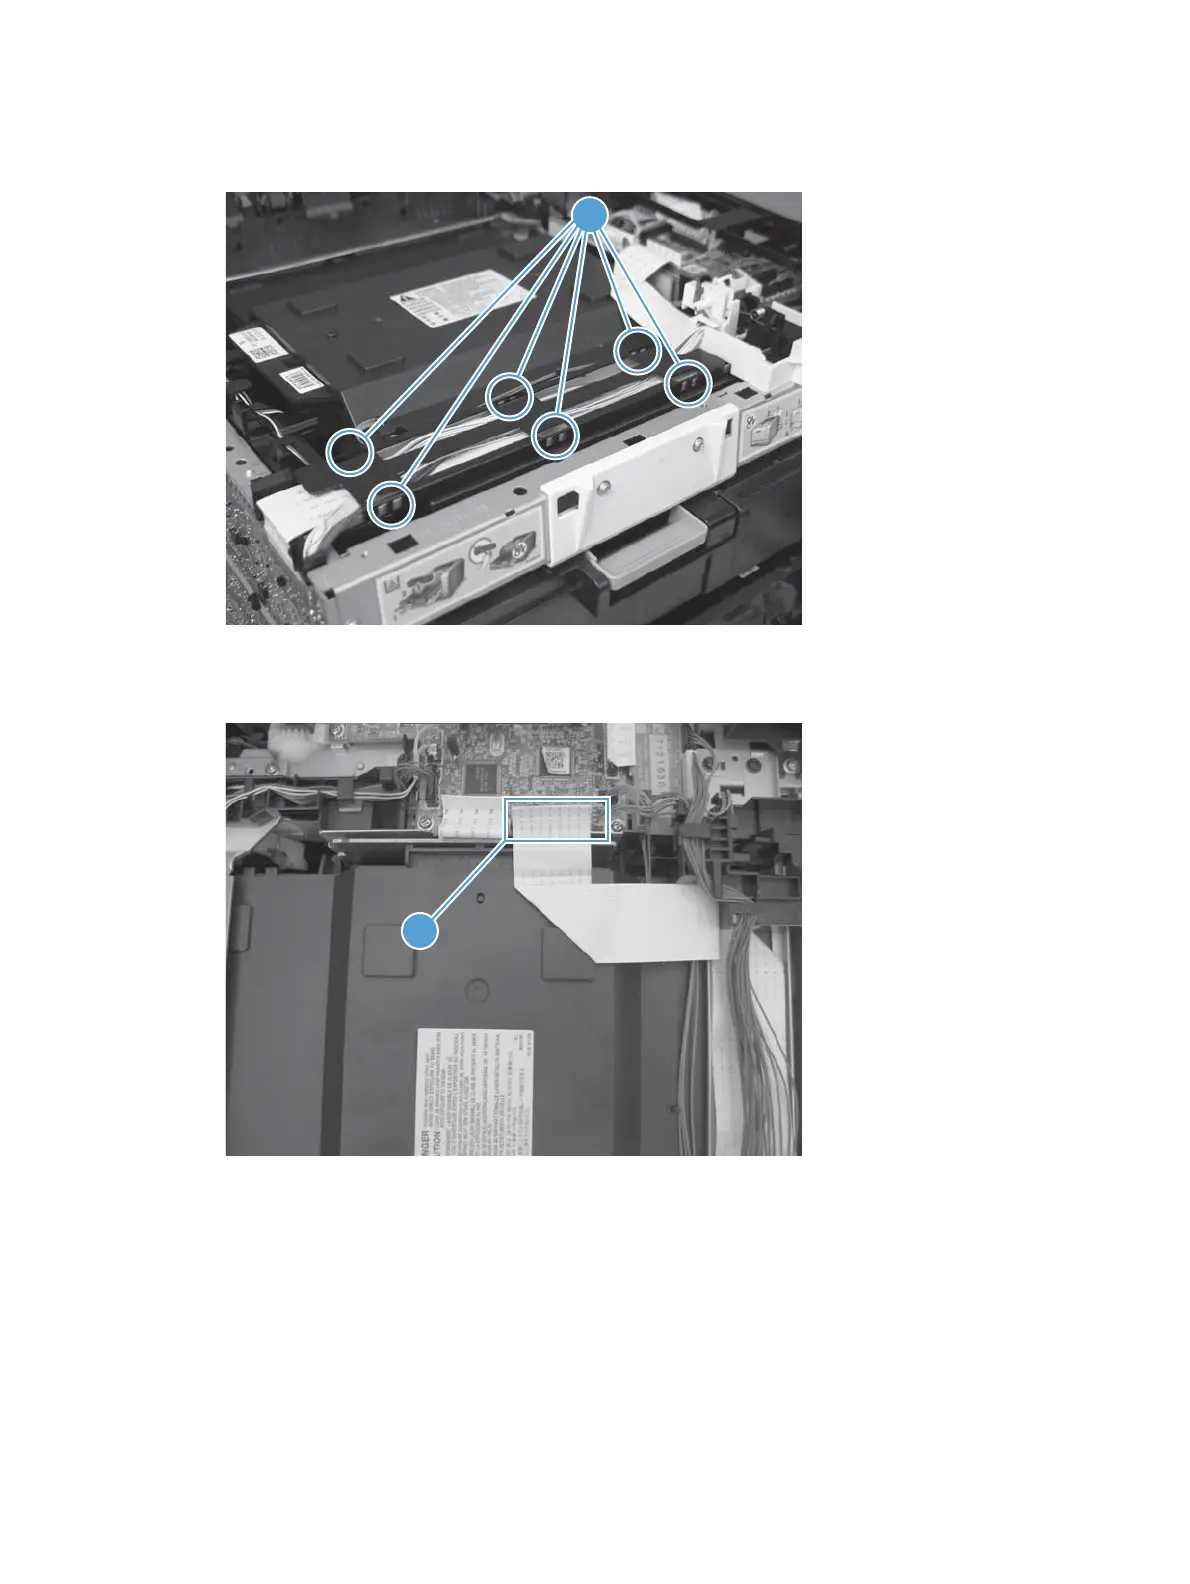
2. Release six tabs (callout 1), and then remove the black-plastic cover.
Figure 1-117 Remove the high-voltage power-supply PCA (2 of 5)
1
3. Disconnect one FFC (callout 1) on the DC controller.
Figure 1-118 Remove the high-voltage power-supply PCA (3 of 5)
1
82 Chapter 1 Removal and replacement ENWW
For mor information on LaserJet Pro 300, Pro 400 go to www.printersupplies.com
 Loading...