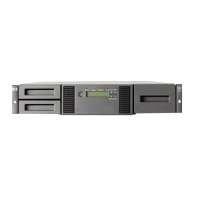
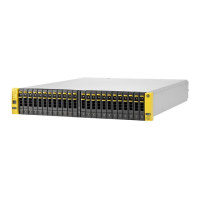
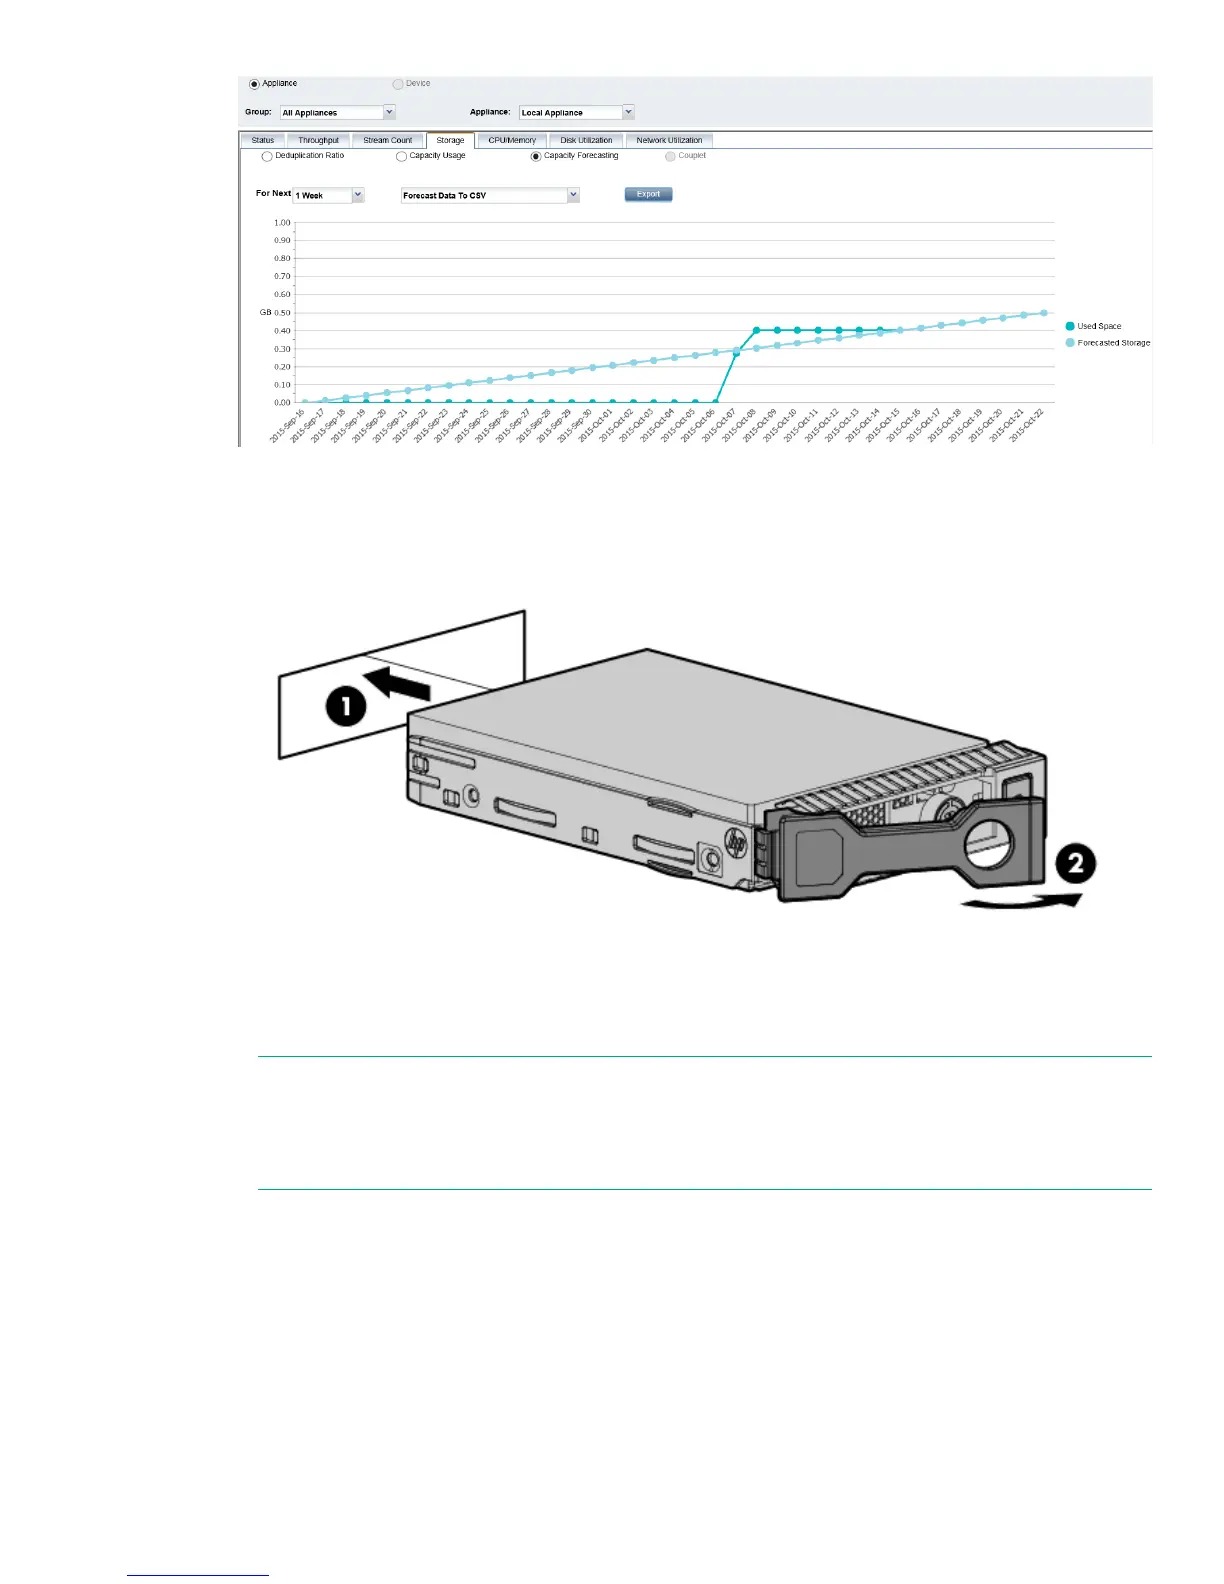
Figure 26: Removing the hard drive
3. Replace the failed disk with the new disk.
4. Push the hard drive assembly (1) into the drive bay until it stops and press the HDD carrier latch (2) inward
until it clicks.
Figure 27: Installing a replacement hard disk
5. Log in to the GUI and look at the Hardware — SmartArray Controller — Enclosure — Hard Disk page.
Check the status of the drives.
NOTE:
It may take several minutes for the status to report that the disk replacement has completed
successfully and that the new disk is being rebuilt as part of the RAID group. During this time several
alerts will be generated reflecting the status of the physical disks and the logical storage system.
6. Run the StoreOnce CLI command, hardware show firmware, to check that the firmware on the new
disk is correct; it will be listed under the storage details. Run the StoreOnce CLI command, hardware
update firmware, with appropriate parameters to update it, if necessary. See the HP StoreOnce
Backup CLI Reference Guide for more details.
Disk replacement 61
 Loading...