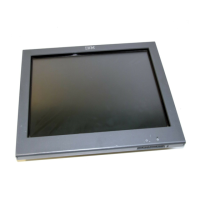
Installing the optional button cover
To install the optional button cover, follow these steps:
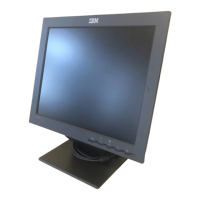
1. Because the button cover is somewhat difficult to remove, auto-adjust the
display (see “Adjusting the image” on page 53) before installing the cover.
2. Align the button cover with the buttons located on the bottom of the 4820 (A in
Figure 49).
3. Press on the button cover until it snaps into place.
4. See “Tailoring your installation” on page 11 to complete your installation.
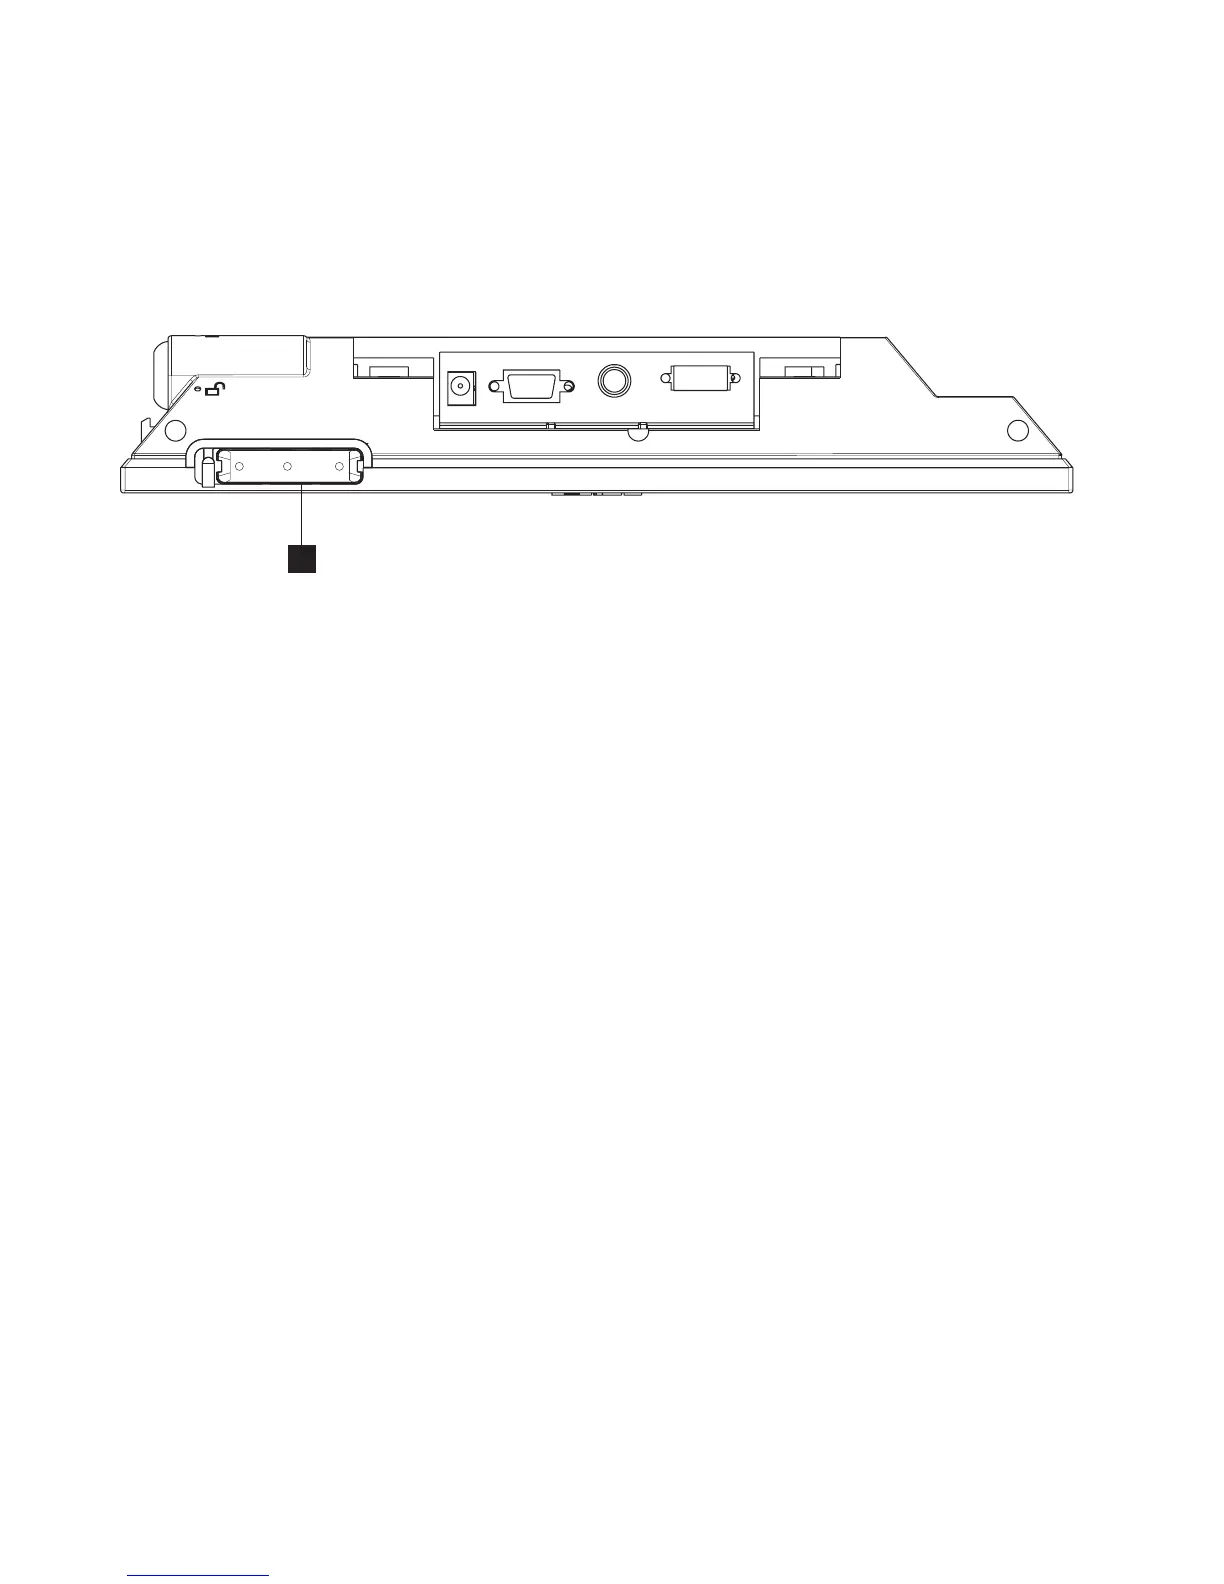
Routing the cables
For an efficient and uncomplicated install, IBM recommends that you route the
cables in the following order:
1. Video
2. Power
3. Audio cables
4. Touch/keypad/MSR cable
5. Pointing device (with attached cable)
A
Figure 49. Optional button cover
Installing the optional button cover
Update November 2005
50 4820 Planning, Installation and Service Guide