378
Appendix J Removing The Power Stacker
10.
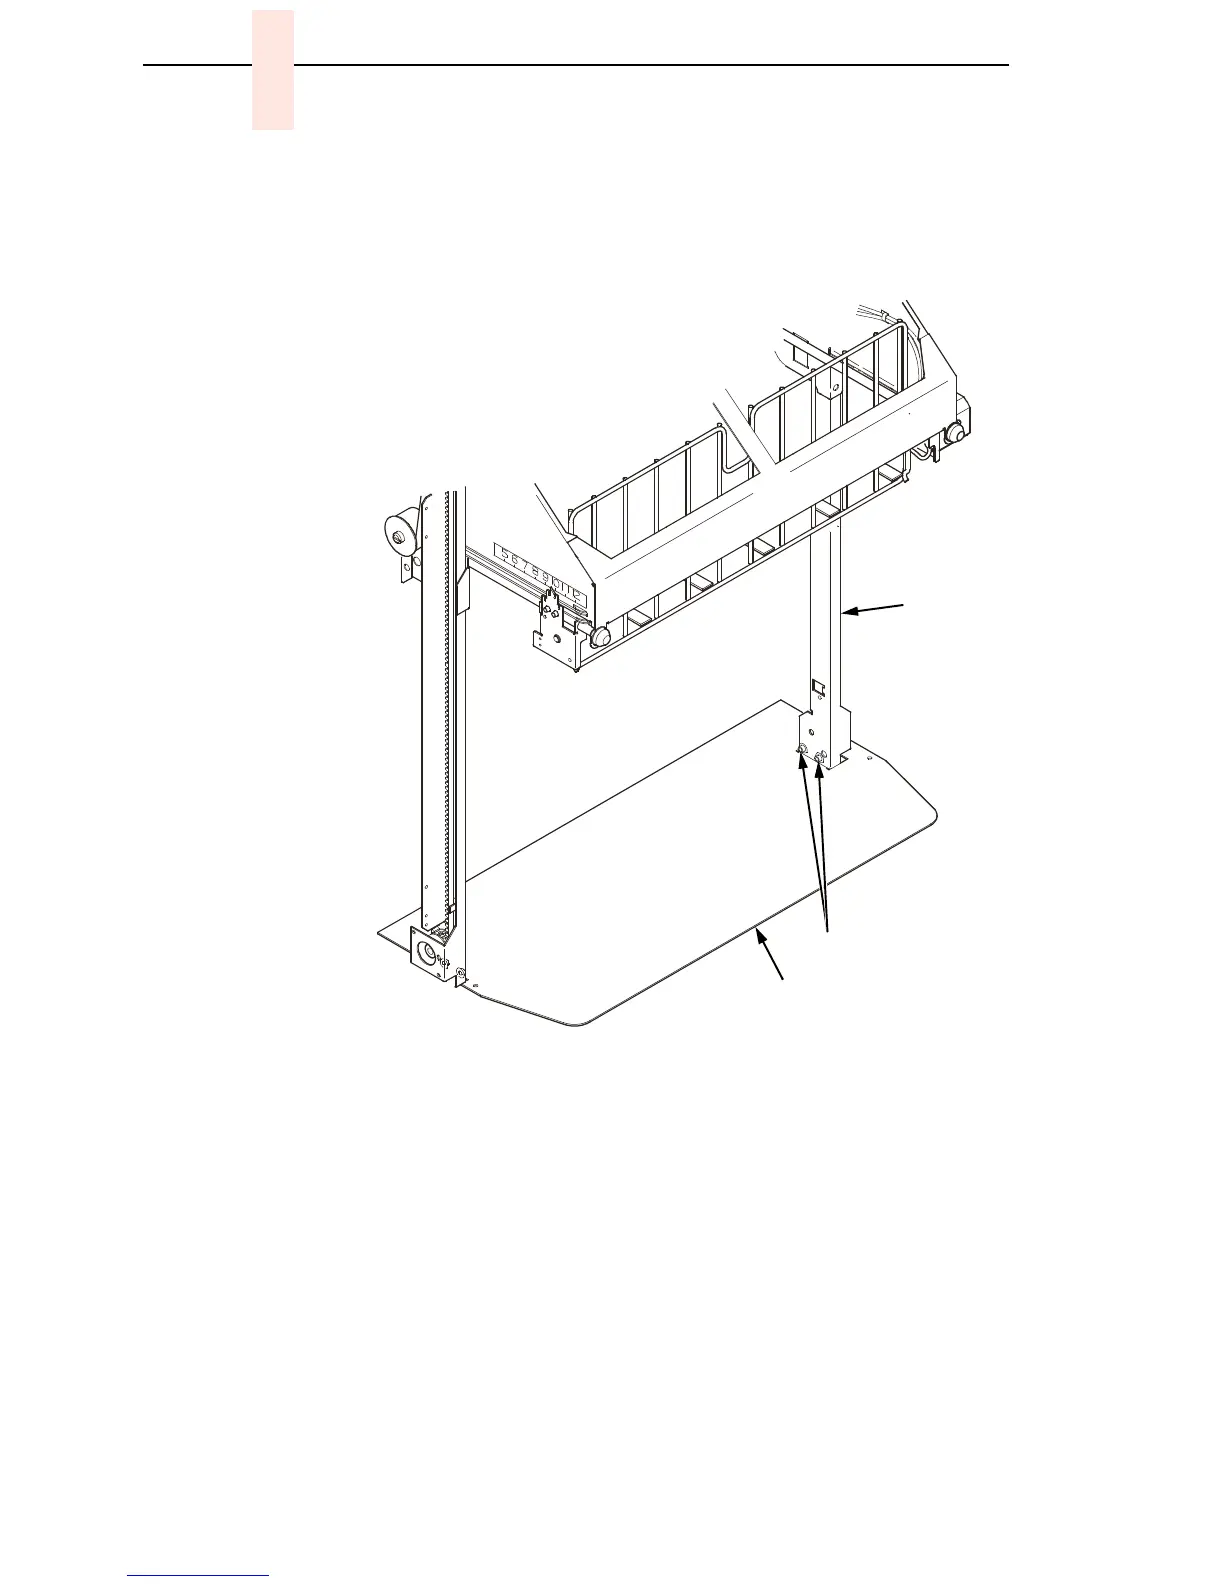
Loosen one turn—DO NOT REMOVE—the Torx T-10 screws securing
the vertical rails to the stacker base. Each rail is secured by two screws.
(See Figure 70.)
Legend:
1. Screw, 6-32x1/4, Torx T-10: two at bottom of each rail
2. Vertical Rail
3. Stacker Base
Figure 70. Loosening the Lower Screws in the Vertical Rails
11. Remove the 7/64 x 1/2 inch screws and washers (or Torx T-10 screws)
securing the base plate to the cabinet floor. (See Figure 69.)
12. Lower the elevator assembly to its lowest position.
13. Slide the stacker assembly slightly to the right to clear the air exhaust
duct. Tilt the vertical rails toward the front of the printer until they clear the
upper frame cross-member. Slide the stacker assembly to rear and angle
it out of the cabinet, as shown in Figure 71.
2
3
1

 Loading...


