INSTALLATION AND CONNECTIONS
2
2
2-2
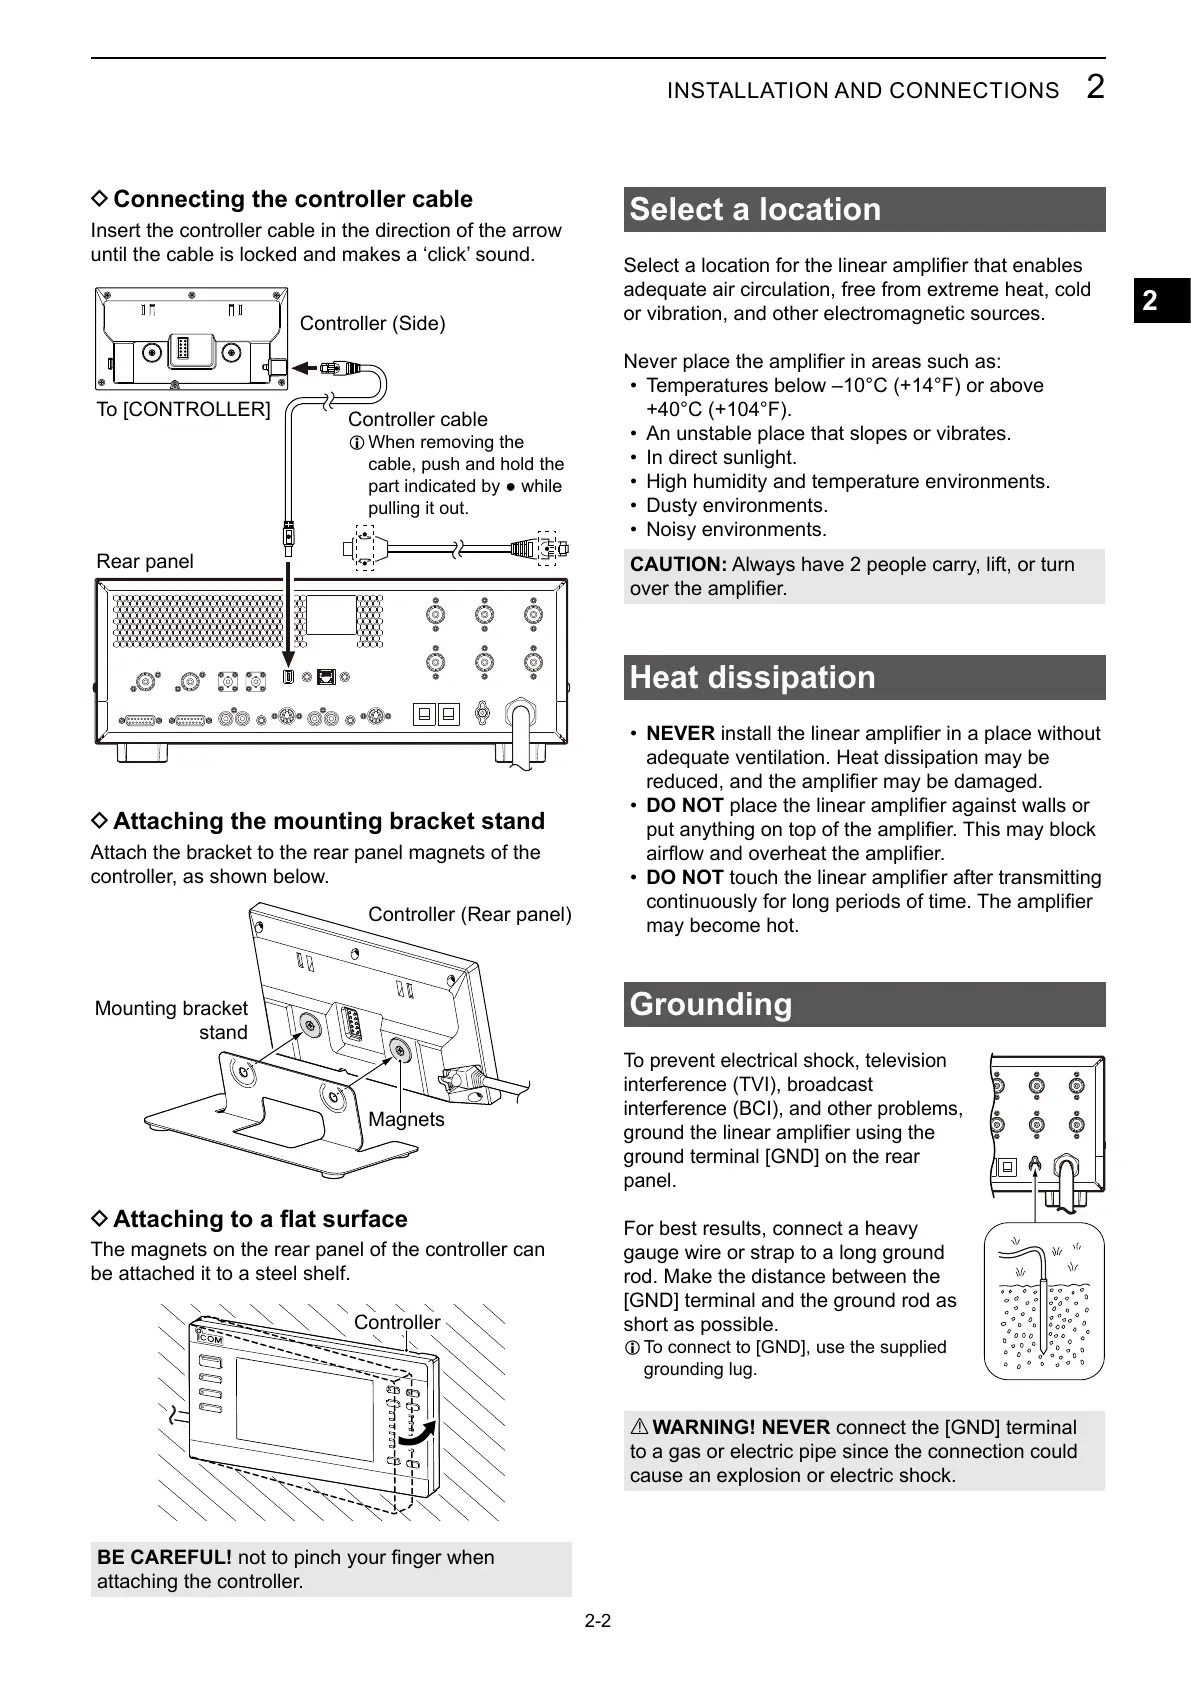
D Connecting the controller cable
Insert the controller cable in the direction of the arrow
until the cable is locked and makes a ‘click’ sound.
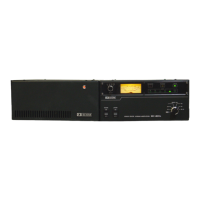
Controller (Side)
To [CONTROLLER]
Controller cable
L When removing the
cable, push and hold the
pulling it out.
Rear panel
D Attaching the mounting bracket stand
Attach the bracket to the rear panel magnets of the
controller, as shown below.
Controller (Rear panel)
Mounting bracket
stand
Magnets
D Attaching to a fl at surface
The magnets on the rear panel of the controller can
be attached it to a steel shelf.
Controller
BE CAREFUL!
attaching the controller.
Select a location
adequate air circulation, free from extreme heat, cold
or vibration, and other electromagnetic sources.
• Temperatures below –10°C (+14°F) or above
+40°C (+104°F).
• An unstable place that slopes or vibrates.
• In direct sunlight.
• High humidity and temperature environments.
• Dusty environments.
• Noisy environments.
CAUTION: Always have 2 people carry, lift, or turn
Heat dissipation
• NEVER
adequate ventilation. Heat dissipation may be
• DO NOT
• DO NOT
may become hot.
Grounding
To prevent electrical shock, television
interference (TVI), broadcast
interference (BCI), and other problems,
ground terminal [GND] on the rear
panel.
For best results, connect a heavy
gauge wire or strap to a long ground
rod. Make the distance between the
[GND] terminal and the ground rod as
short as possible.
L To connect to [GND], use the supplied
grounding lug.
R WARNING! NEVER connect the [GND] terminal
to a gas or electric pipe since the connection could
cause an explosion or electric shock.