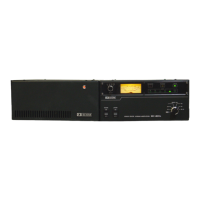
4
BASIC OPERATION
4-2
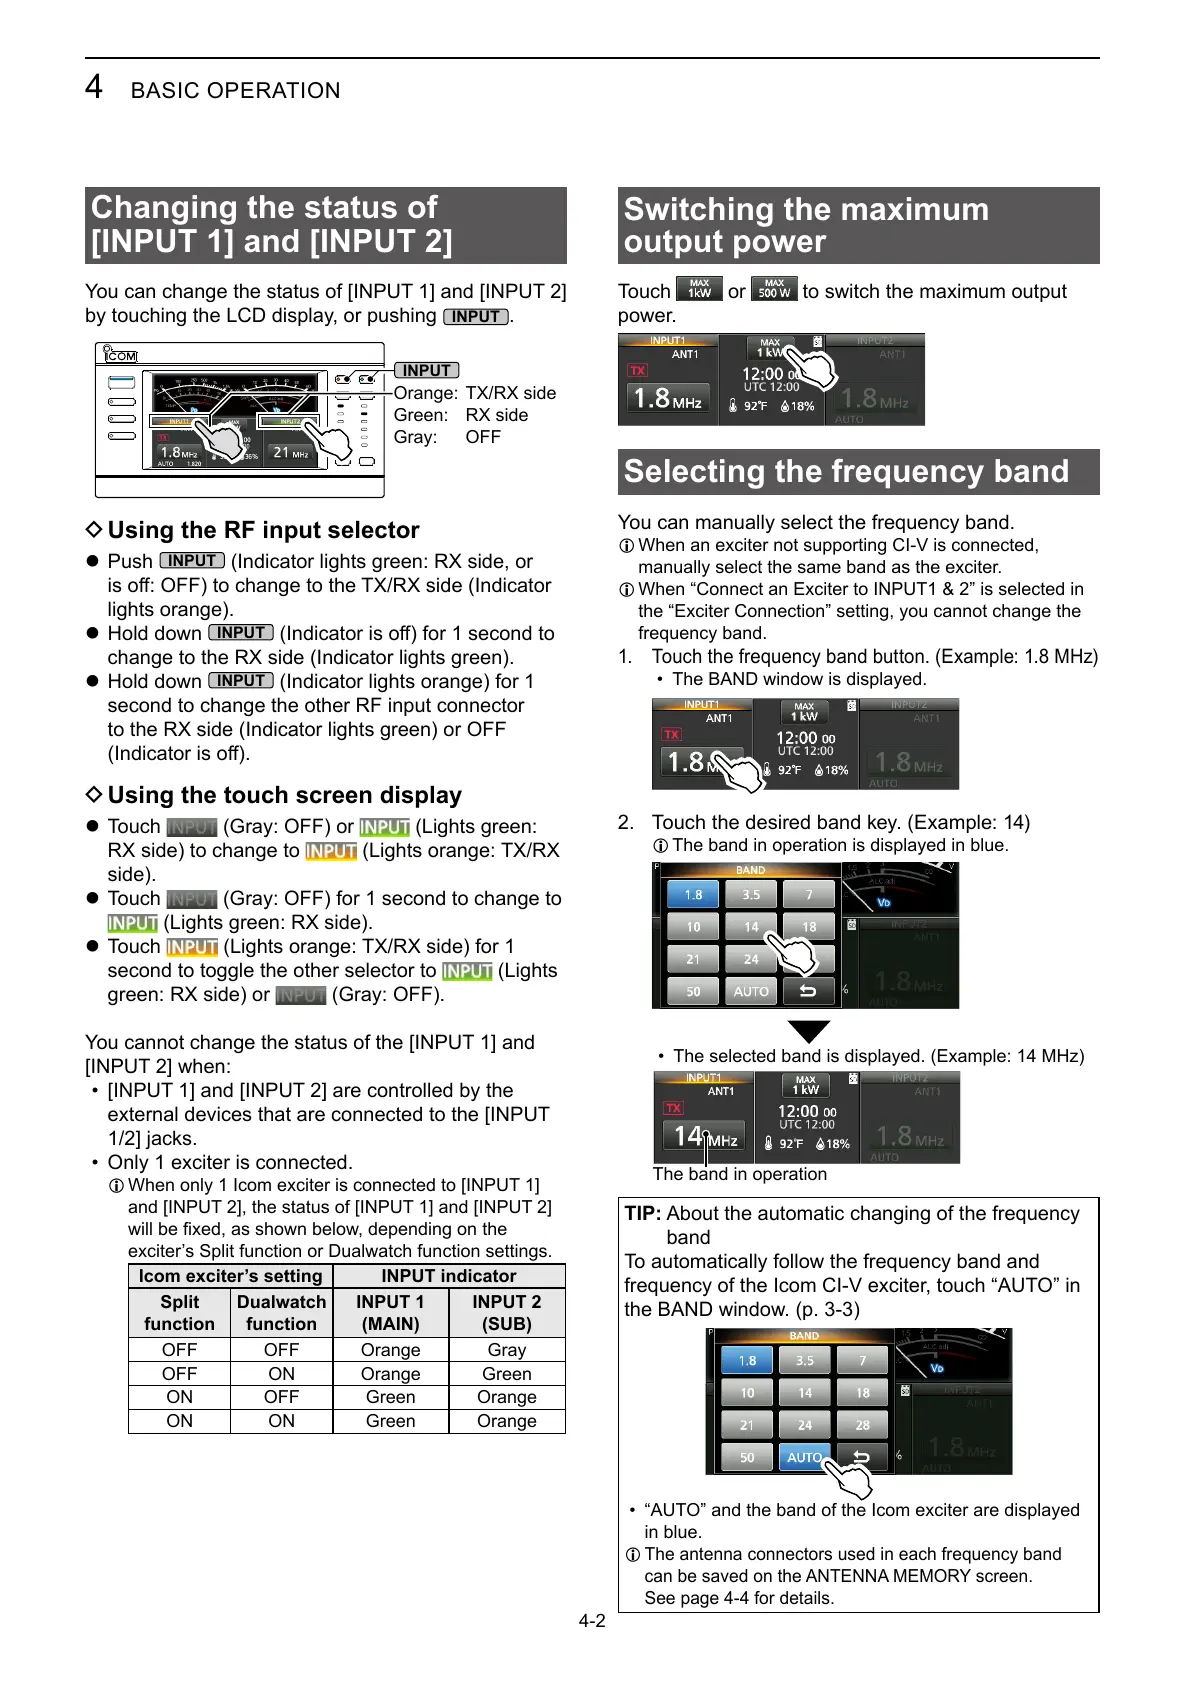
Changing the status of
[INPUT 1] and [INPUT 2]
You can change the status of [INPUT 1] and [INPUT 2]
by touching the LCD display, or pushing
.
Orange: TX/RX side
Green: RX side
Gray: OFF
D Using the RF input selector
z Push
(Indicator lights green: RX side, or
lights orange).
z Hold down
change to the RX side (Indicator lights green).
z Hold down
(Indicator lights orange) for 1
second to change the other RF input connector
to the RX side (Indicator lights green) or OFF
D Using the touch screen display
z Touch (Gray: OFF) or (Lights green:
RX side) to change to (Lights orange: TX/RX
side).
z Touch (Gray: OFF) for 1 second to change to
(Lights green: RX side).
z Touch (Lights orange: TX/RX side) for 1
second to toggle the other selector to (Lights
green: RX side) or (Gray: OFF).
You cannot change the status of the [INPUT 1] and
[INPUT 2] when:
• [INPUT 1] and [INPUT 2] are controlled by the
external devices that are connected to the [INPUT
1/2] jacks.
• Only 1 exciter is connected.
L When only 1 Icom exciter is connected to [INPUT 1]
and [INPUT 2], the status of [INPUT 1] and [INPUT 2]
Icom exciter’s setting INPUT indicator
Split
function
Dualwatch
function
INPUT 1
(MAIN)
INPUT 2
(SUB)
OFF OFF Orange Gray
OFF ON Orange Green
ON OFF Green Orange
ON ON Green Orange
Switching the maximum
output power
Touch or to switch the maximum output
power.
Selecting the frequency band
L When an exciter not supporting CI-V is connected,
manually select the same band as the exciter.
L When “Connect an Exciter to INPUT1 & 2” is selected in
the “Exciter Connection” setting, you cannot change the
1.
• The BAND window is displayed.
2. Touch the desired band key. (Example: 14)
L The band in operation is displayed in blue.
•
The band in operation
TIP:
band
the BAND window. (p. 3-3)
• “AUTO” and the band of the Icom exciter are displayed
in blue.
L
See page 4-4 for details.