New2001
9
New2001New2001
STARTINGINITIALSETUP
2
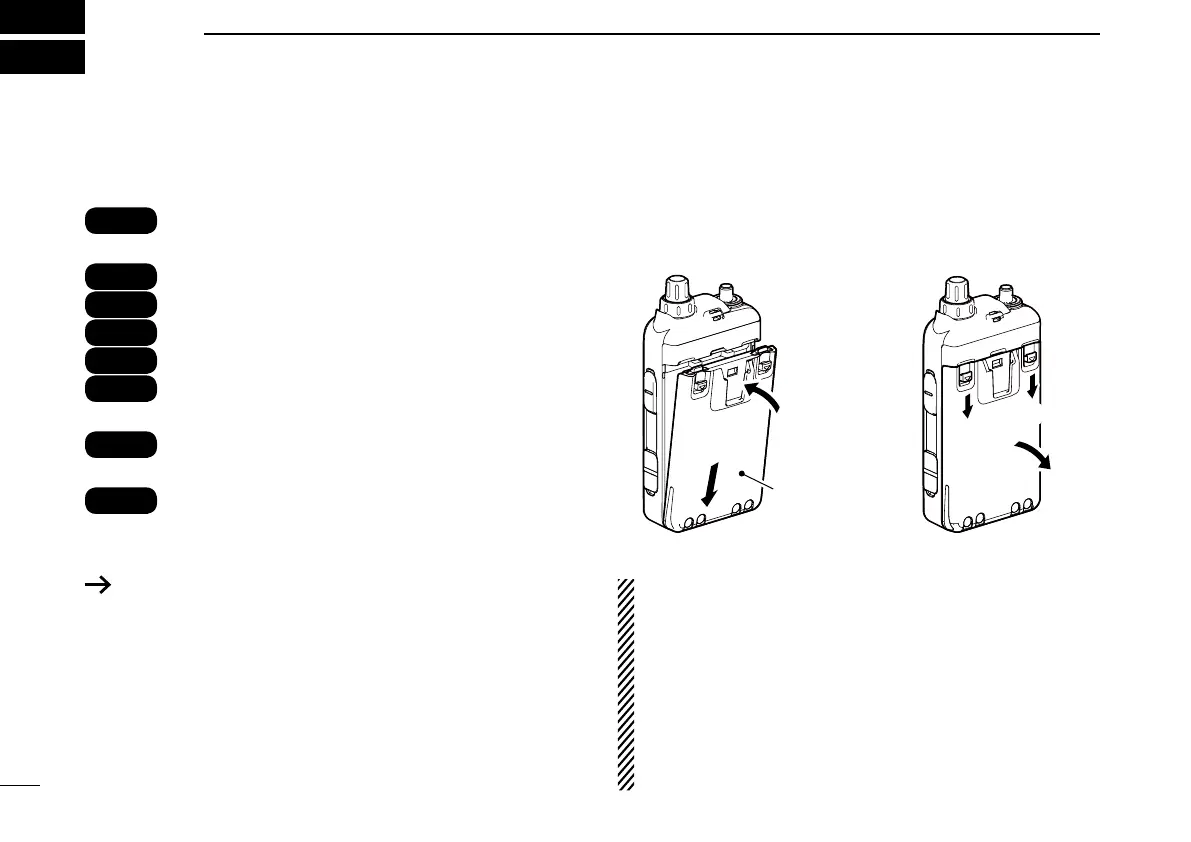
Toattach Todetach
Battery pack
or battery case
Illustration shows the battery pack is attached.
■ AttachingtheBatterypack
Attach or detach the battery pack or battery case, as
illustrated below.
Even when the transceiver power is OFF, a small
current still flows in the radio. Remove the battery
pack or case from the transceiver when not using it
for a long time. Otherwise, the batteries in the pack
or the case will become exhausted.
When the temperature is around 0°C (+32°F) or be-
low, the battery protection function automatically sets
transceiver power to Low1 power (0.5 W), and disables
power selections (High, Mid and Low2).
Before starting D-STAR, the following steps are needed or
recommended.
STEP 1
Attaching the Battery pack, and charging the bat-
tery. (p. 10)
STEP 2
Inserting a microSD card. (p. 10)
STEP 3
Turning ON the transceiver. (p. 11)
STEP 4
Adjust the audio level. (p. 11)
STEP 5
Receiving GPS data. (p. 12)
STEP 6
Entering your Call sign (MY) into the transceiver.
(p. 13)
STEP 7
Register your Call sign at a Gateway repeater.
(p. 15)
STEP 8
Save your initial setting onto the microSD card.
(p. 17)
You have completed the steps!!

 Loading...


