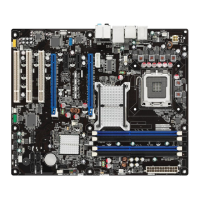
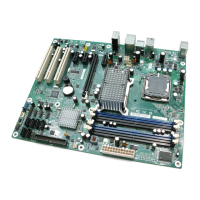
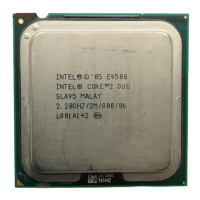
23
2 Installing and Replacing Desktop
Board Components
This chapt er t ells you how t o:
• Install the I / O shield
• I nst all and rem ove the Deskt op Board
• I nst all and rem ove syst em m em ory
• Connect SATA drives
• I nst all a PCI Express Mini Card
• I nst all an I ntel Z- U130 USB Solid- Stat e Drive or com pat ible device
• Connect t o int ernal headers
• Connect syst em fan and power supply cables
• Set the BI OS configurat ion j um per
• Clear passw ords
• Replace the bat t ery
Before You Begin
CAUTION
The procedures in t his chapter assum e fam iliarit y with t he general t erm inology
associat ed wit h personal com puters and wit h t he safet y practices and regulat ory
com pliance required for using and m odifying elect ronic equipm ent.
Disconnect t he com put er from it s power source and from any telecom m unicat ions
links, net works, or m odem s before perform ing any of t he procedures described in t his
chapt er. Failure t o disconnect pow er, telecom m unications links, net w orks, or m odem s
before y ou open t he com put er or perform any procedures can result in personal injury
or equipm ent dam age. Som e cir cuit ry on t he board can cont inue t o operat e even
though the front panel power butt on is off.
Follow t hese guidelines before you begin inst alling the Deskt op Board:
• Always follow the st eps in each procedur e in t he correct order.
• Set up a log to record inform at ion about your com put er, such as m odel, serial
num bers, inst alled opt ions, and configurat ion information.
• Elect rost at ic discharge (ESD) can dam age com ponent s. Perform the procedures
described in this chapt er only at an ESD workst ation using an ant ist atic wrist st rap
and a conduct ive foam pad. I f such a st ation is not available, you can provide
som e ESD prot ect ion by wearing an antist at ic wrist st rap and att aching it to a
m et al part of the com puter chassis.
 Loading...
