24 xGen Lite Installation and Programming Guide
To enroll a module:
1. Press and hold the LEARN button until the LED next to the button blinks, then
release button.
2. The panel is now in automatic enrollment mode and will search for new
devices.
3. The D5 LED will stop blinking to indicate enrollment mode is finished.
4. Proceed to programming the system and the additional devices.
Enrollment can also be initiated:
• Using the NXG-1820 keypad: press Menu, Installer PIN, ENTER, go to
Program > Devices > System Devices > Control > Enroll Function – 0 =
Inactive – Automatic Enroll.
• Using the xGenLite Web Server: click the Advanced Menu, go to Devices >
System > Control > Enroll Function > Automatic Enroll, click Save.
• Using DLX900: click Devices > Device Info > Auto Enroll.
Deleting Modules
Devices such as zone expanders, output expanders, and keypads can be
removed from the system by deleting the serial number from the device
database.
To delete a module:
1. On the keypad press Menu, Installer PIN, ENTER, go to Program > Devices.
This menu will be displayed:
1. System Devices
1. Control
2. Keypad
3. Zone Exp
4. Output Exp
5. Power Supply
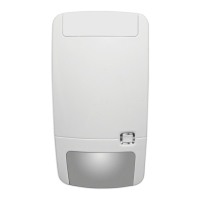
D5 LED located next
to the LEARN button
LEARN button
 Loading...