56 xGen Lite Installation and Programming Guide
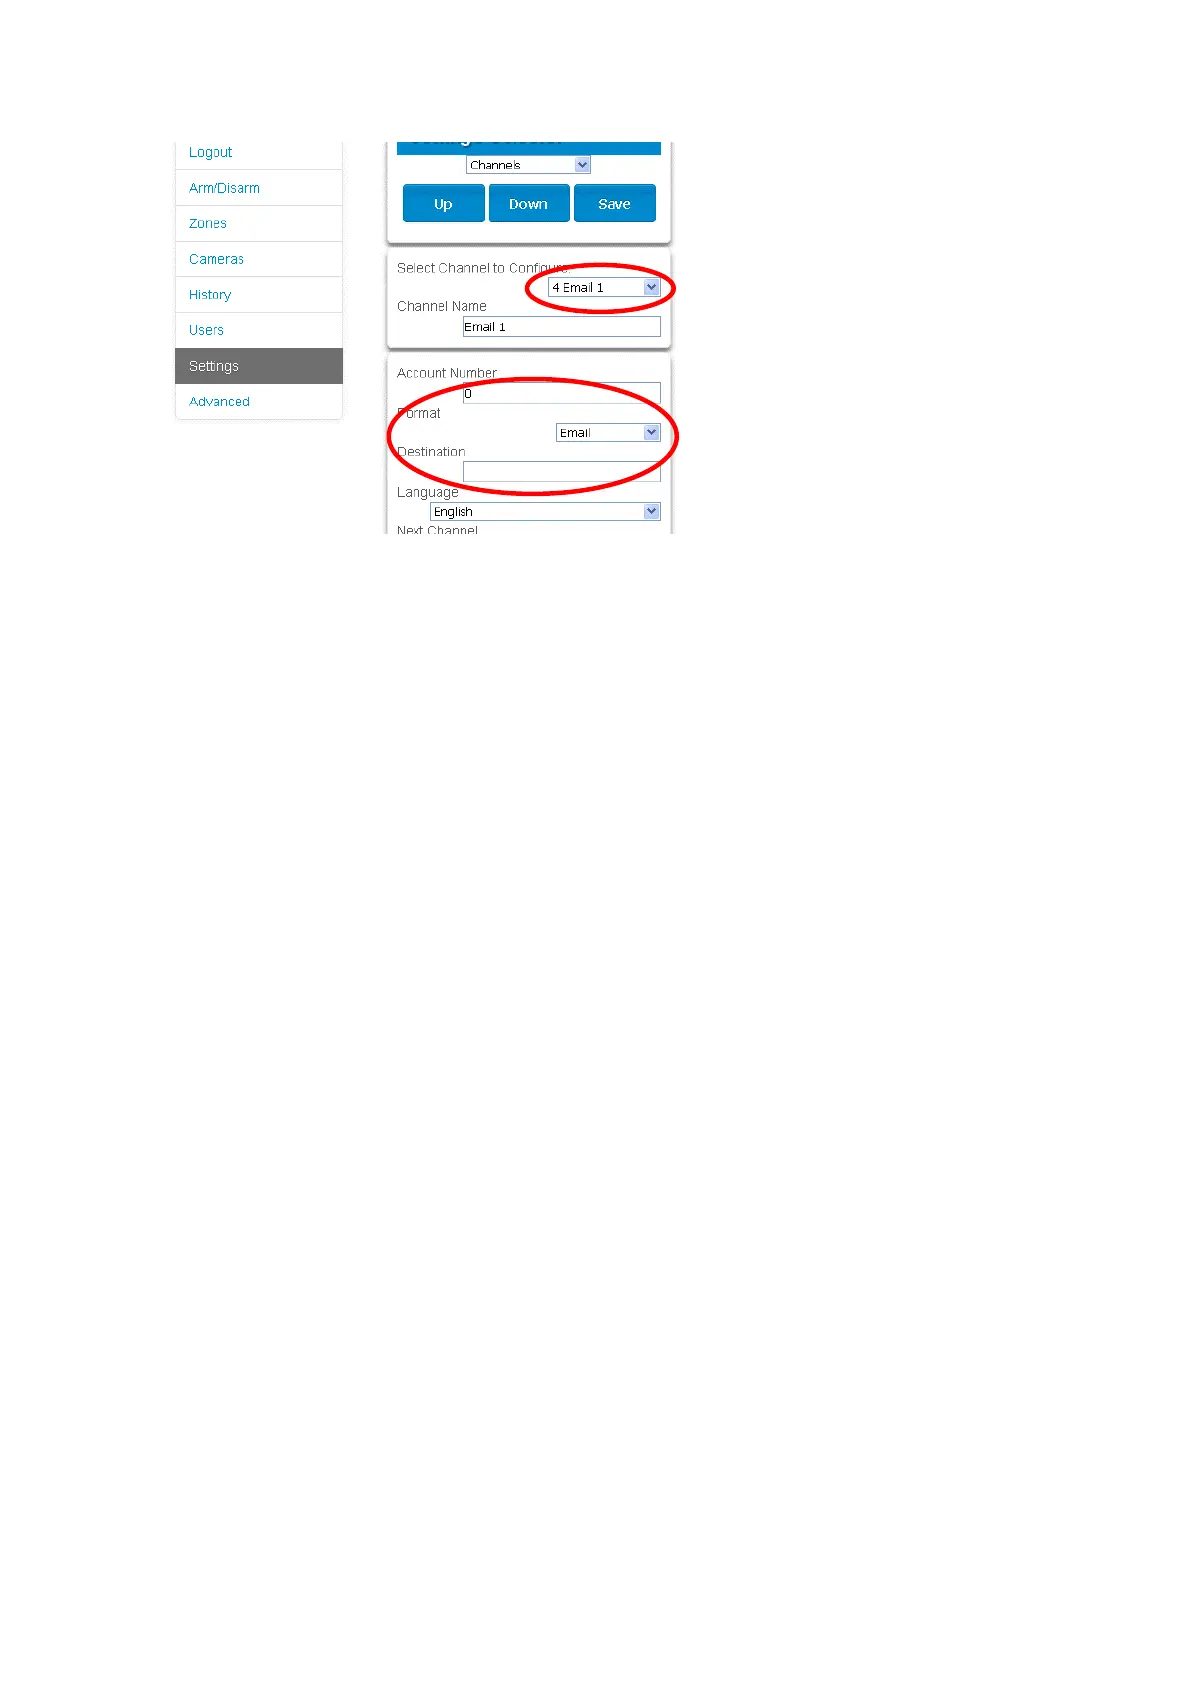
4. Click “Select Channel to Configure” where the Format is already set to Email.
5. Enter an email address in the Destination field.
6. Select an Event List.
7. Enter a Channel Name for future reference.
8. Click Save.
Installer and Engineer user types can customize Event List for selective
reporting.
Configuring OH Reports
In certain applications, the xGenLite can be configured to support non-
provisioned Osborne-Hoffman Reporting. This is done by entering specially
formatted text in Channel > Destination.
Setting Up OH Reporting
1. The panel must not be provisioned in the UltraConnect Servers.
2. This configuration must be in reporting Channel 1. Click Settings > Channels
to view Channel 1.
3. Select one the OH options in the channels report format field. Between CID
and SIA; and between Cellular, IP, and Dual path.
4. In the Destination field, enter the OH Configuration using the format
ip_address:ip_port:R:L:Reporting_period:Supervision_port
LAN_Fault_Delay:Cell_fault_Delay. See below for details.
OH Configuration
Only ip_address:ip_port are mandatory to switch this feature on. Consult your
central station for the correct values.
ip_address : ip_port : R : L : Polling interval_period : Supervision_port
Field description:
• ip_address: Public IP address of the OH Net Receiver.
 Loading...