34410A/11A/L4411A User’s Guide 39
Features and Functions 2
• Once you have entered a menu, use the or keys to view and select a
menu
item from those displayed on the second line.
The selected (or default) item is displayed in full brightness (for example, dBM in the
menu above). All other choices are displayed in half brightness (OFF, dB, or STATS
above).
The menu selections scroll, but do not wrap. Arrows indicate additional selections, if
any, to the left or right. In the example above, the arrow indicates at least one more
selection to the right of STATS.
• To confirm a selection, press
the key, which also takes you to the next menu
level. If you are already at the last level in the menu, pressing exits the menu.
• To review a menu configuration,
press repeatedly to view, in order, the current
selections, and then exit the menu.
• To step through the remaining menu choices after making the desired selections, hol
d
down the key.
• The key that you used to enter the menu (for
example, or ), serves to
confirm selections and advance in the menu exactly like
the key.
• To exit a menu before completing its sequence,
press . If you have made
changes, you are prompted whether to save or discard them.
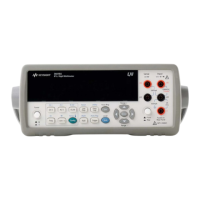
Annunciators
There are several annunciators, mostly in a line at the top of the display. Each
annunciator lights to indicate a particular non–default meter state:
•
* A measurement is in progress (the “sample annunciator”).
•Hi–Z For DC voltage measurements in the 100 mV, 1 V or 10 V ranges, an input
impedance of >10 GΩ is configured.
In some menus, the second display is used to enter a number or text. See“Front Panel
Alphanumeric Character Entry” on page 43 for further information.
In a few cases, long strings are displayed in a menu (for example the USB ID string) that
require scrolling with the and keys in order to view the entire string.