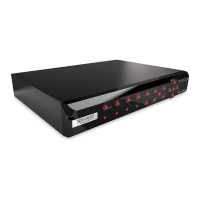
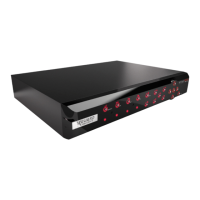
Hybrid DVR (HD Series)
7
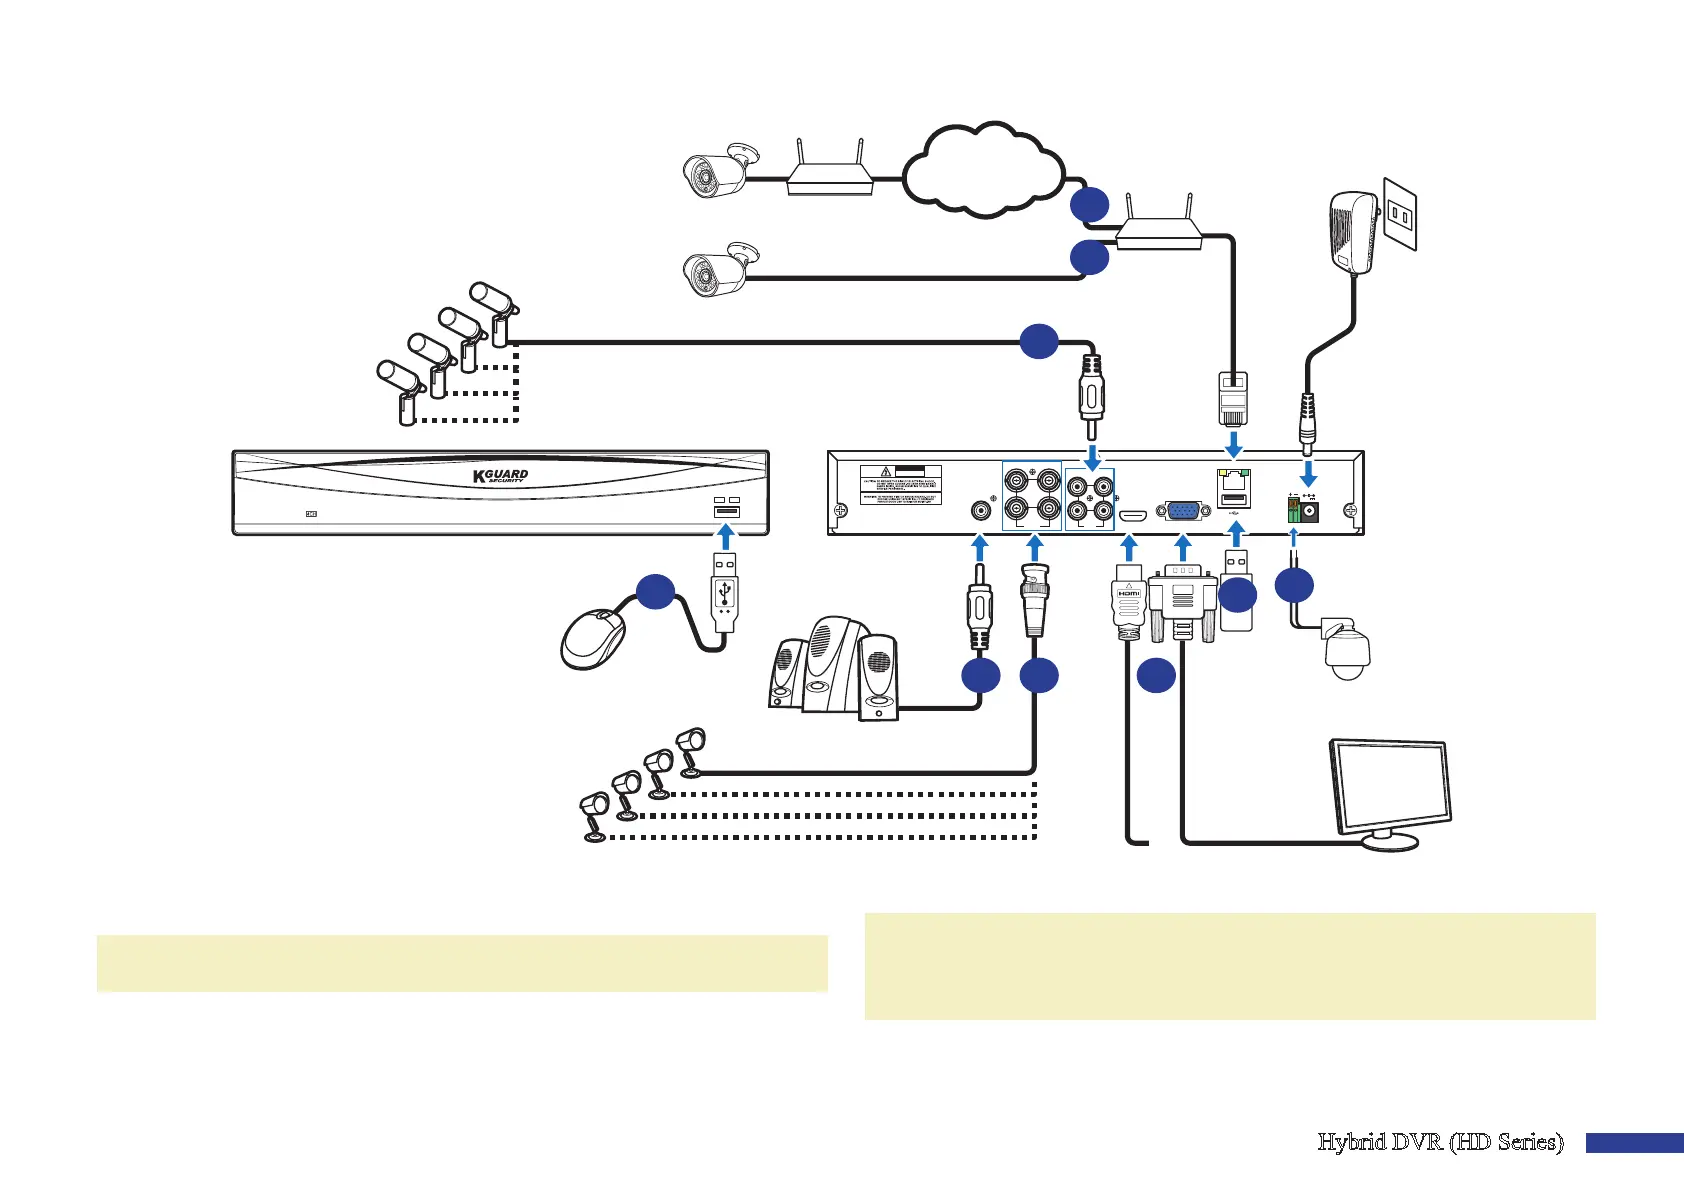
Connecon Diagram
VGA
12V
LAN
CAUTION
RISK OF ELECTRIC SHOCK
DO NOT OPEN
HDMI
AUDIO
OUTPUT
1
2
3
4
1
2
3
4
VIDEO
INPUT
AUDIO
INPUT
RS485
Hybrid
Digital Video Recorder
or
Internet
Router
Front Rear
4
6
3
1
5
78
Router
9
2
1) You can connect to other IP cameras remotely over the Internet.
2) Connect a CAT.5E or higher RJ45 Ethernet cable for local connecvity.
You can connect to other IP cameras through your local network.
NOTE: To view the ONVIF IP camera(s), you need to add the camera(s) rst via OSD menu.
Please see “Main Menu > Parameter > Display > IP Channels & Image Control” on page 13.
3) Connect the microphone(s) and/or audio-supported camera(s), if you want to
listen to the audio sound from the cameras.
4) Connects to a Speed dome camera via RS485.
5) Use the USB ash disk for backup or system upgrade.
6) Connect the video output of the DVR to the TV or monitor via HDMI or VGA
connecon.
7) Connect the BNC plug of the camera’s extension cable to the Video input
connector on the rear of the DVR.
NOTE:
-Please make sure analog channels are enabled. See “Main Menu > Parameter > Display >
Analog Channels & Output” on page 11.
-This DVR supports cameras with UTC funcon (Nextchip Coaxial Protocol).
8) Connect speakers if you want to listen to the live audio sound or audio playback from
the DVR.
9) You need the USB mouse to go through the inial setup menus once the DVR is
powered on.