Issue: 08/2012
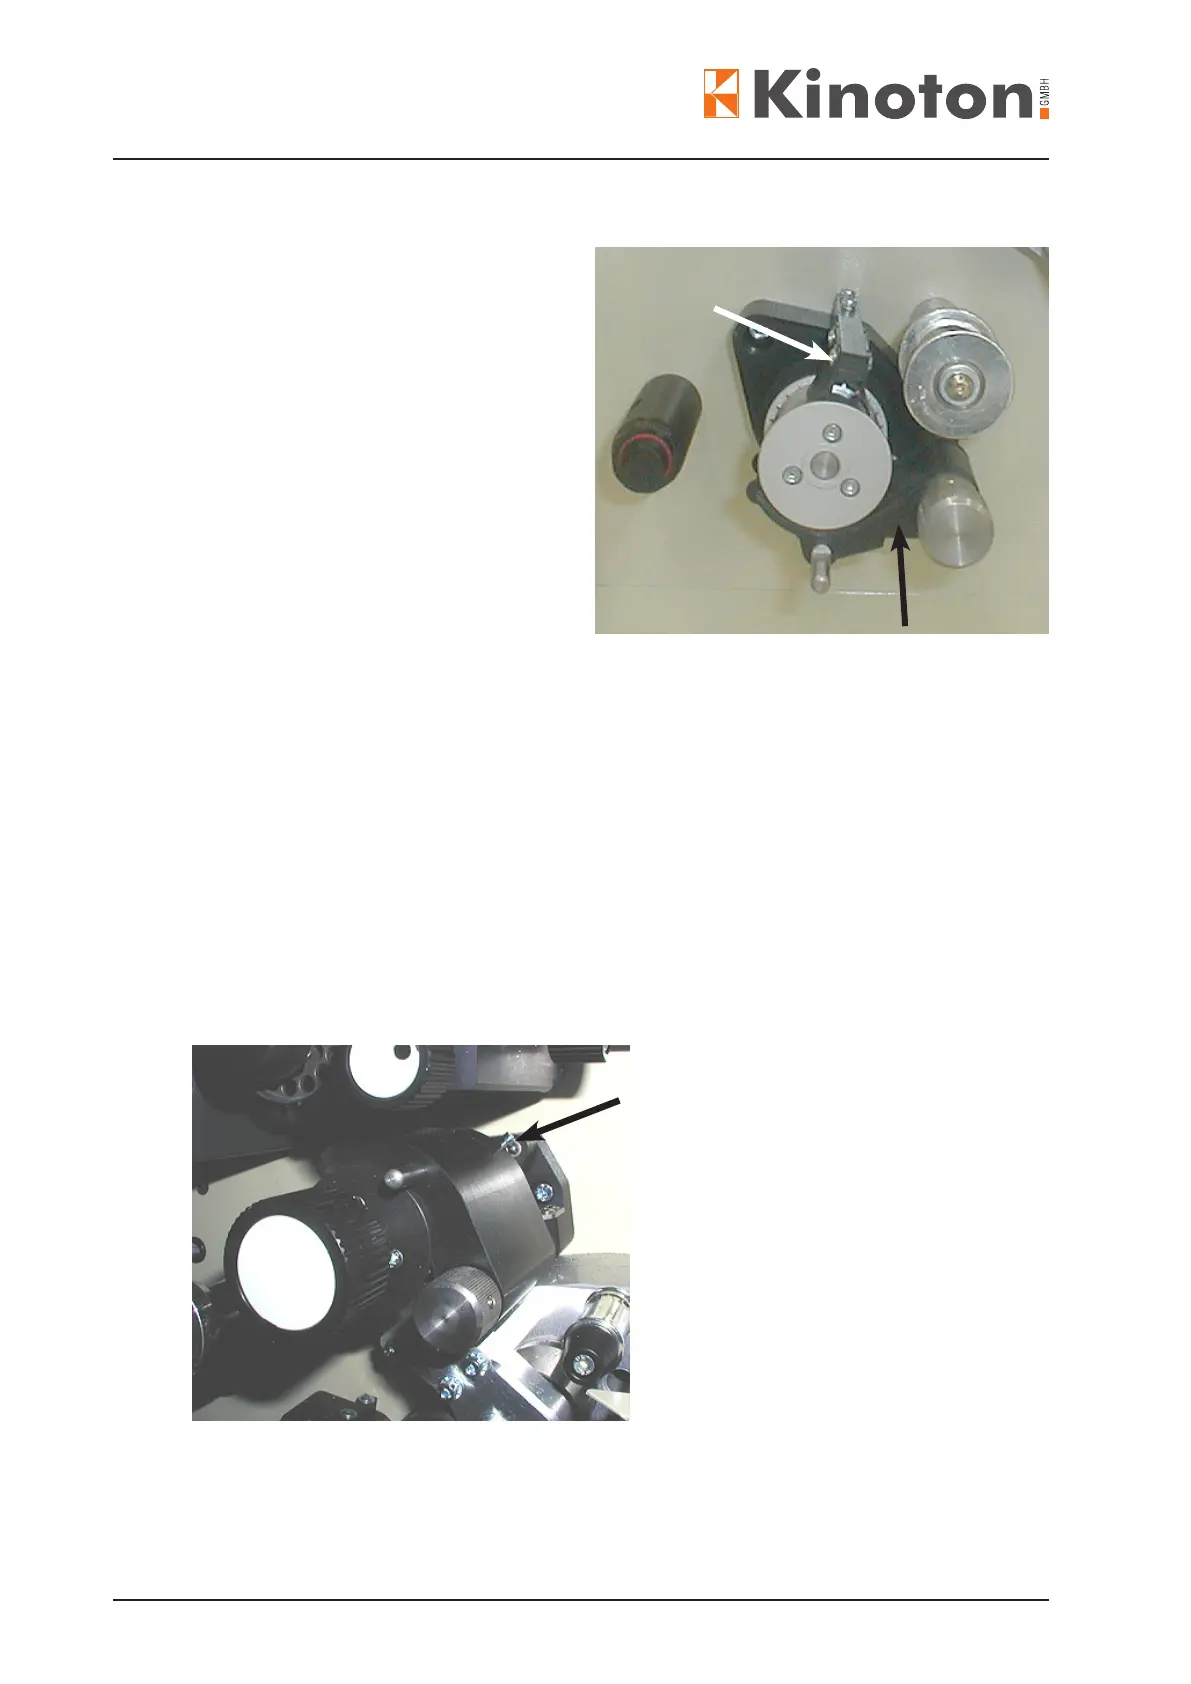
• Remove the pad shoe (black arrow)
• Loosen the lm stripper setscrews
(2 or 4) and remove the lm stripper
(white arrow).
• On the combined bottom sprocket
remove the handwheel:
- Remove the white cover.
- Remove the Allen xing screw
- Remove the handwheel.
• Turn the sprocket locking screw (on
sprocket surface) anticlockwise ve
to six turns to loosen the sprocket.
• Pull the sprocket from its shaft.
• Install the sprocket onto the shaft with a slight counter-pressure on the belt wheel in
the projector.
• Tighten the locking screw on the sprocket again.
X
The sprocket end play should be between 0.01 mm and 0.03 mm.
• Put on the lm stripper again and fasten the stripper setscrews in a way that it does
not touch the sprocket surface.
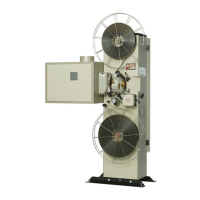
• Grease the pad shoe shaft with Cardan oil and then put the pad shoe onto the shaft.
• Turn the adjusting screw (arrow) until a gap of 2 lm layers is generated between the
sprocket and the pad shoe.
• After adjustment paint-lock the adjusting screw.