4 Remove the rear cover. See “Rear door and cover removal” on page 234.
5 Remove the power supply. See “Power supply removal” on page 216.
6 Remove the duplex assembly. See “Duplex assembly removal” on page 218.
7 Release the cut cable.
Note: Pay attention to the cable route.
8 Open the controller board access cover, and then disconnect the cable.
Right side removals
Right cover removal
1 Open the front door.
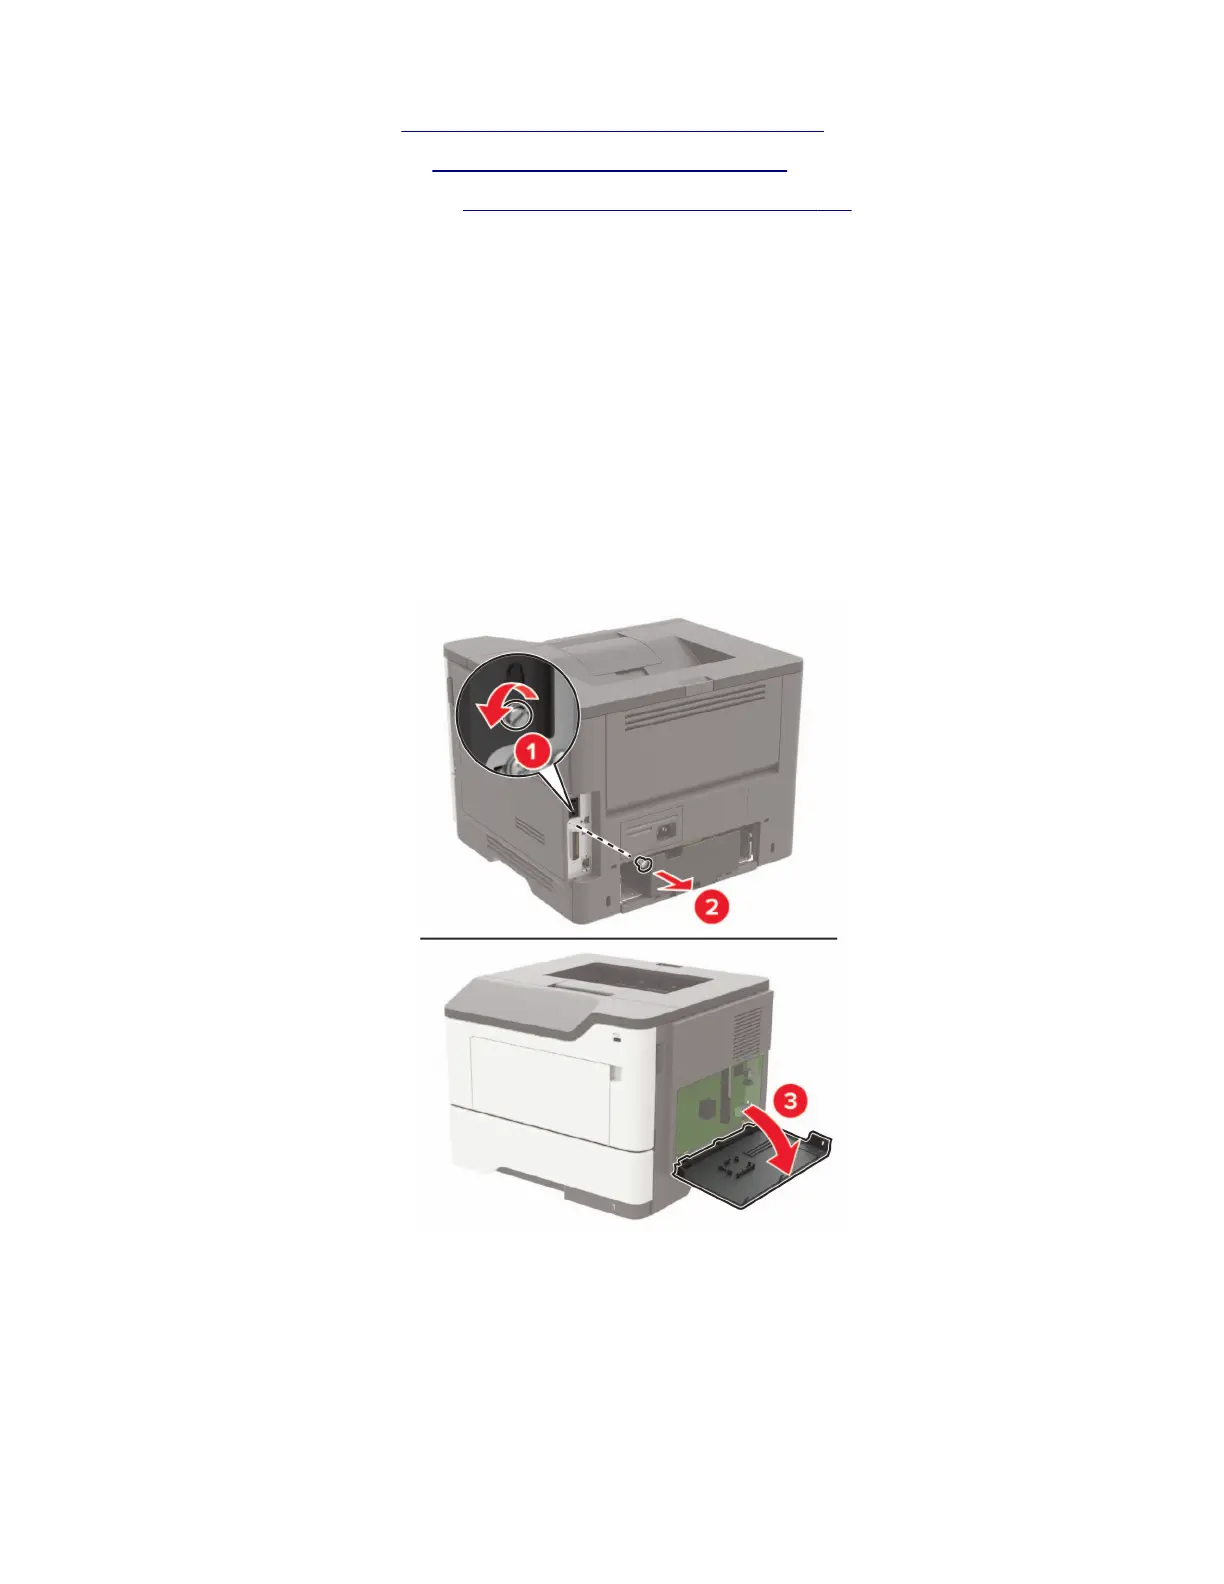
2 Using a flat-head screwdriver, open the controller board access cover.
3 Position the printer on its left side, and then remove the screw (A).
4600-830, -835, -895
Parts removal
186

 Loading...