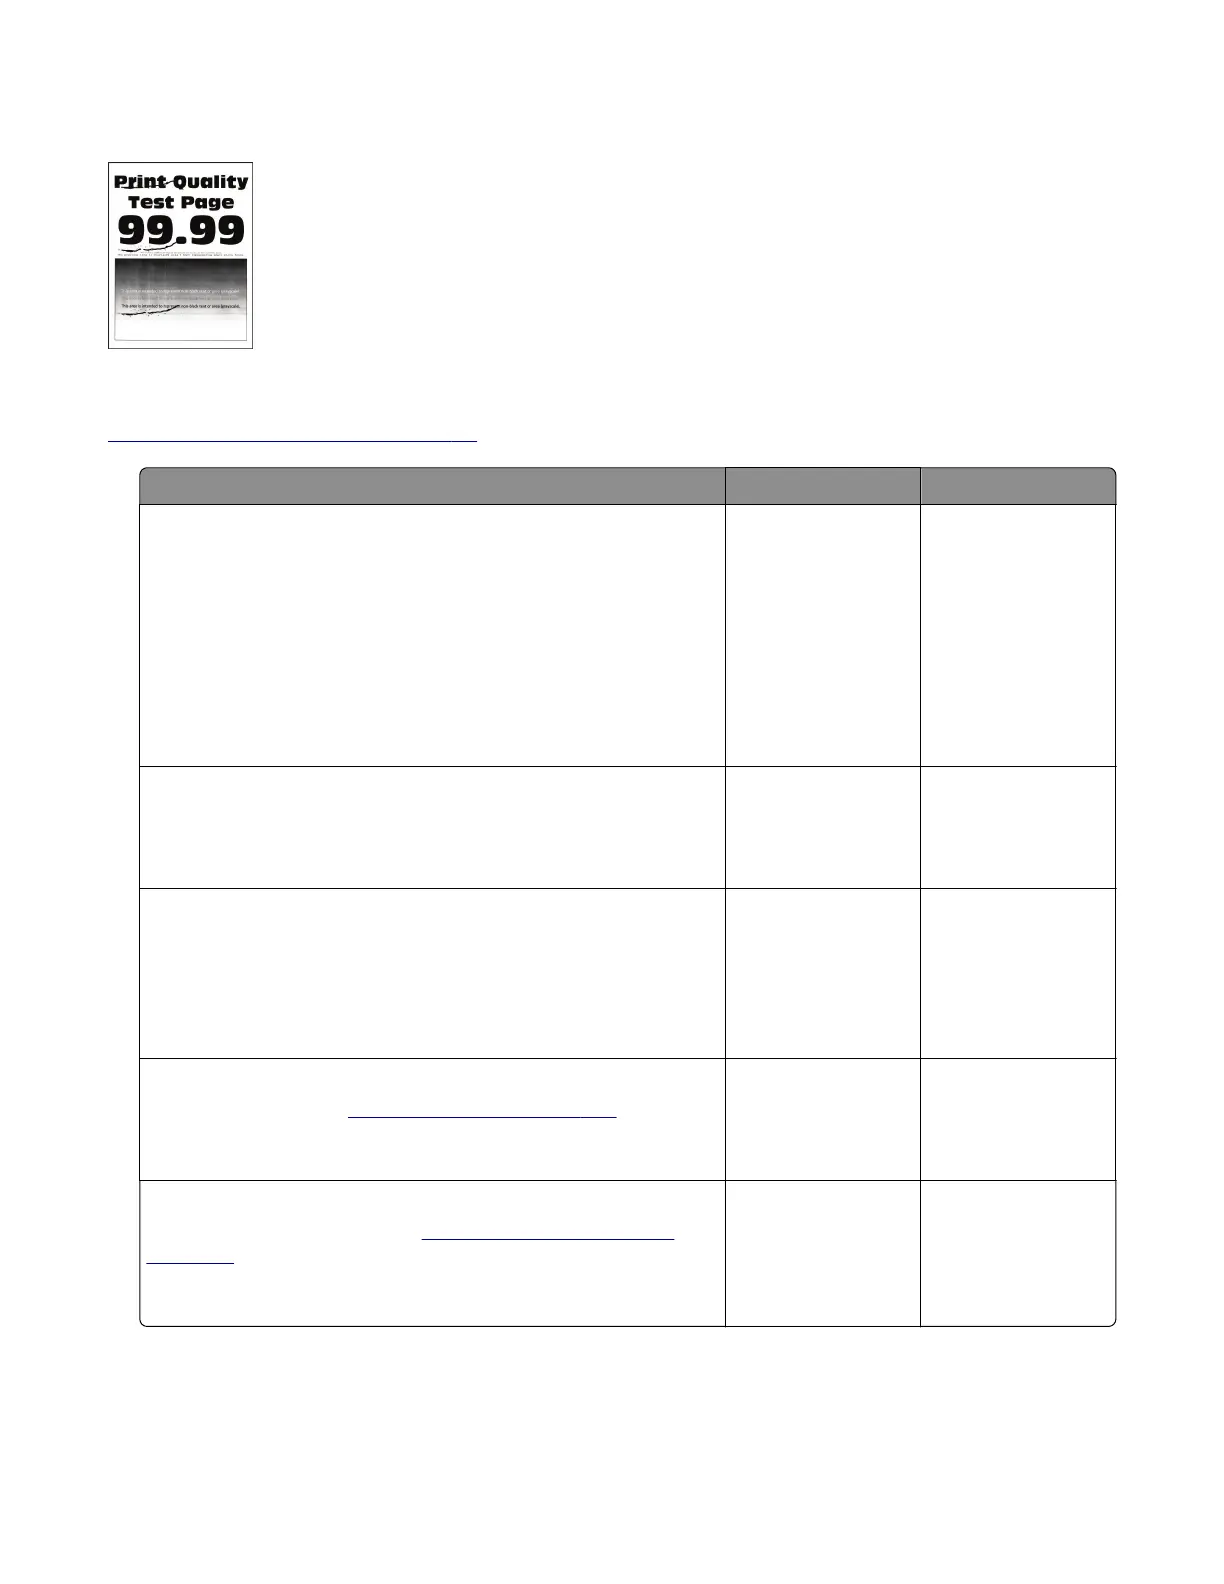
Repeating defects check
Note: Before performing this print quality check, go to the control panel home screen and navigate to
Settings > Troubleshooting > Print Quality Test Pages, and then perform the Initial print quality check. See
“Initial print quality check” on page 26.
Actions Yes No
Step 1
Using the Print Quality Test Pages, check if the distance between
the repeating defects is equal to any of the following:
• 97 mm (3.82 in.)
• 47 mm (1.85 in.)
• 38 mm (1.5 in.)
Does the distance between the repeating defects match any of the
measurements?
Go to step 2. Go to step 3.
Step 2
Replace the imaging unit.
Does the problem remain?
Go to step 3. The problem is
solved.
Step 3
Check if the distance between repeating defects is equal to 3.15
inches (85 mm).
Does the distance between repeating defects equal to 3.15 inches
(85 mm)?
Go to step 4. Contact the next
level of support.
Step 4
Replace the fuser. See
“Fuser removal” on page 234.
Does the problem remain?
Go to step 5. The problem is
solved.
Step 5
Replace the transfer roller. See
“Transfer roller removal” on
page 206.
Does the problem remain?
Contact the next
level of support.
The problem is
solved.
4600-830, -835, -895
Diagnostics and troubleshooting
45

 Loading...