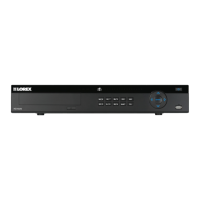
8.1. Product Warranty: Select the product warranty you created in the previous
steps.
8.2. Device Name: Enter a name for your device. You can enter your name, busi-
ness name, or anything of your choice. This is used to identify this device in
your list of activated DDNS accounts that appears anytime you visit the DDNS
page.
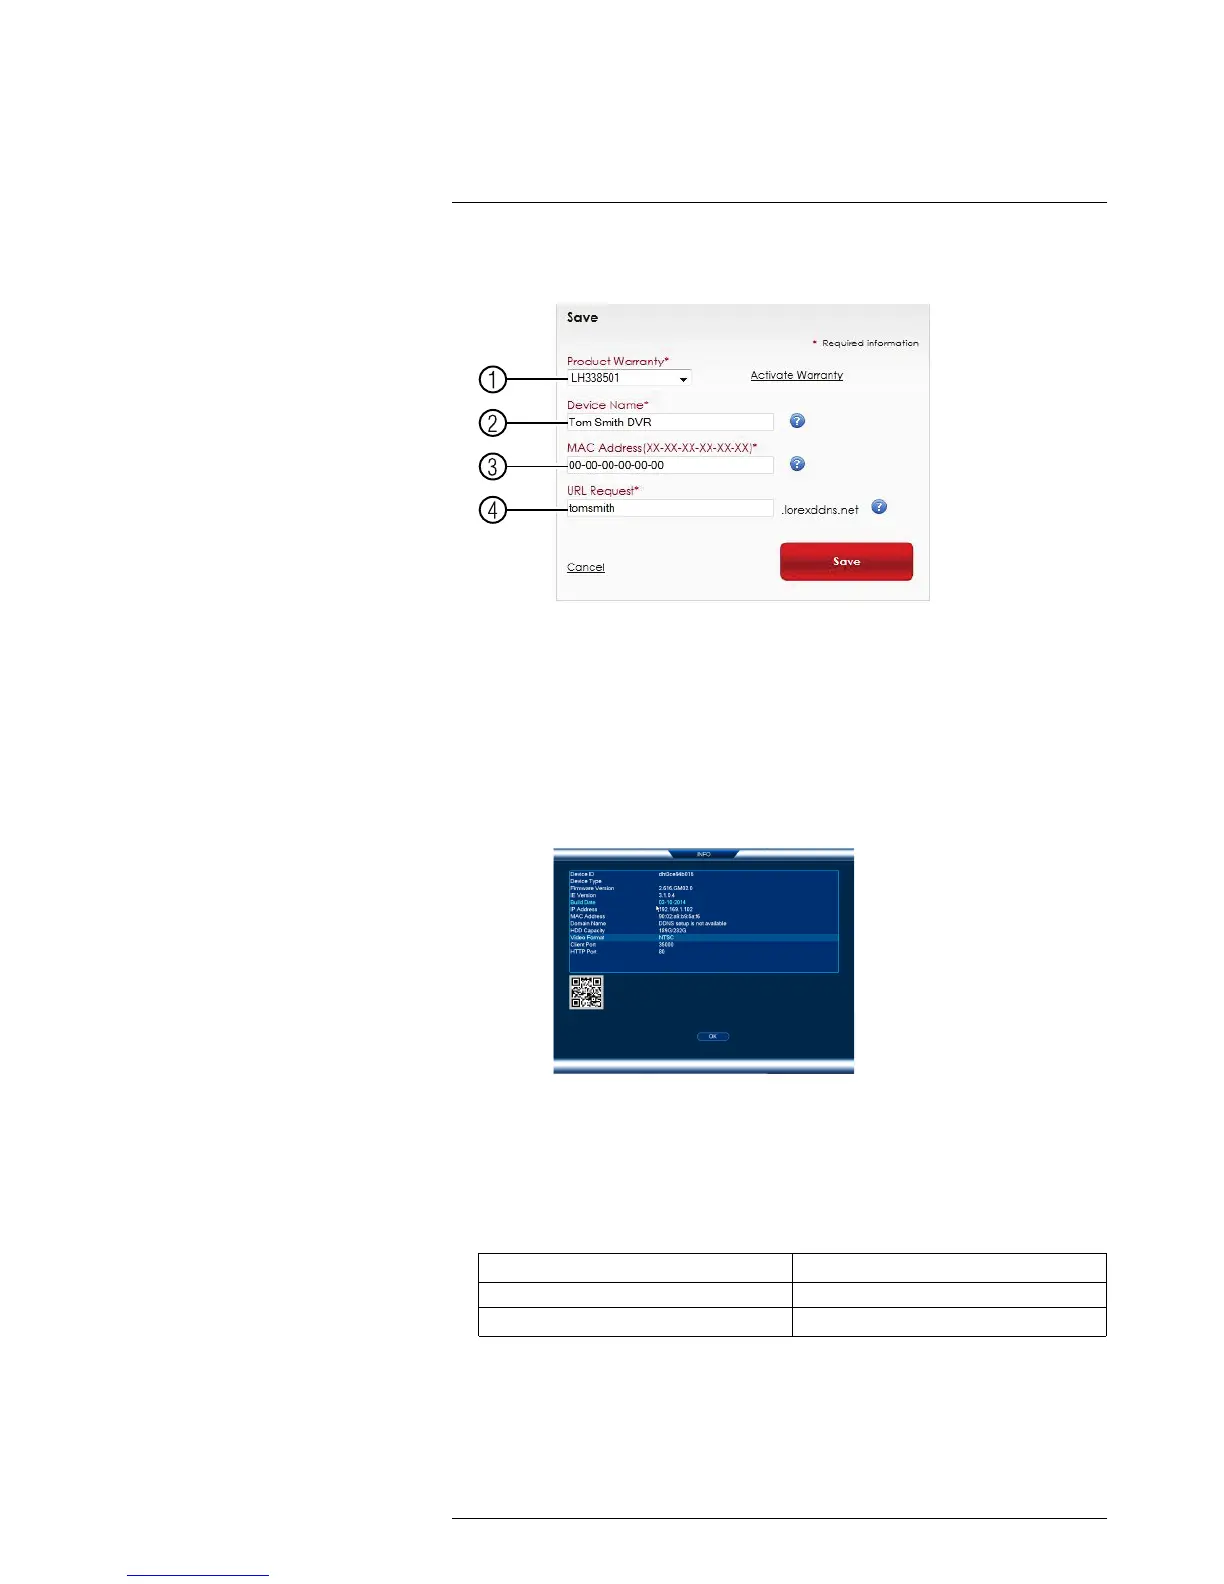
8.3. MAC Address: Enter the MAC address of your Lorex product. To find the
MAC address:
• Right-click to open the Quick Menu and click Info. Enter the system user
name (default: admin) and password (default: 000000).
8.4. URL Request: Enter the web site address that will be used to connect to your
Lorex product. For example, if you enter tomsmith, the address to access your
video will be http://www.tomsmith.lorexddns.net.
9. Click Save to register your product for DDNS. A confirmation email will be sent to the
email address used to register for My Lorex. You will need this information to ena-
ble remote access to your system. Record your information below:
Domain name/URL Request:
DDNS User Name:
Device DDNS password:
20.2.3 Step 3 of 4: Enable DDNS on the System
To enable DDNS in your System:
1. Right-click and click Main Menu. Enter the system password if prompted.
#LX400021; r. 4.0/30344/30494; en-US
148
 Loading...