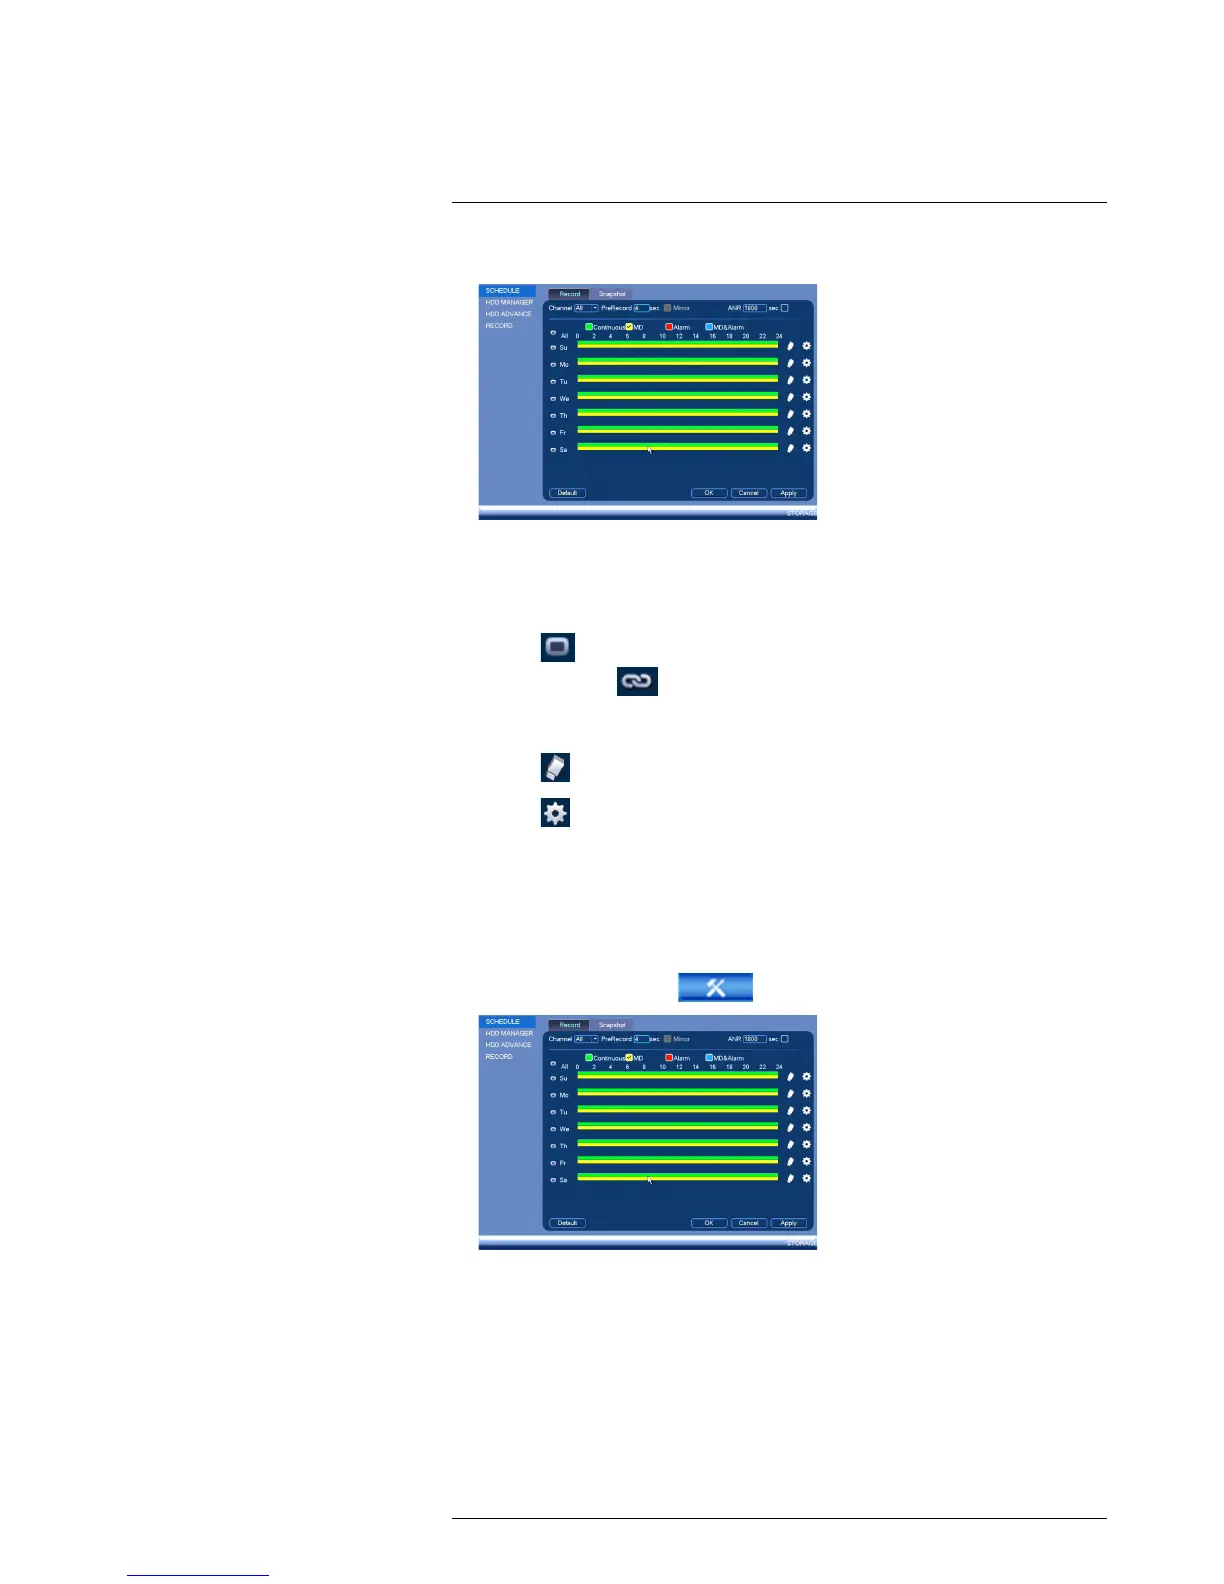
• Check Continuous or MD (motion detection) to select the recording type you
would like to configure.
• Click and drag on each day to customize the recording schedule. The schedule is
set up as a grid, which each block representing one hour.
• Click
next to All to link the recording schedules for all days. The icon for a
day changes to
when days are linked. You can also click the boxes next to
individual days to link them to each other. If the recording schedule is linked,
changes made to one of the days will apply to every day that is linked.
• Click
to disable all recording of the selected type on the selected day.
• Click
if you need to set a more precise schedule down to the minute.
4. Click OK to save changes.
16.3.16 Configuring Pre-Recording
The system can pre-record video when motion detection events occur.
To configure pre-recording:
1. From the Main Menu, click
and then click Storage>Schedule>Record.
2. Under Channel, select the camera you would like to configure or select All.
3. Under PreRecord, select the duration for pre-recording.
4. Click OK to save settings.
16.3.17 Configuring the Snapshot Schedule
You can set a schedule for recording snapshots from the cameras.
To set up the snapshot schedule:
 Loading...