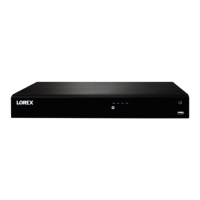
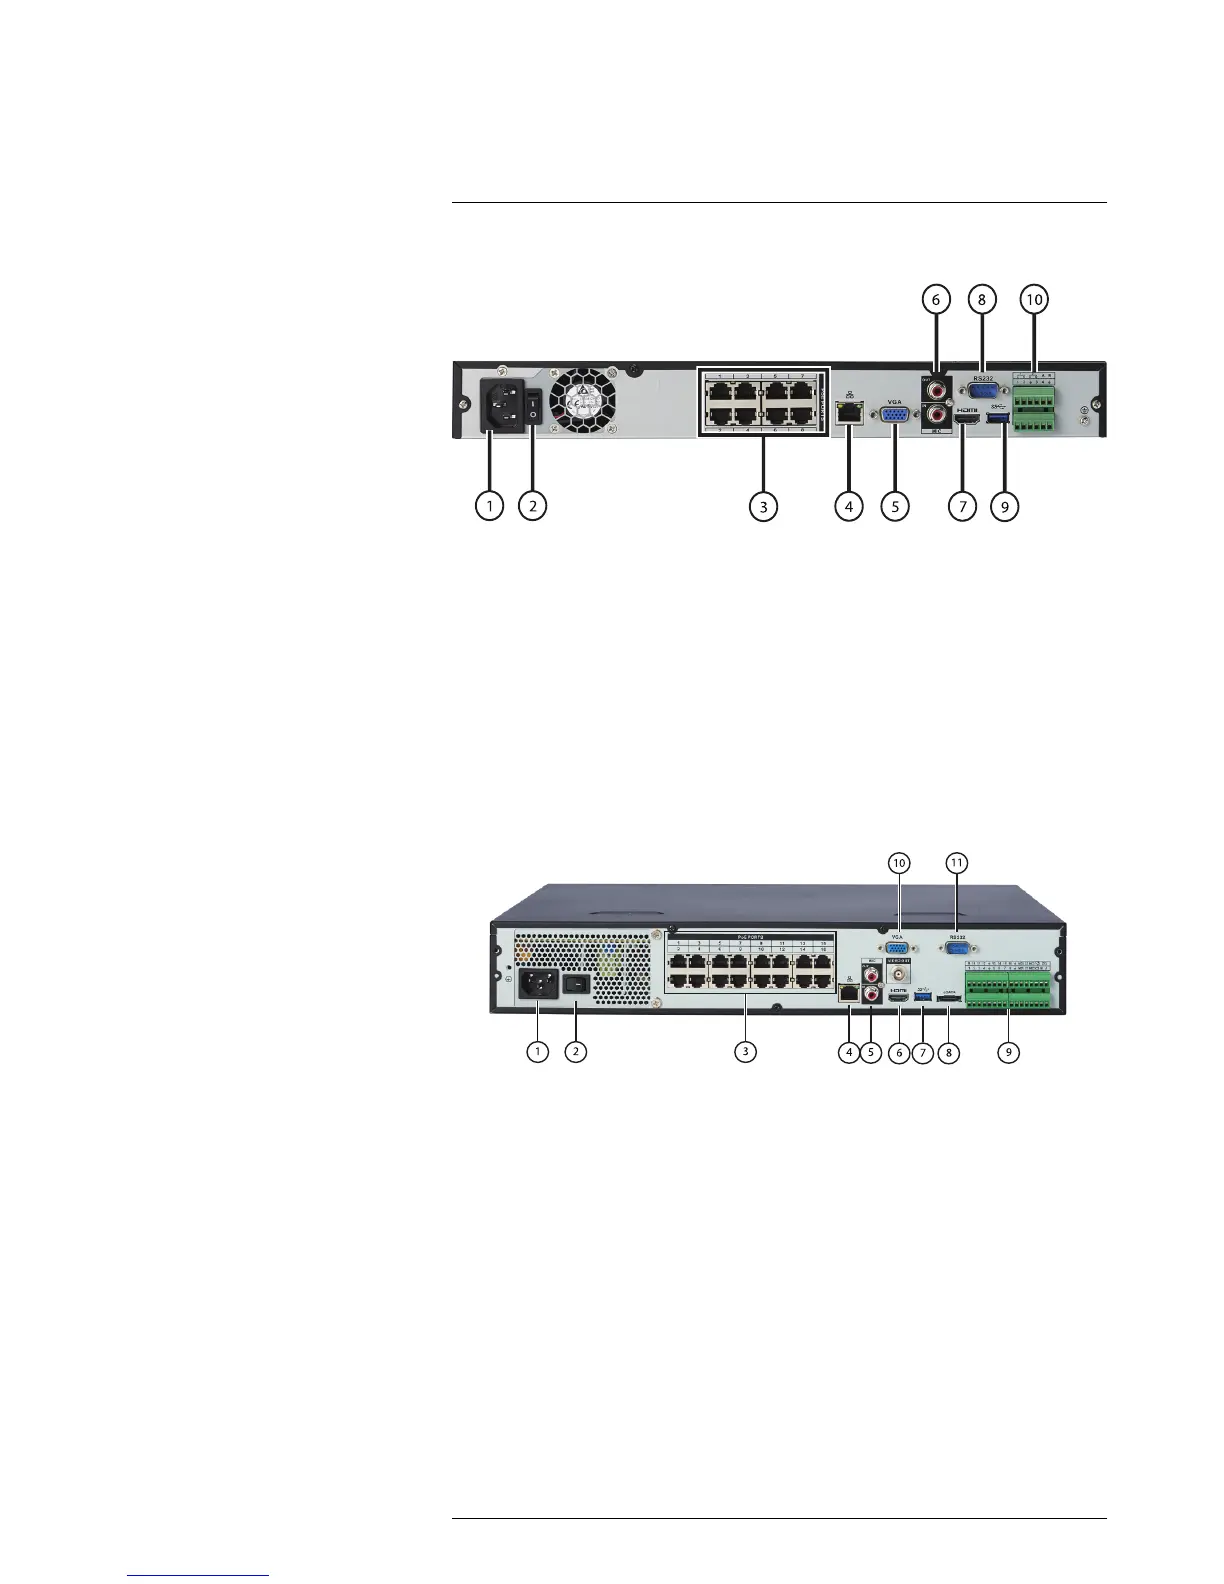
1. Power input: Connect the included AC power cable.
2. On / Off switch: Turns the NVR on or off.
3. PoE Ports: Connect IP cameras. Integrated PoE (Power Over Ethernet) ports provide
power to cameras and video connection to NVR.
4. LAN: Connect a CAT 5 RJ45 Ethernet cable for local and remote connectivity.
5. VGA: Connect a VGA monitor (not included) to view the system interface.
6. Audio IN/Audio OUT: Service only; not supported.
7. HDMI: Connect to an HDMI monitor or TV (not included) to view the system interface.
8. R232: Service only; not supported.
9. USB port(s): Connect a USB mouse (included) or USB thumb drive (not included)
for data backup or firmware updates.
10. Alarm block: Connect alarm/sensor devices (not included).
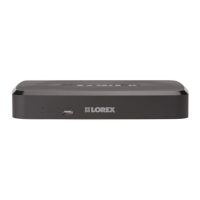
NR8163 / NR8326
1. Power input: Connect the included AC power cable.
2. On / Off switch: Turns the NVR on or off.
3. PoE Ports: Connect IP cameras. Integrated PoE (Power Over Ethernet) ports provide
power to cameras and video connection to NVR.
4. LAN: Connect a CAT 5 RJ45 Ethernet cable for local and remote connectivity.
5. Audio IN / Audio OUT: Service only; not supported.
6. HDMI: Connect to an HDMI monitor or TV (not included) to view the system interface.
7. USB port(s): Connect a USB mouse or USB thumb drive (not included) for data
backup or firmware updates.
8. eSATA: Connect a self-powered external eSATA HDD (not included) to extend the
storage capacity of the system or for data backup.
9. Alarm block: Connect alarm/sensor devices (not included).
10. VGA: Connect a VGA monitor (not included) to view the system interface.
11. RS232: Service only; not supported.
 Loading...