29
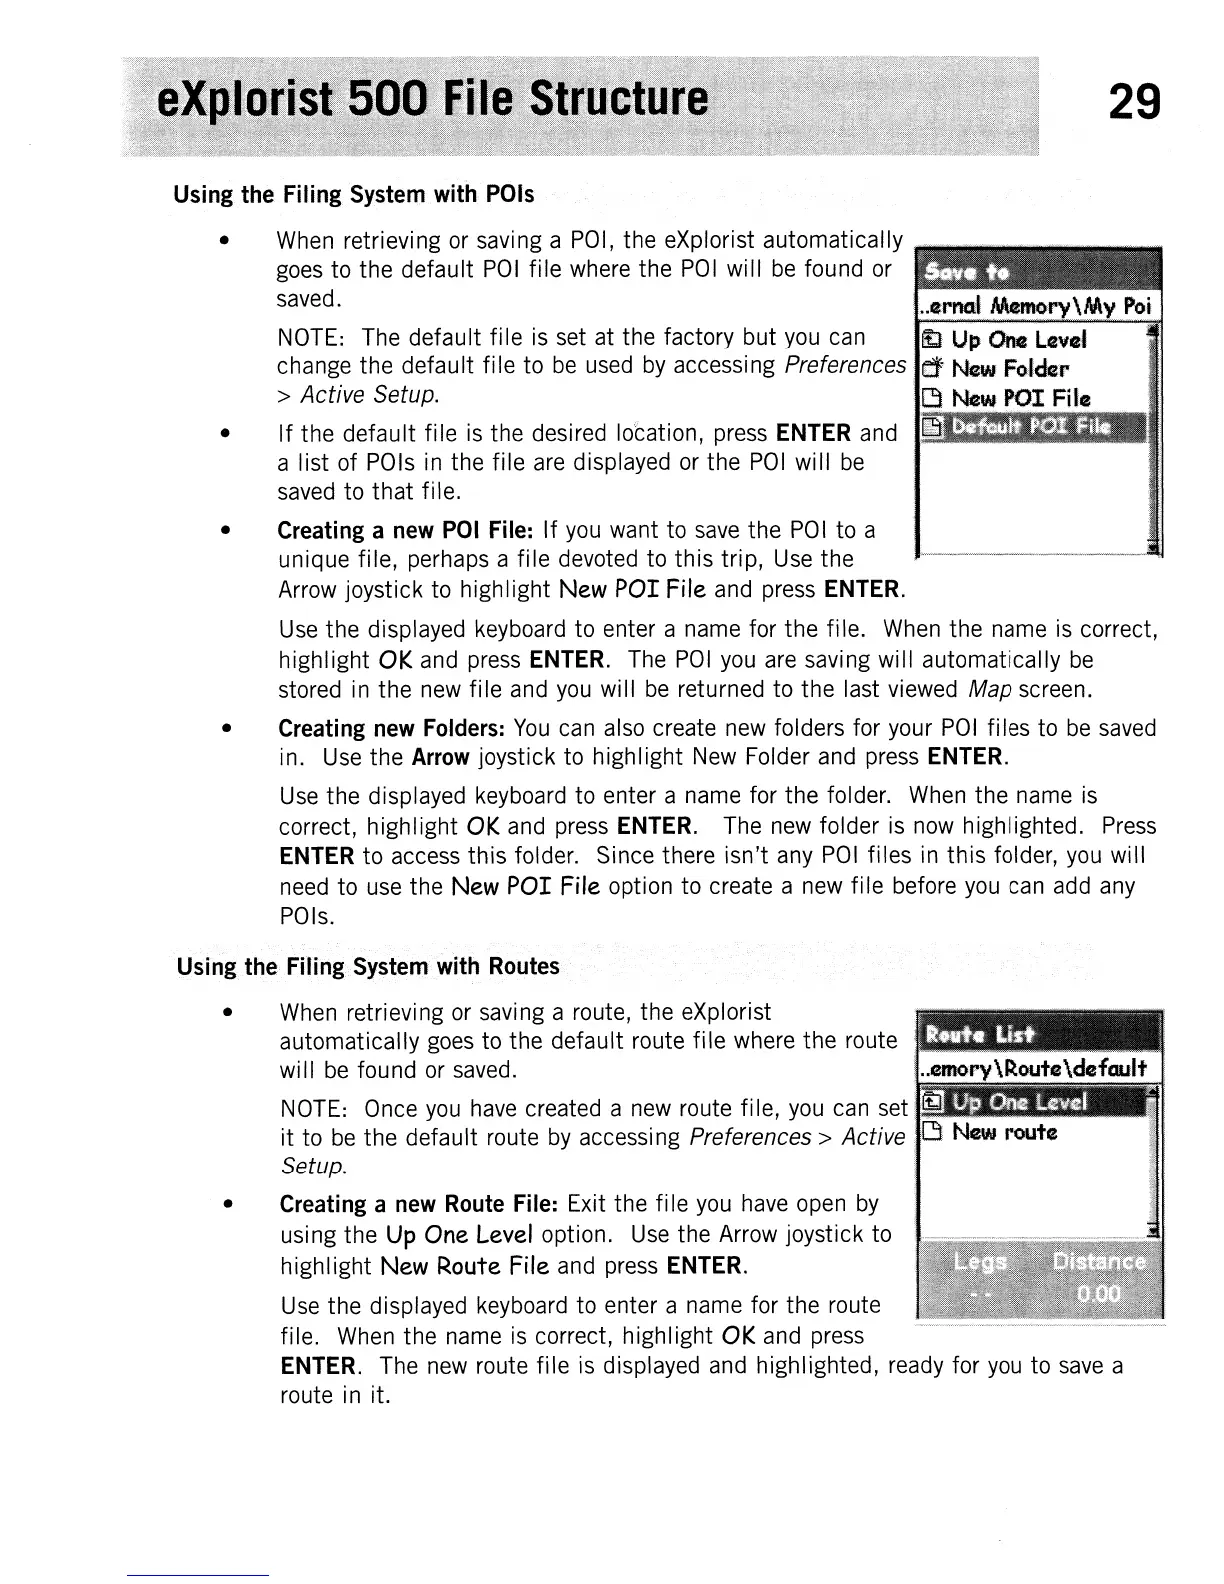
Using the Filing System with POls
•
When
retrieving
or
saving a
POI,
the eXplorist automatically
goes
to the default
POI
file
where
the
POI
will
be
found
or
saved.
NOTE:
The
default file
is
set
at
the factory but
you
can
change the default file to
be
used
by
accessing Preferences
> Active Setup.
• If the default file
is
the desired
lo/cation,
press
ENTER
and
a list of
POls
in
the file
are
displayed
or
the
POI
will
be
saved
to that file.
• Creating a new
POI
File: If
you
want to
save
the
POI
to a
unique file, perhaps a file
devoted
to this trip,
Use
the
Arrow
joystick to highlight New
POI
File
and
press
ENTER.
Use
the displayed
keyboard
to enter a
name
for the file.
When
the
name
is
correct,
highlight
OK
and
press
ENTER.
The
POI
you
are
saving will automatically
be
stored
in
the
new
file
and
you
will
be
returned to the last
viewed
Map screen.
• Creating new Folders:
You
can
also
create
new
folders for your
POI
files to
be
saved
in.
Use
the Arrow joystick to highlight
New
Folder
and
press
ENTER.
Use
the displayed
keyboard
to enter a
name
for the folder.
When
the
name
is
correct, highlight
OK
and
press
ENTER.
The
new
folder
is
now
highlighted.
Press
ENTER to
access
this folder. Since there isn't
any
POI
files
in
this folder,
you
will
need
to
use
the New
POI
File option to create a
new
file before
you
can
add
any
POls.
Using the Filing System with Routes
•
When
retrievi
ng
or
savi
ng
a route, the eXplorist
automatically
goes
to the default route file
where
the route
will
be
found
or
saved.
..emoFy\Rc.ute\default
NOTE:
Once
you
have
created a
new
route file,
you
can
set
it to
be
the default route
by
accessi
ng
Preferences> Active
Setup.
• Creating a new Route File: Exit the file
you
have
open
by
using the
Up
One
Level option.
Use
the
Arrow
joystick to
highlight
New Route File
and
press
ENTER.
Use
the displayed
keyboard
to enter a
name
for the route
file.
When
the
name
is
correct, highlight
OK
and
press
ENTER.
The
new
route file
is
displayed
and
highlighted,
ready
for
you
to
save
a
route
in
it.