Marking
Your
Position (Personalized)
Normally, marking your position
is
simply a two-button
process:
MARK
and
ENTER.
However,
sometimes
you
will want to personalize the
POI
you
are
marking to
make
it
easier to identify later.
You
are
able to change the icon,
set
the visibility, change the
name,
and
create a
message.
You
are
also
able to change the location coordinates
and
the elevation. This changes the position that
is
being
saved
and
is
discussed
in
a
following section.
1.
Press
MARK.
2.
Use
the Arrow joystick to highlight the field
you
want
to change.
3.
Press
ENTER.
4a. If the icon field
was
selected:
Use
the Arrow joystick
to
select the icon desired
and
press
ENTER.
To
aid
in
your selection, the type of icon selected
is
displayed
in
the information block
at
the top of the
keypad.
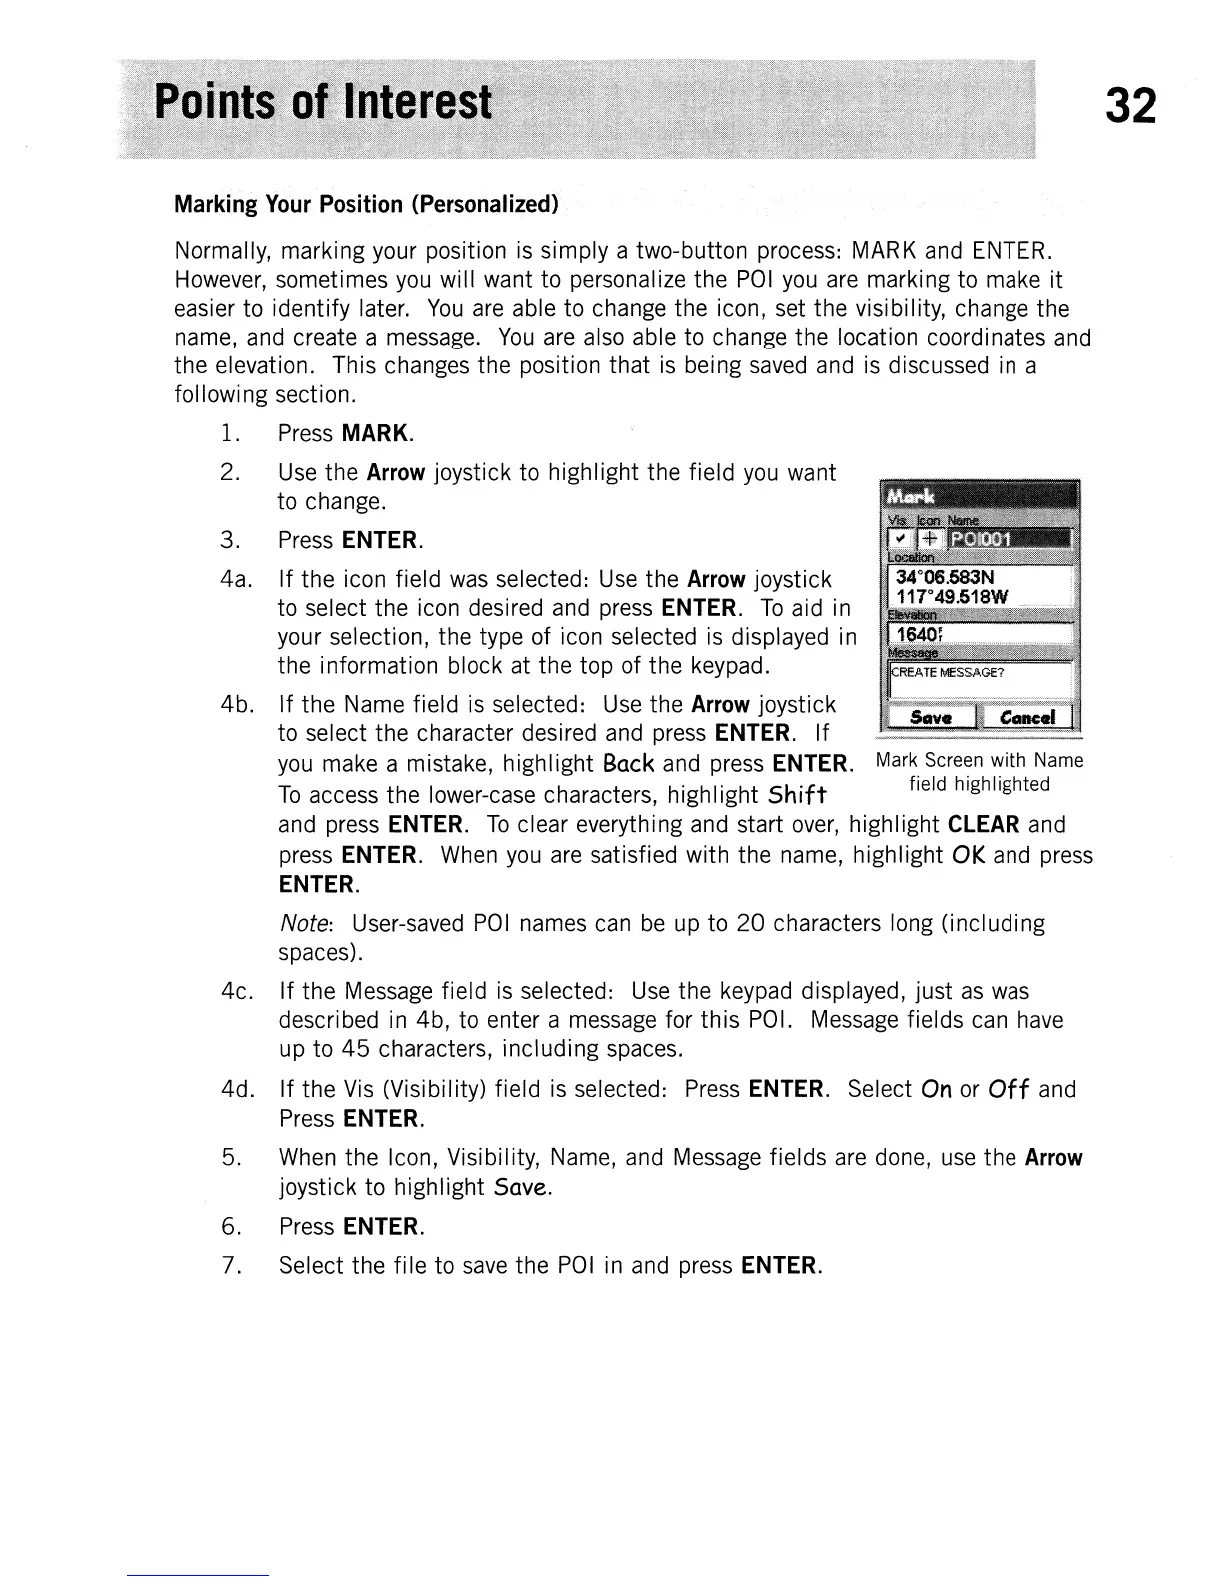
4b. If the
Name
field
is
selected:
Use
the Arrow joystick
to select the character desired
and
press
ENTER.
If
you
make
a mistake, highlight
Back
and
press
ENTER.
Mark
Screen
with
Name
To
access
the
lower-case characters, highlight
Shift
field highlighted
and
press
ENTER.
To
clear everything
and
start
over,
highlight
CLEAR
and
press
ENTER.
When
you
are
satisfied with the
name,
highlight
OK
and
press
ENTER.
Note:
User-saved
POI
names
can
be
up
to
20
characters
long
(including
spaces).
4c. If the
Message
field
is
selected:
Use
the
keypad
displayed, just
as
was
described
in
4b,
to
enter a
message
for this
POI.
Message
fields
can
have
up
to
45
characters, including
spaces.
4d. If the
Vis
(Visibility) field
is
selected:
Press
ENTER.
Select
On
or
Off
and
Press
ENTER.
5.
When
the Icon, Visibility,
Name,
and
Message
fields
are
done,
use
the
Arrow
joystick to highlight Save.
6.
Press
ENTER.
7.
Select the file
to
save
the
POI
in
and
press
ENTER.
32