22
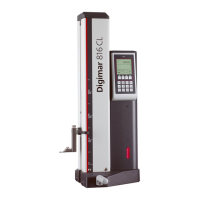
Mahr GmbH • Digimar 816 CL
EN
Possibilities:
Groove Ledge Taper
12.7 mm 6.35 mm probe
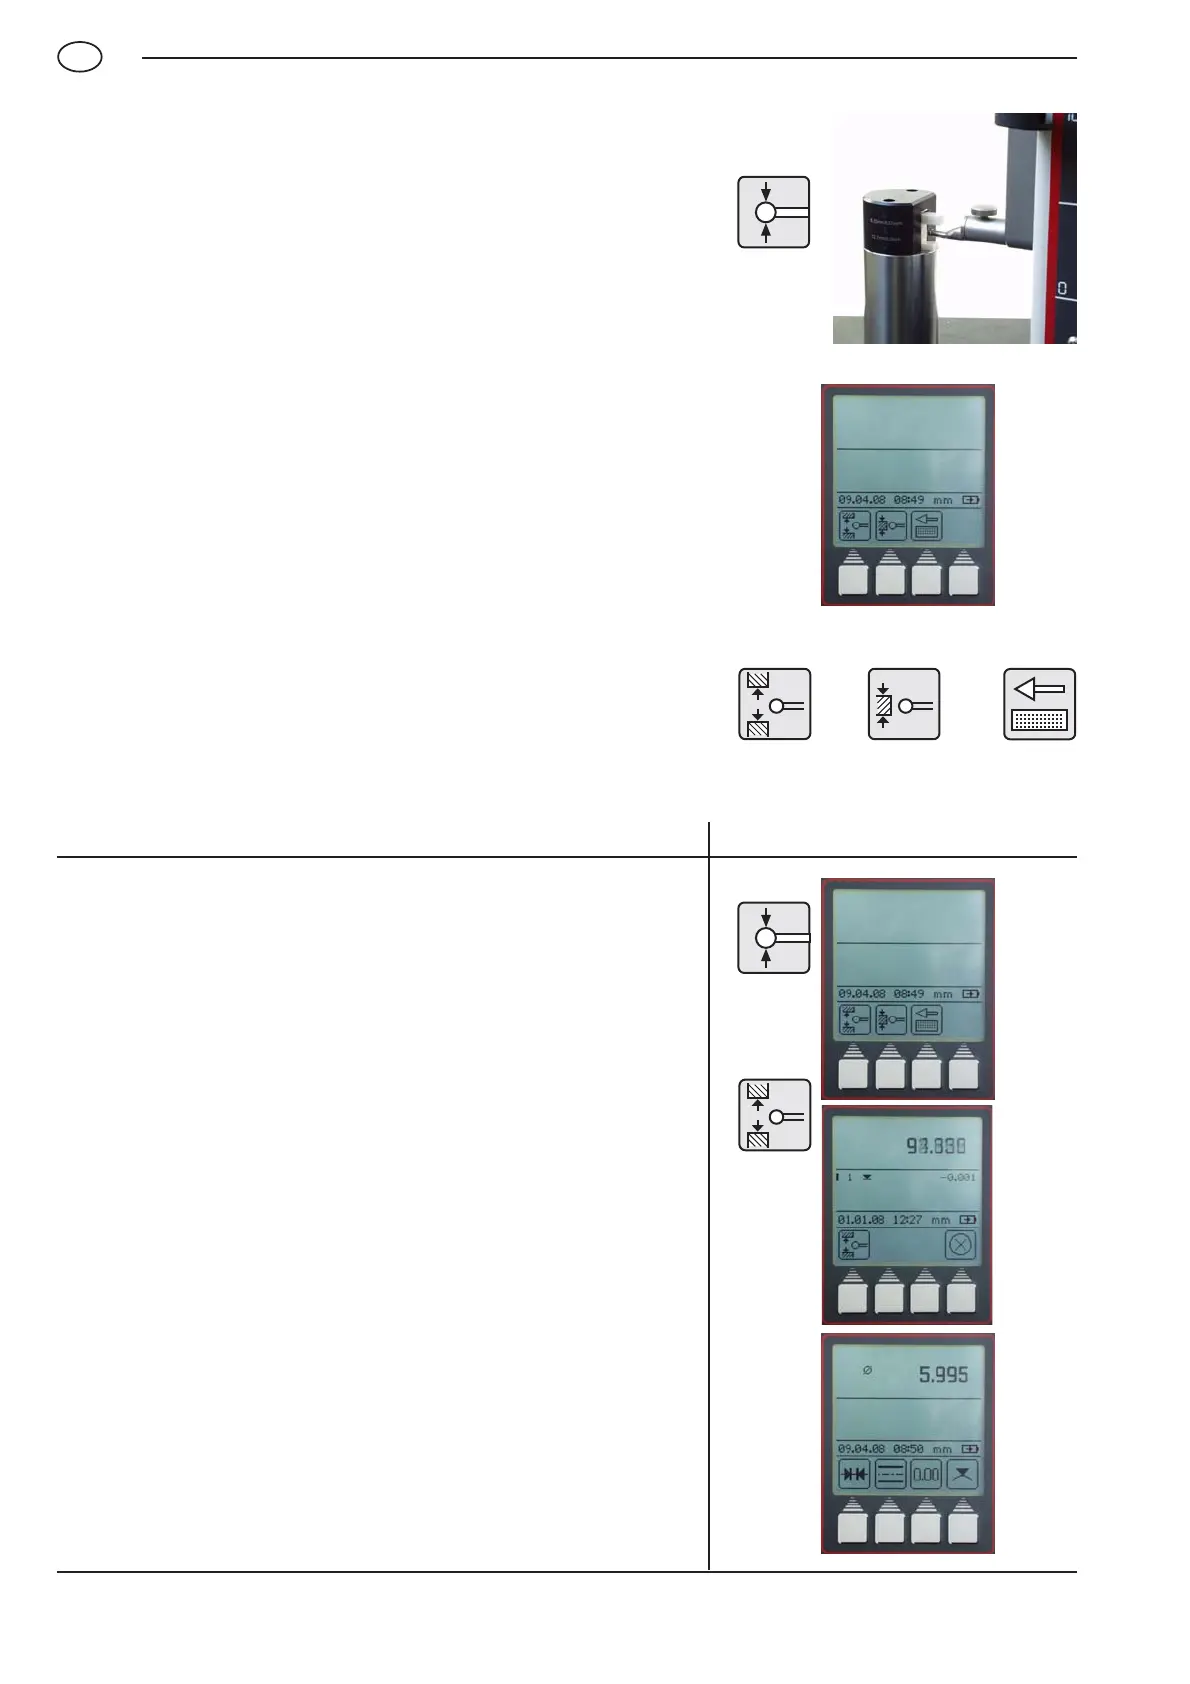
3.1 Standard calibration / calibrate a probe
3. Operation and measuring
Each calibration will automatically be conducted twice (x 2).
When calibrating the probe, the probe will automatically travel to the
preset height of the gage block (92 mm).
Note:
The probe constant can be influenced by any of the following
factors:
– Strain on the holder and the probe
– The reversal point of the measuring system
– The diameter of the probe
Attention:
The probe constant must be re-determined once a probe has been
exchanged.
3.1.1 Calibrating a probe using a groove
– Press the „Calibrate a probe“ key
– Press the function key „Calibrate using a groove“.
The probe automatically travels the center of the groove of the
setting standard
– Each calibration will automatically be conducted twice
– An acoustic signal (beep) will be emitted, confirming that the
probe has made contact (the actual measured value will be shown
in the display)
– Once calibration has been successful, the determined probe
constant will be shown in the display.
Info:
The determined diameter is usually smaller than the real diameter as
the probe deflection also has to be taken into account.
Description / Sequence Symbols / Pictures
3
3
 Loading...