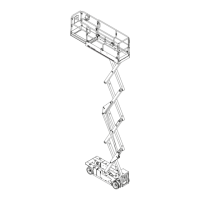
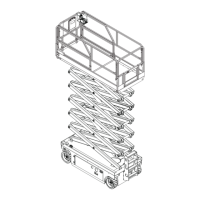
“4069RT” Service and Parts ManualMarch 2014
Page 2-22
GP400 CONTROL MODULE SETUP
6. Press up and right arrow to enter code 1775, Press Enter.
• Display reads ACCESS LEVEL 2.
7. Press Right Arrow to SETUPS, Press Enter.
• Display reads CHANGE DEFAULTS
8. Press Right Arrow to LOAD SETUPS. Press Enter.
• Display reads CALIBRATE LOAD
9. Press Enter.
• Display reads PLATFORM DOWN? Verify that platform is fully lowered.
10. Press Enter.
• Display reads PLATFORM LOADED? Verify that rated load is evenly distributed in platform.
11. Press Enter.
• Display reads PLEASE LIFT.
12. Hold lower controls switch in the up position until machine is fully elevated, then
release switch.
• Display reads PLEASE LOWER.
13. Hold switch in down position until platform is in the fully lowered position. Release
switch.
• Display reads PLATFORM LOADED?
14. Ensure that the rated load is distributed evenly in the platform, then press Enter.
• Display reads PLEASE LIFT.
15. Hold lower controls switch in the up position until machine is fully elevated, then
release switch.
• Display reads TOTAL DATA #XX, then PLEASE LOWER.
NOTE: The platform will rise incrementally during this phase on the calibration. Do not release the switch until fully
elevated.
16. Hold switch in down position until platform is in the fully lowered position.
NOTE: The platform will lower incrementally during this phase on the calibration. Do not release the switch until
fully lowered.
17. Release switch.
• Display reads TOTAL DATA #XX, then PLATFORM EMPTY?
18. Remove the load from the platform.
NOTE: If you must switch to platform controls to move the machine, steps 1.] through 7.] must be repeated. Steps
12.] through 20.] will generate the REDO prompt. Answer NO. If machine was not moved, proceed to step 22.].
19. Press Enter.
• Display reads PLEASE LIFT.
20. Hold lower controls switch in the up position until machine is fully elevated, then
release switch.
• Display reads TOTAL DATA #XX, then PLEASE LOWER.
21. Hold switch in down position until platform is in the fully lowered position.
• Display reads TOTAL DATA #XX, then BUILDING TABLES, then CALDATE mm/dd/yy.
22. Enter current date using Up, Down and Right Arrows.
• Display reads FINISHED.
23. Disconnect EZ-Cal.