“4069RT” Service and Parts ManualMarch 2014
Page 3-6
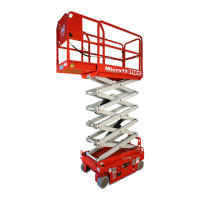
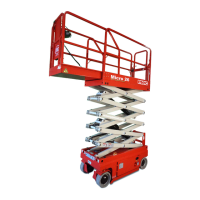
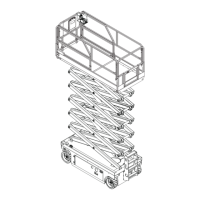
SCISSOR STACK
S
CISSOR
S
TACK
NOTE: Refer to Parts Section C for detailed parts list and illustration.
• Clean all fittings before disconnecting hoses.
• Tag hoses for proper reassembly.
• Plug all openings to prevent contamination.
Clean the beams once a year or more often if necessary and inspect the beams’
surfaces, especially welds and brackets.
Refer to “Lift and Support The Machine” in the Introduction section for instructions and
safety precautions.
R
EMOVAL
1. Remove the platform and lower the scissor stack.
2. Raise and support the rear end of the machine. Remove the rear wheels.
3. Disconnect hydraulic hoses. Immediately cap and plug all openings to prevent con-
tamination.
4. Tag and disconnect all cables.
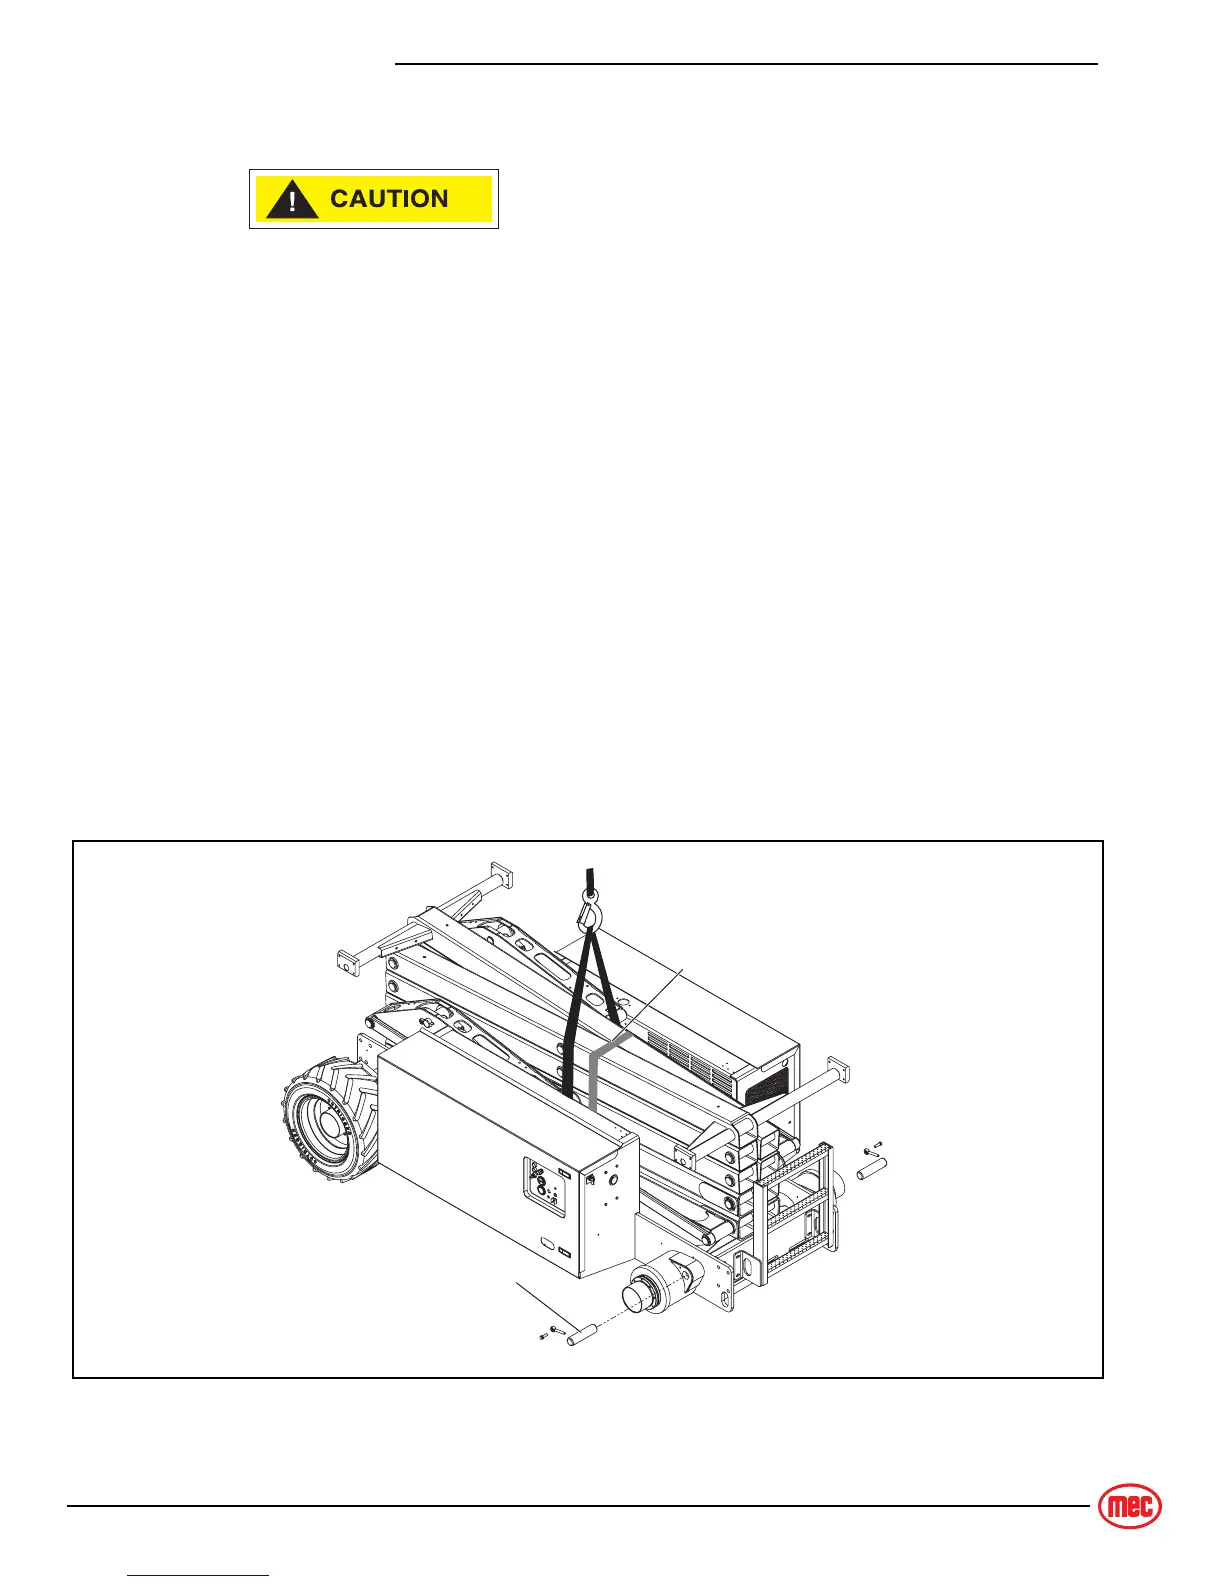
5. Immobilize the scissor assembly by wrapping a strap tightly around it.
6. Attach a suitable lifting device to the scissor assembly. Apply slight lifting pressure.
7. Remove the stationary pins at the rear end of the machine.
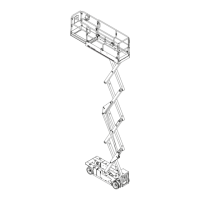
Figure 3-2: Scissor Assembly Removal
ART_4493
Strap securing
scissor assembly
Stationary Pin