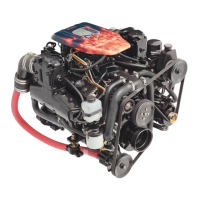
Piston ring compressor use
Description Part Number
Piston ring compressor J8037
IMPORTANT: Install new pistons in the same cylinders for which they were fitted and install used pistons in the same
cylinder from which they were removed. Each connecting rod and bearing cap should be marked, beginning at the front of
the engine (1, 3, 5, and 7 from the left bank and 2, 4, 6, and 8 from the right bank). Numbers on the connecting rod and
bearing cap must be on the same side when installed in the cylinder bore. If a connecting rod is ever transposed from one
block or cylinder to another, new bearings should be fitted and the connecting rod should be numbered to correspond with
the new cylinder number.
8. Install each connecting rod and piston assembly in its respective bore with the piston notch toward the front of the engine.
9. Hold the piston ring compressor firmly against the engine block until all piston rings have entered the cylinder bore.
10. Using a wooden or plastic hammer handle, lightly tap the piston into its bore.
11. Apply a lubricant to the threads and mating faces of each connecting rod cap and screw.
Tube Ref No.
Description Where Used Part No.
136
Lubriplate SPO 255 Threads and mating faces of connecting rod cap and screw Obtain Locally
NOTICE
Connecting rods and end caps are matched sets. Mismatching the original pairs will result in catastrophic engine damage.
Install all connecting rods with their matched end caps.
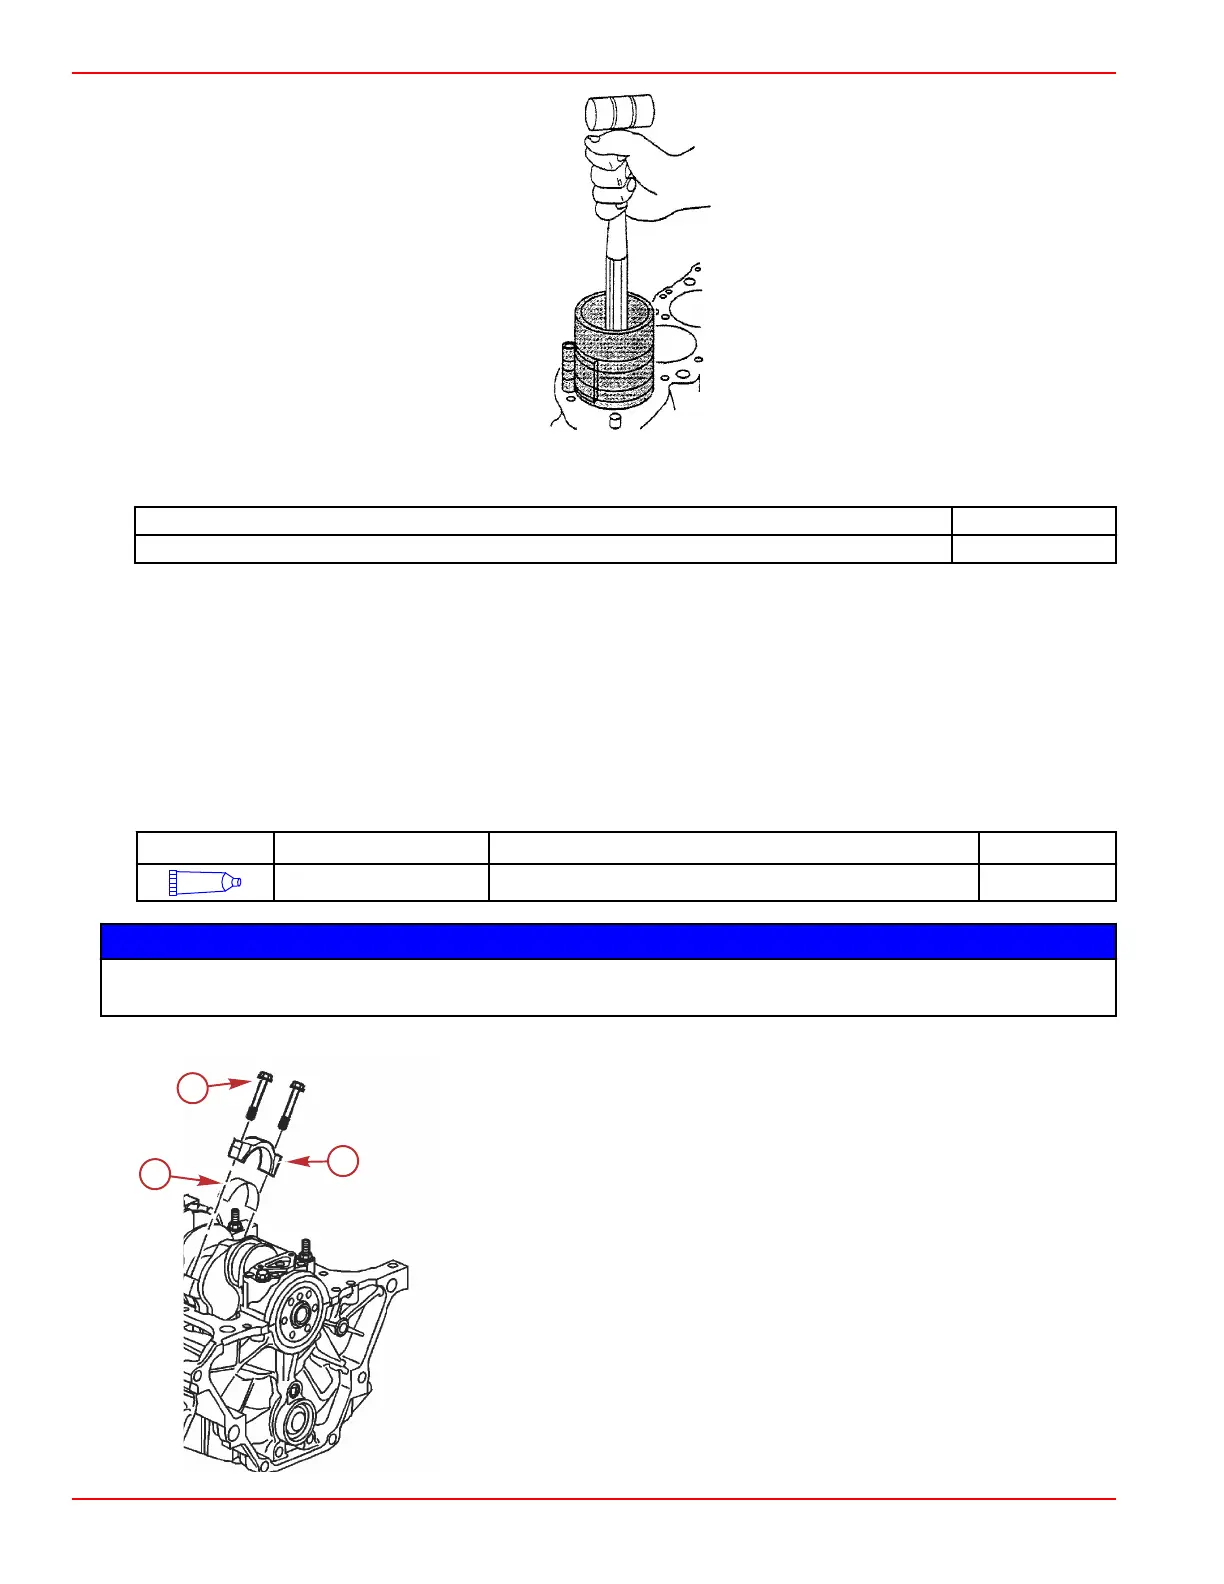
12. Install the connecting rod cap.
Installing connecting rod caps
a - Connecting rod screws (2)
b - Connecting rod cap
c - Lower bearing half
Engine Inspection and Assembly
Page 3B-28 © 2016 Mercury Marine 90-8M0099748 eng DECEMBER 2015

 Loading...