Description Nm lb‑in. lb‑ft
Screw 31.1 – 23
Crankcase Front Cover Oil Seal (Without Removing Front Cover)
Removal
1. Remove the belt and crankshaft pulley.
2. Remove the crankshaft harmonic damper.
3. Pry the seal out of the front of the cover with a seal removal tool. Be careful not to distort the front cover or damage the
crankshaft.
Description Part Number
Seal removal tool J45000
Installation
1. Apply sealant to the crankshaft front cover mating surface of the seal.
Tube Ref No.
Description Where Used Part No.
128
Loctite 5900 Ultra Black
RTV Silicone Sealant
Crankshaft front cover mating surface of the seal 92-809826
2. Lubricate the rubber sealing surface.
Tube Ref No.
Description Where Used Part No.
139
Mercury 25W-40
Synthetic Blend 4-Stroke
Engine Oil
Rubber sealing surface 92-8M0078629
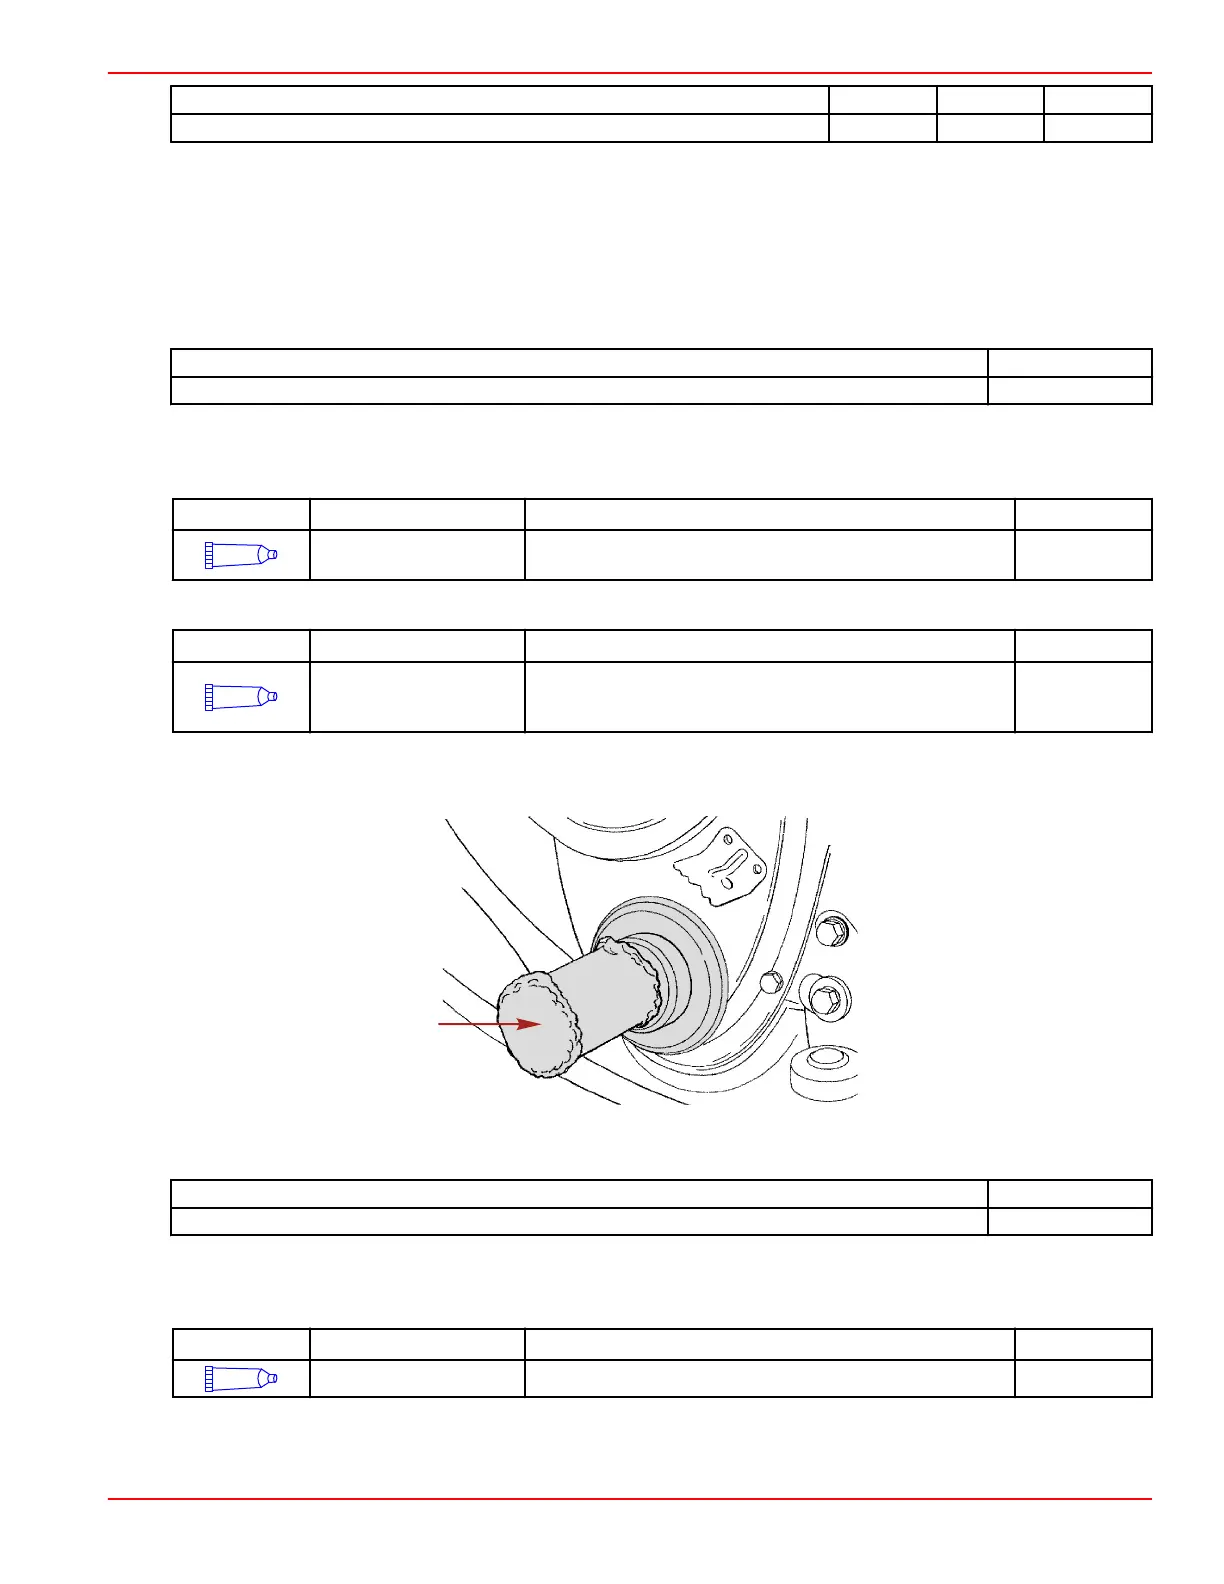
3. Install the new seal with the open end of the seal facing inward. Using the crankcase front cover aligner and seal installer,
drive the seal in until it seats.
IMPORTANT: Do not use excessive force to drive in the seal.
Crankcase front cover aligner and seal installer
Description Part Number
Crankcase front cover aligner and seal installer J35468
4. Install the crankshaft harmonic damper.
IMPORTANT: Use Loctite 598 RTV Sealant on the crankshaft harmonic damper keyway to prevent oil migration past the
key.
Tube Ref No.
Description Where Used Part No.
142
Loctite 598 RTV Sealant Keyway Obtain Locally
5. Install the crankshaft pulley and belt.
Engine Inspection and Assembly
90-8M0099748 eng DECEMBER 2015 © 2016 Mercury Marine Page 3B-67

 Loading...