Quadra-Chek
®
QC200
3-35
A check mark appears next to the line 2 in the feature list and line 1 is now
highlighted.
NOTENOTE
NOTENOTE
NOTE
In this example, skew 1 is the next feature for the constructionIn this example, skew 1 is the next feature for the construction
In this example, skew 1 is the next feature for the constructionIn this example, skew 1 is the next feature for the construction
In this example, skew 1 is the next feature for the construction
so it is not necessary to move the cursor to select the next feature.so it is not necessary to move the cursor to select the next feature.
so it is not necessary to move the cursor to select the next feature.so it is not necessary to move the cursor to select the next feature.
so it is not necessary to move the cursor to select the next feature.
OccasionallyOccasionally
OccasionallyOccasionally
Occasionally
, the user needs to use the arrow keys to highlight, the user needs to use the arrow keys to highlight
, the user needs to use the arrow keys to highlight, the user needs to use the arrow keys to highlight
, the user needs to use the arrow keys to highlight
the next feature for a construction. In this case the next desiredthe next feature for a construction. In this case the next desired
the next feature for a construction. In this case the next desiredthe next feature for a construction. In this case the next desired
the next feature for a construction. In this case the next desired
feature happens to be highlighted alreadyfeature happens to be highlighted already
feature happens to be highlighted alreadyfeature happens to be highlighted already
feature happens to be highlighted already
..
..
.
Step 8
Press the enter key.
Step 9
Press the finish key.
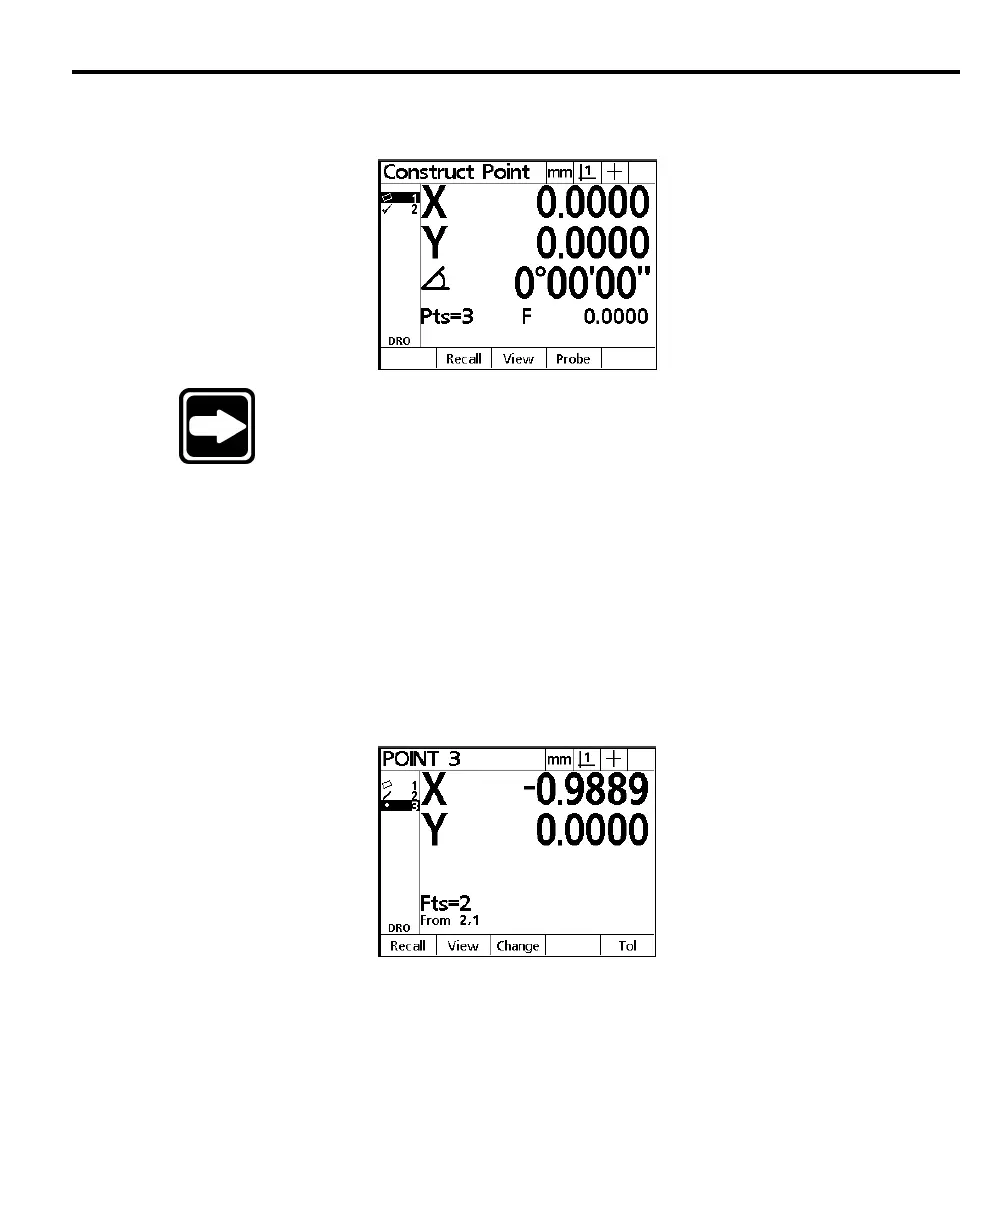
The constructed point appears in the feature list and is highlighted.
Step 10 zeros the X and Y axes on the newly constructed point. Use the zero axes
keys to establish a datum on any point feature.
 Loading...