74
Pellerin Milnor Corporation
NOTE: To locate your bearing on the chart, match the first five characters of the
manufacturer’s part number (not the Milnor
®
part number) with those in the chart.
For example, for a manufacturer’s part number 22217LBK, find under “Manufacturer
Part Number” the line “22217 . . .”
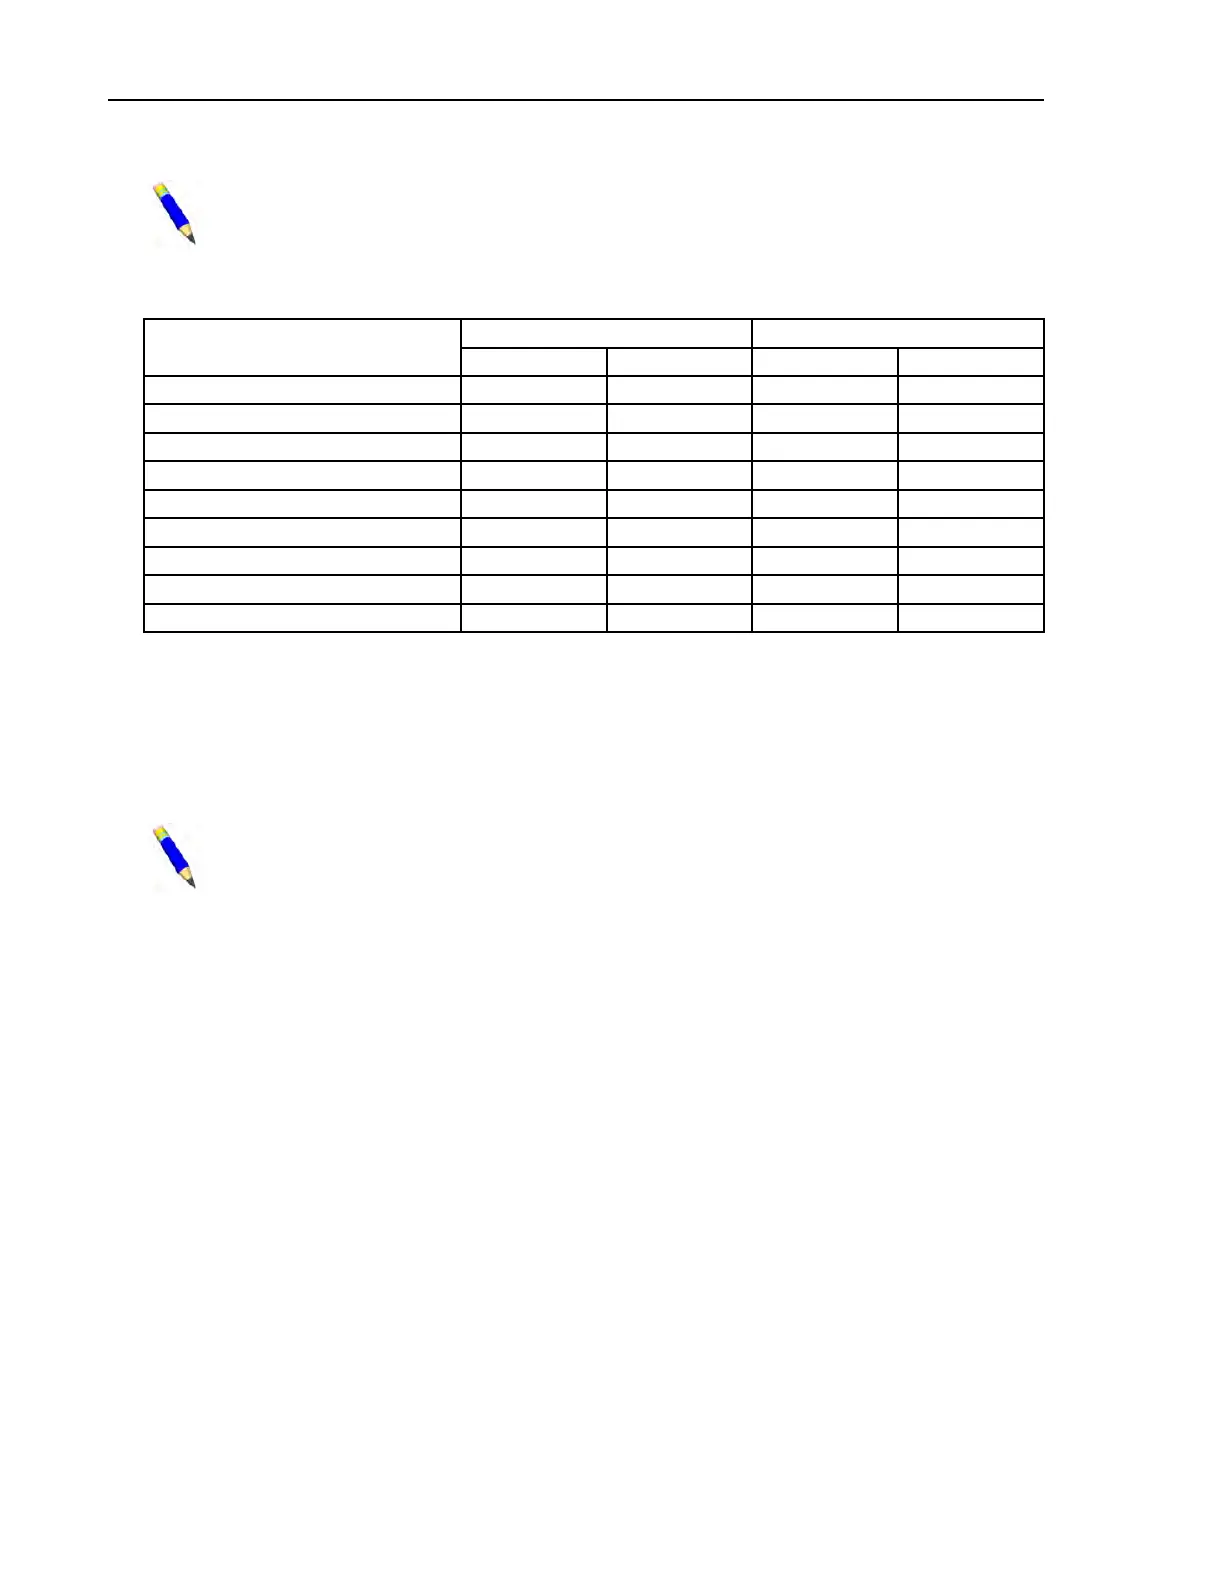
Table 24. Table of Bearing Clearances
Manufacturer Part Number
Unmounted Clearance Clearance Reduction
Minimum Maximum Minimum Maximum
22330... .0071 .0091 .002 .003
22213... .0030 .0039 .001 .002
22216... .0028 .0037 .001 .002
22217... .0044 .0057 .0015 .0025
22312... .0030 .0039 .001 .002
22316... .0037 .0049 .001 .002
22320... .0044 .0057 .0015 .0025
22328... .0063 .0081 .002 .003
23220... .0044 .0057 .0015 .0025
7. Calculate and record the final internal clearance by deducting the “Clearance Reduction” for
your bearing (see Table 24 ) from the measured clearance. For example, if you measured .004
and the clearance reduction is .001 to .002, then the final internal clearance should be between
.002 and .003.
8. Hand pack the bearing with grease by rotating the inner race and rollers, forcing grease be-
tween all rollers.
NOTE: The bearing will be set into position in Step 9. If both front and rear bear-
ings are being installed, the rear (clean side on Staph Guard
®
models) bearing should
be set in position first because it is the fixed bearing.
9. Set the bearing into the housing (with the taper facing the proper direction) and seat the bear-
ing using the bearing setting fixture. This fixture is installed in similar fashion to the seal
sleeve setting fixture. If you have just set the rear bearing and the front bearing housing is yet
to be installed, leave the bearing setting fixture in place for now.
10. If you have just set the rear bearing and the front bearing housing is yet to be installed, repeat
all steps in bearing housing installation, measuring unmounted clearance and setting bearing,
for the front bearing and housing. The bearing setting fixture should not be removed from the
rear housing until it is needed to seat the front bearing. This will prevent rear bearing compo-
nents from being pushed out of position by the shaft as the front housing components are
seated. Remove the bearing setting fixture from the front housing once the bearing is seated.
Tightening Bearing(s) (Front and/or Rear)
BNWVUM02.T05 0000278718 A.4 A.5 A.3 3/12/20 11:54 AM Released
1. Once both bearings are seated, or if only one bearing was replaced, install the bearing lock
washer(s) and lock nut(s). Use a hammer and a metal drift as shown in Figure 39 , to tighten
the lock nut. It is imperative to only tap lightly and to assure that metal chips from the
drift or lock nut do not fall off and contaminate the bearing. If both bearings are being
Drive Assemblies