Understanding Your Analyzer
2-7
Built-in keypad
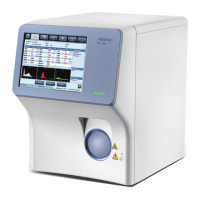
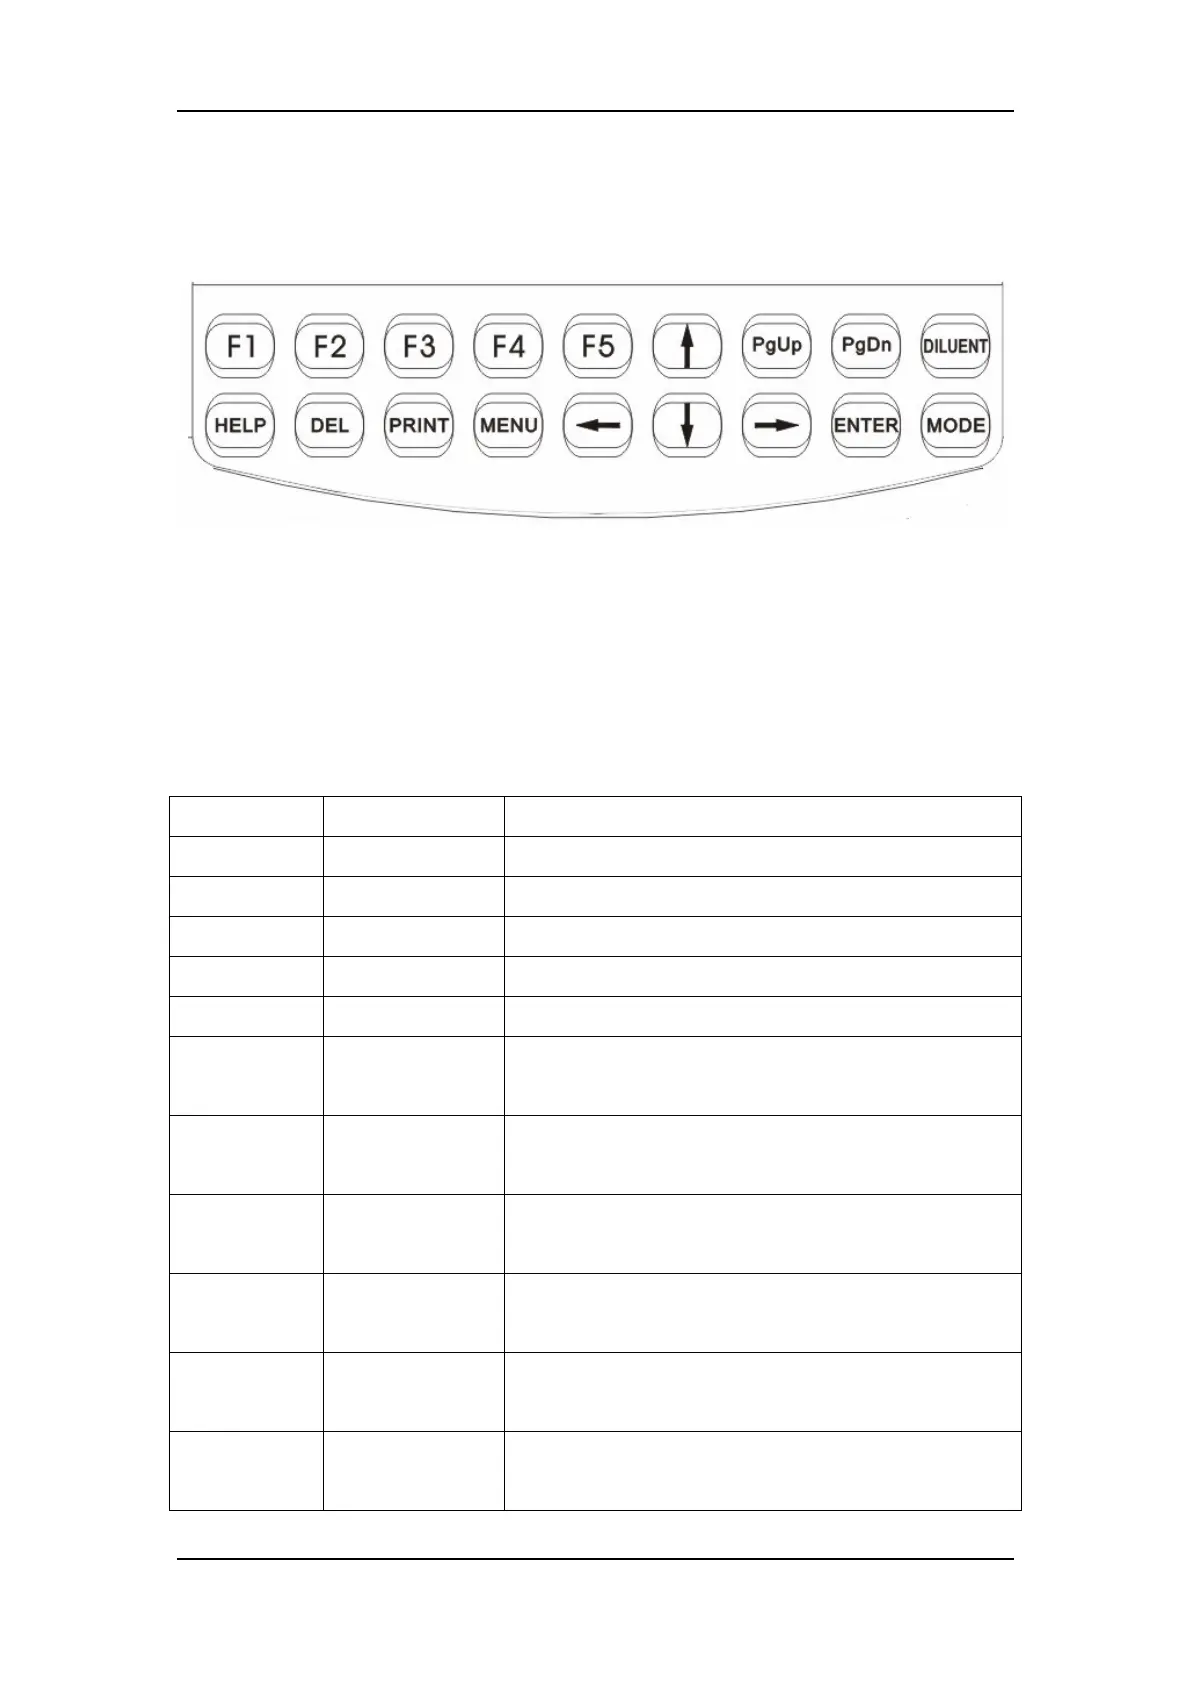
The 18-key keypad is located below the LCD, as Figure 2-5 shows.
Figure 2-5 Build-in keypad
PS/2 keyboard
The analyzer can also be controlled by an external PS/2 keyboard that should be connected
to the analyzer’s keyboard interface. See Table 2-1 for the correspondence between the
keypad keys and the keyboard keys and for their functions.
Table 2-1 Key functions
Keypad PS/2 keyboard Function
[MENU] [Esc] Press it to enter/exit the system menu.
[PRINT] [P] or [p] Press it to print out data by the recorder or printer.
[HELP] [H] or [h] Press it to call out the analyzer’s on-line help.
[DEL] [Delete] or [Del] Press it to delete data and characters.
[ENTER] [Enter] Press it to confirm or execute an operation
[↑], [↓],
[←], [→]
[↑], [↓],
[←], [→]
Press them to move the cursor.
[F1], [F2], [F3],
[F4], [F5]
[F1], [F2], [F3],
[F4], [F5]
Press them to use various functions. See the rest of this
manual or the analyzer’s on-line help for details.
[PgUp][PgDn] [PageUp]
[PageDown]
Press them to scroll the screen.
[MODE] [Ctrl+A] Switch to another analysis mode (works only in the
Count screen).
[DILUENT] In the prediluted mode, press it if you want to dispense
diluent into the sample tube.
/ Other keys Use them as needed. See the rest of this manual or the
analyzer’s on-line help for details.
 Loading...