9-6 Comments and Body Mark
9.2.2 Adding Voice Comments
1. To perform voice comments adding, the function should be enabled through the path:
[Preset][System][Application]. Check “Enable Voice Response”. Click [OK] to exit. The voice
comment panel appears on the right corner of the screen.
2. Connect the microphone to the mic port of the front I/O panel. The microphone icon appears
highlighted.
3. Acquire the necessary images and press <Freeze> to freeze the image.
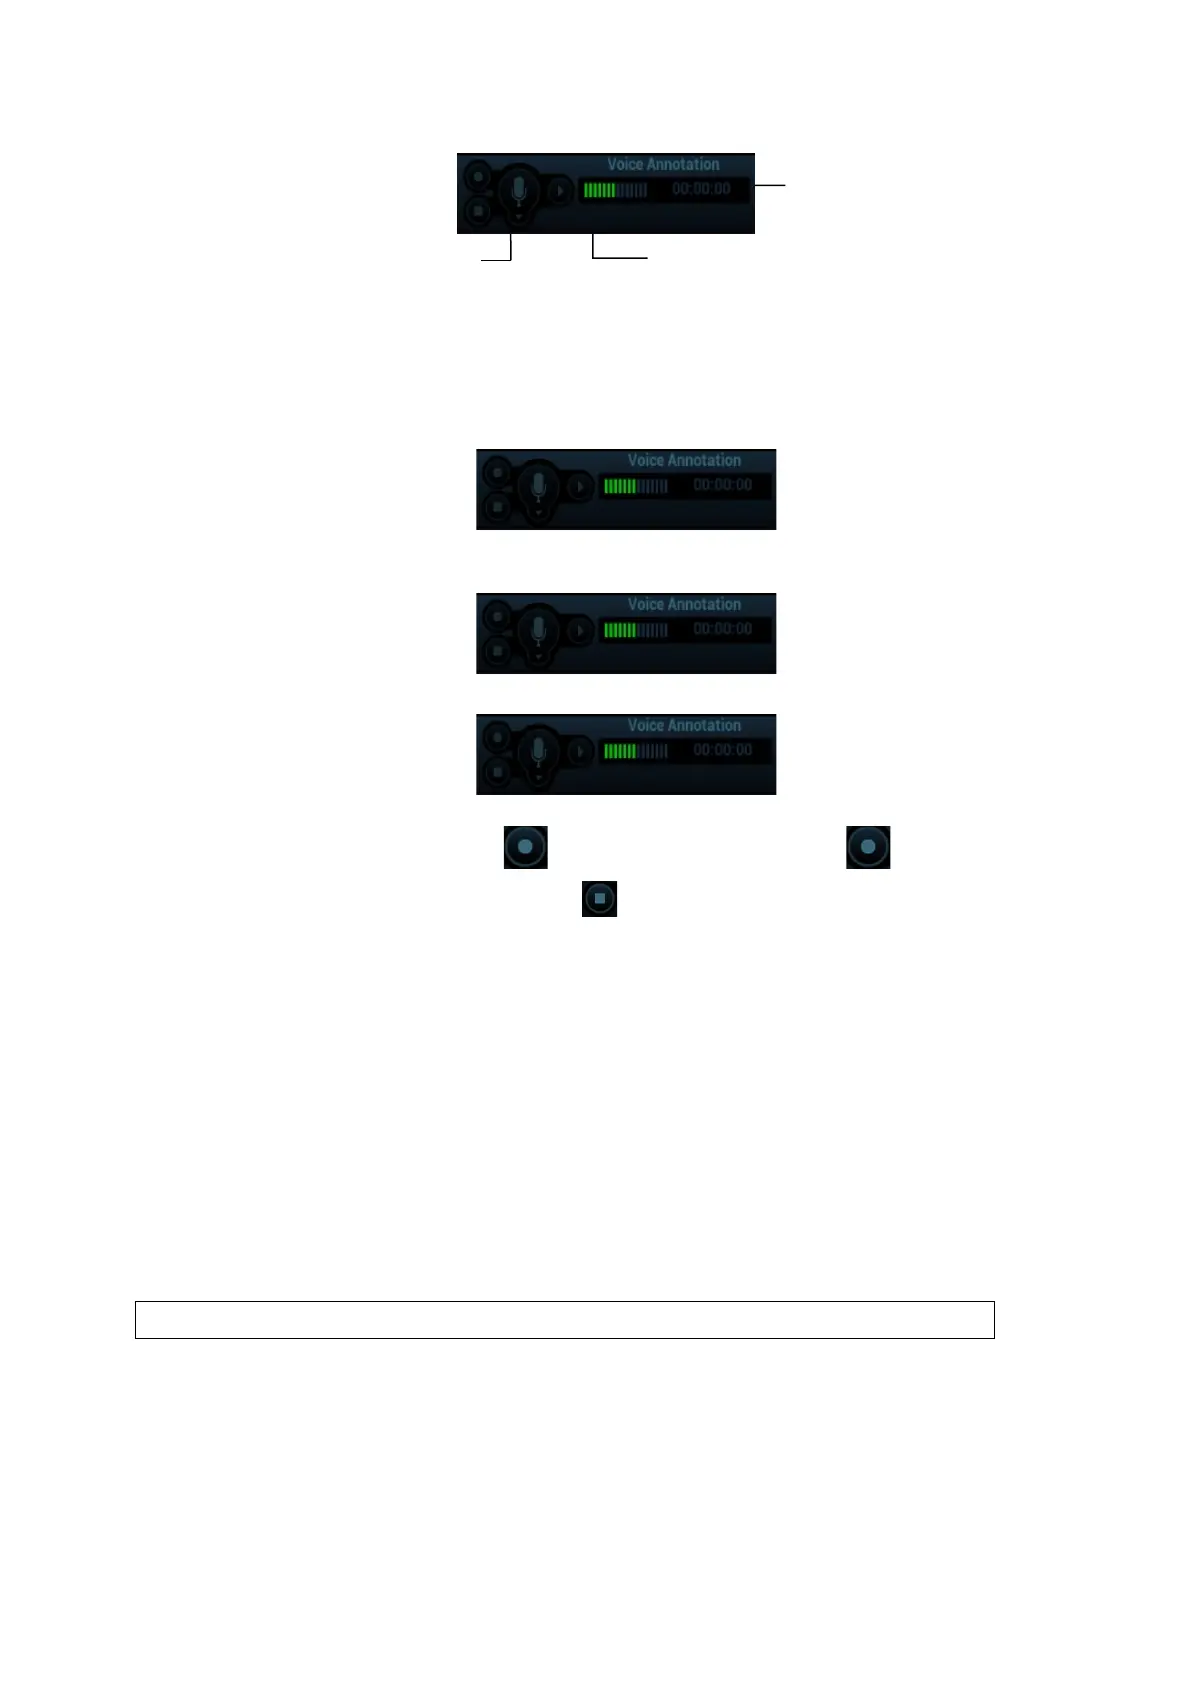
4. Press <Freeze> after obtaining the image. Press <Cursor> and roll the trackball to move the cursor
onto the voice comment panel; click to start recording and the icon becomes red.
5. After the voice recording ends, click the icon to end recording. Press the user-defined key for
saving the cine.
NOTE: in voice comment recording status, you can perform measurements, comments adding, body
marks adding, print tasks and DICOM tasks.
If you press <Freeze> during the recording course, the already recorded voice comment cannot be
saved.
9.2.3 Voice Comment Review
Click to open a cine file with voice comment, and during the cine review mode, voice comments are played as
well.
For details about opening a cine file, please see Chapter 6 Display & Cine Review.
9.3 Body Mark
NOTE: After powering off, the system will clear all comments on the image.
The Body Mark (Pictogram) feature is used for indicating the exam position of the patient and
transducer position and orientation.
The system supports body marks for ABD (Abdomen), CARD (Cardiology), GYN (Gynecology), OB
(Obstetrics), URO (Urology), SMP (Small Part), Nerve, EM (Emergency) and VAS (Vascular)
applications. You can preset the system configured general body marks for each exam mode. The
system supports the import of user-defined body marks.
Start/Stop
Recording
Recording
 Loading...


