Barcode Reader A-13
Parameter Description
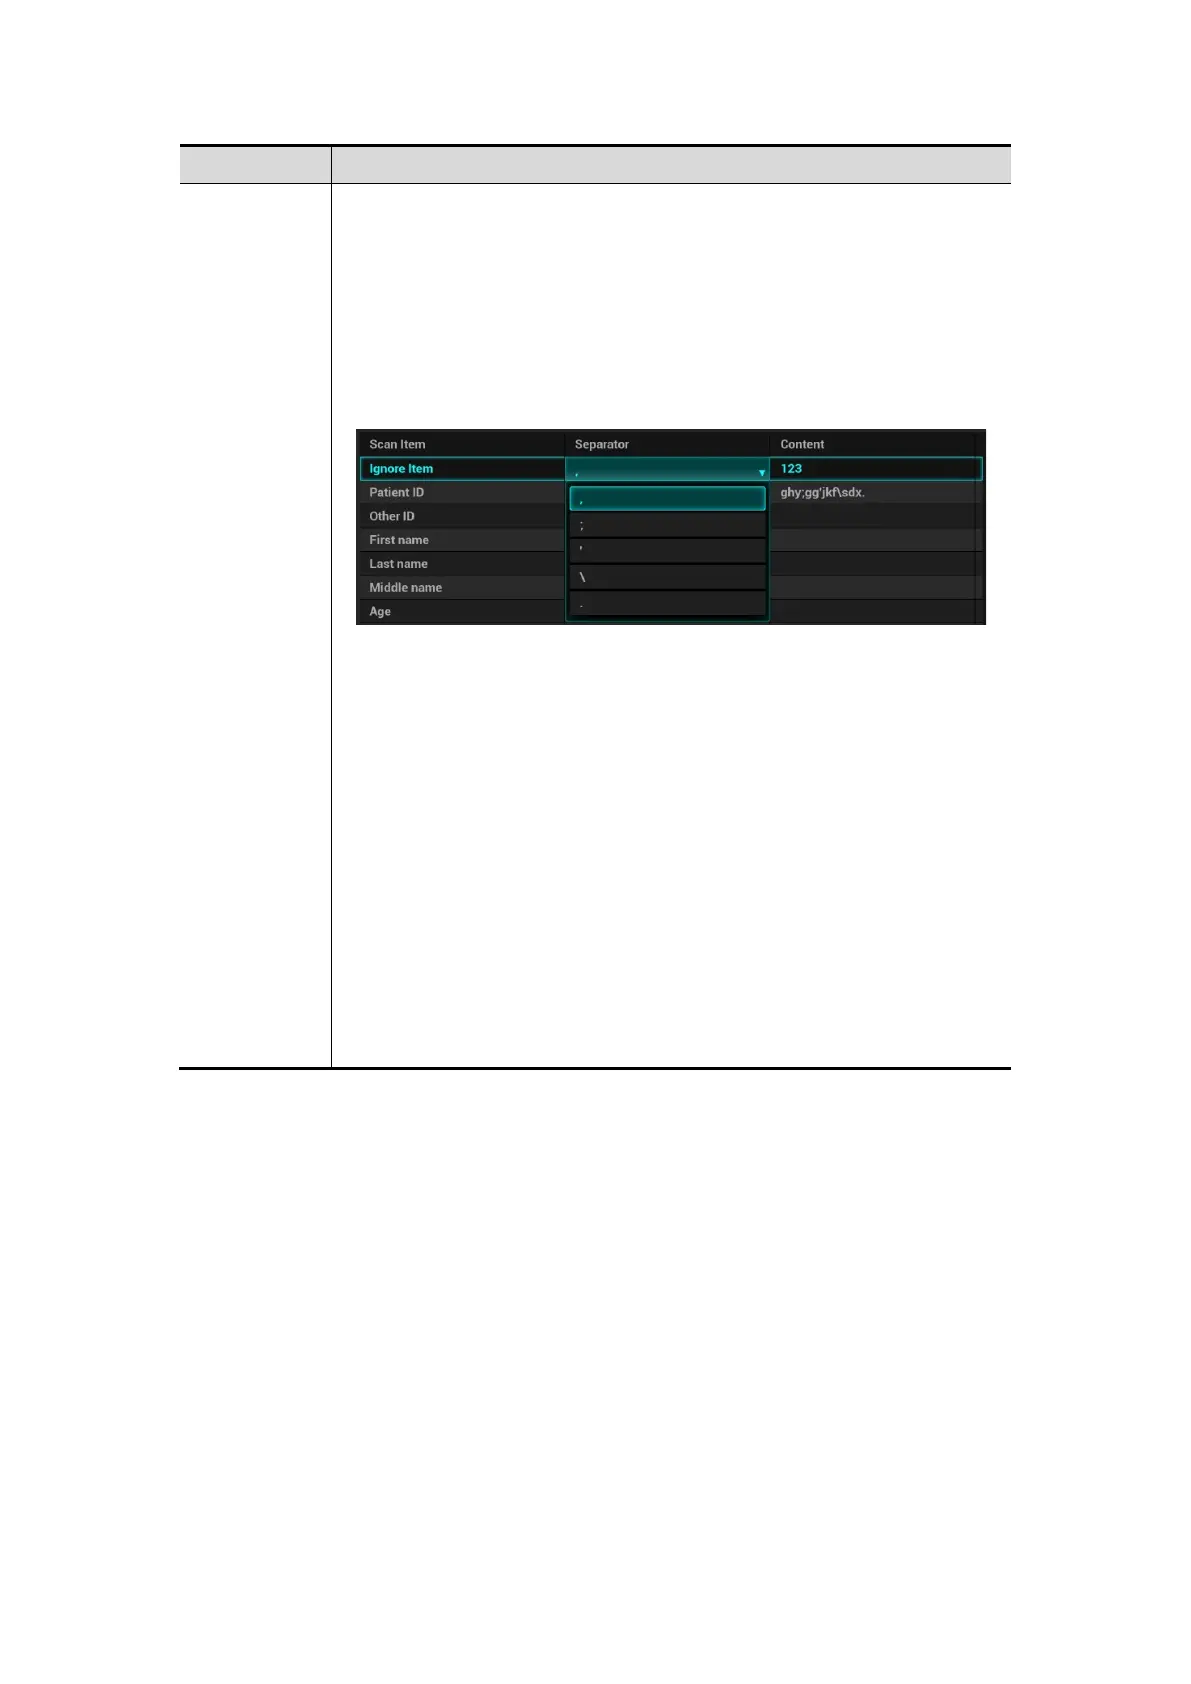
Parameter
Input barcode example, you can change the information of Patient
ID, Other ID, First Name, Last Name, Middle Name, Birth(Day),
Birth(Month), Birth(Year), Age, and Gender in the “content” list.
Set the start and end position of each item via separators.
You can select item separators from the drop-down list of the
Separator, such as semicolon (;), hyphen (-), or comma (,) etc.
(Note: only separators that are input in the field box of the Scan
Barcode Example can be displayed in the drop-down list of the
Separator.)
Move up: move up the selected item by one line.
Down: move down the selected item by one line.
Add Ignore: add one line below the selected item to hide
unimportant patient information.
Delete: delete the selected item. The item deletion operation does
not delete the corresponding information in the barcode.
Load default: restore the parameter value to the default value.
Select an age unit from the drop-down list of the Age Unit: Year,
Month, or Day.
Input the customized gender symbol besides the Male and
Female filed box, such as Male (M) or Female (F).
Note:
You can customize the age unit of Birth(Day), Birth(Month), Birth(Year)
in the Content column. If the DOB provided by the patient contains
only digit, the system displayed an auto-generated age.
Select advanced from “Analysis Mode” drop-down list: user enters scan barcode
example and regular expression and click [Match], the system will match scan
barcode example with regular expression automatically, and if which is matched
successfully, the scan item will display the barcode by separators.
Default Item: after 2D and 1D barcode are matched unsuccessfully, the barcode will be
filled as string when default item is no, otherwise, the barcode will be filled as selector.
Import/Export: set the barcode by importing/exporting configure file. You can contact
mindray service engineer also.
Worklist Options:
(1) Select "Worklist server" from the drop-down list, and the system searches the
Worklist server according to the scanned data.
(2) Select "No" from the drop-down list, and the system creates a new exam in the
Patient page according to the scanned data.
Worklist Default:
(1) Select a default item for searching the Worklist server.
 Loading...


