3 System Preparation
Operator’s Manual 3 - 11
Perform the following procedure:
1. Connect the data cable to USB port of the ultrasound device.
2. Power on the system and the printer.
3. Preset the default report printer and its attribute:
a. Select in the top-right corner of the screen and enter “[Setup] > [System] >
[Peripheral] > [Print Service]” screen.
b. Select the “Report Print” column in the Service Type list.
c. In the “Property” frame, select printer from the “Printer” driver list and set the items.
d. Select [Save] to complete.
3.9.2 Connecting a Video Printer
The digital video printers that system supports consist of the B/W printers and color printers.
Perform the following procedure:
1. Place the printer appropriately.
2. Connect the power cord of the printer to a receptacle. Connect the USB port of the system to
the USB port of the printer with USB cable.
3. Load a paper roll and turn on the system and printer.
4. Add a print service:
a. Select in the top-right corner of the screen and enter “[Setup] > [System] >
[Peripheral] > [Print Service]” screen.
b. Tap [Add Service] to enter the page.
c. Select the service type and enter the service name manually.
d. Tap [OK] to return to the page.
e. Select the target printer from the list and set other printing properties in the “Property”
frame.
f. Select [Save] to complete.
3.9.3 Connecting a Wireless Printer
The system supports the wireless graph/text printer for the report print.
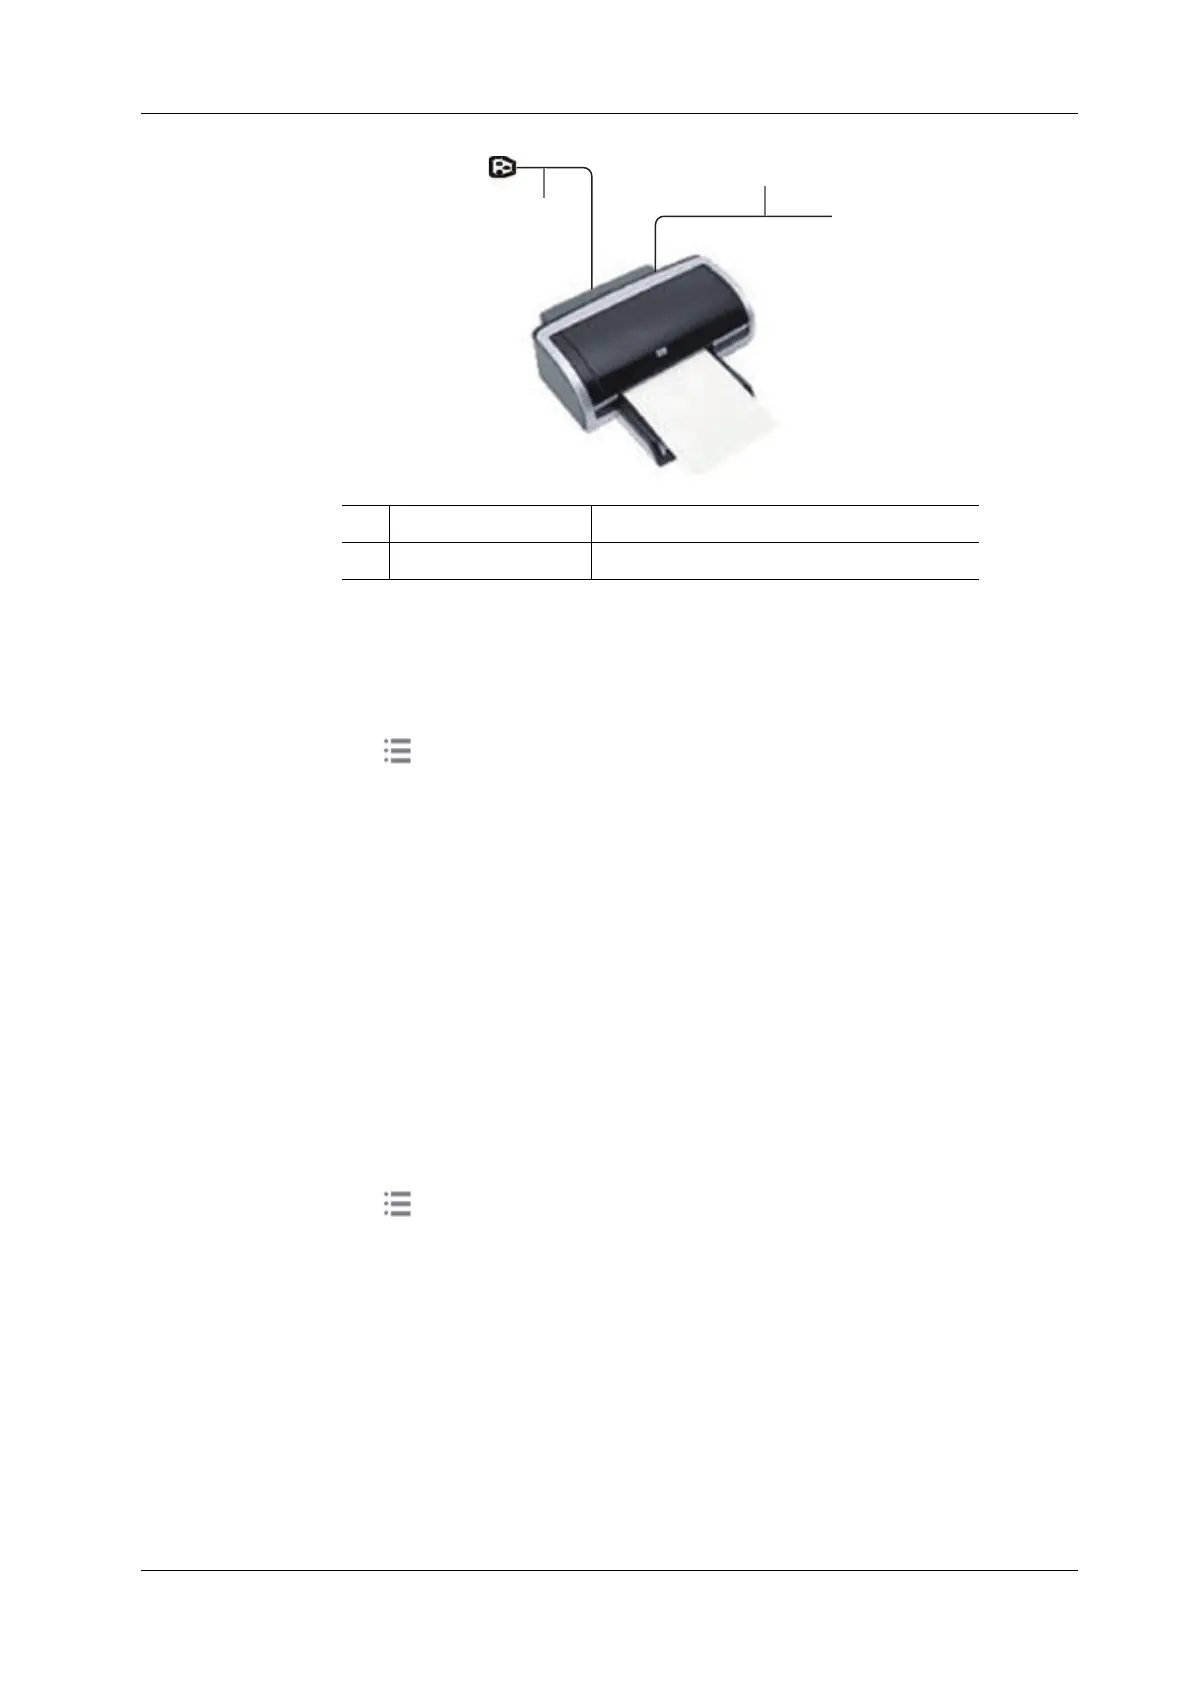
1 Power supply cable Connect to power supply.
2 Data cable Connect to the USB port of this system.
1
2