17
How do I get started?
Note: The first time you use your Mio, it may take up several minutes to establish a GPS connection. For more information
about GPS, refer to the GPS Frequently Asked Questions guide on the enclosed DVD.
How do I turn my Mio on for the first time?
To get started for the first time, complete the following steps:
1. Read the Important Safety Information on page
2.
2. Position your Mio
Follow the instructions on page
10.
Note: Ensure that your Mio does not obstruct the driver's view, or interfere with the operation of the vehicle airbags and
safety devices.
3. Turn your Mio on
Your Mio will turn on and display the Language screen.
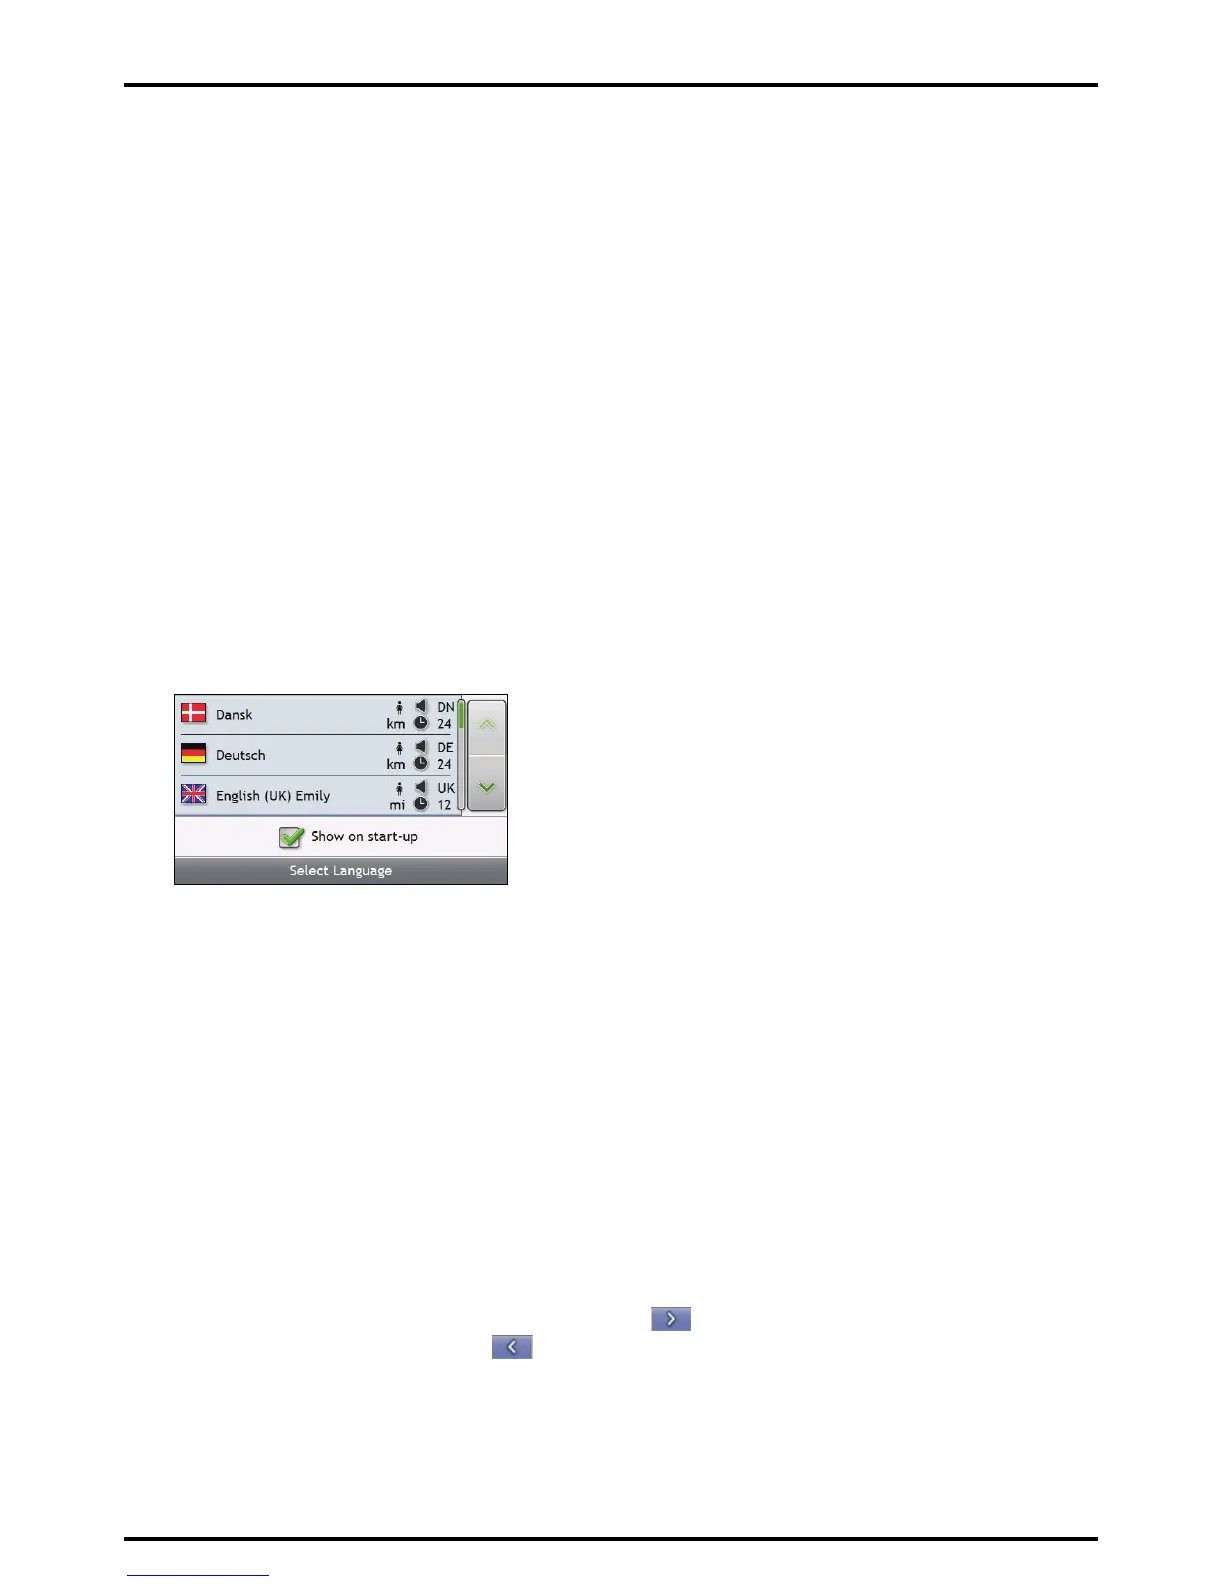
4. Select your preferred language
From the Select Language screen, tap your preferred language.
To prevent the Select Language screen from displaying on each start-up, clear the Show on start-up
check box.
You can change your preferred language while using your Mio, see “Language” on page 89.
5. Read the warning message
a) The Safety Agreement screen will display after you have selected your preferred language.
Read the Safety Agreement message.
b) To confirm that you have read and understood the message, tap Accept.
The Tutorial will display.
6. View the Tutorial
When you have accepted the Safety Agreement, the first Tutorial screen will display.
To prevent the Tutorial from displaying again on start-up, clear the Show on start-up check box.
To move forward through the Tutorial screens, tap .
To view the previous screen, tap
.
To view the Tutorial again while using your Mio, see “Tutorial” on page 100.
Note: If you have maps installed from multiple continents, you may be prompted to select the maps you require. To use
maps from a different continent at a later time, you can select a different map via the Select Map screen in the Select
Map 3/3 preferences; refer to page
81.