1-4 Computer Group Literature Center Web Site
Installation Procedures
1
begin. Similarly, if you intend to connect an external battery to power the
keep-alive circuits on the MBX, you should do so at the time you install
the MBX board (see Connecting an External Battery on page 1-10 for
instructions).
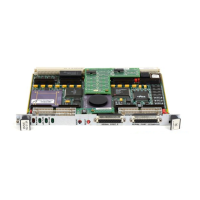
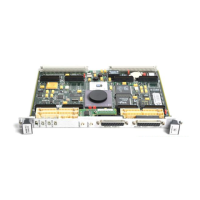
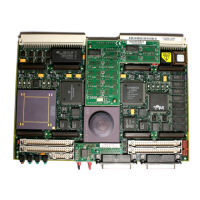
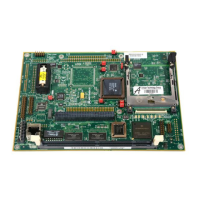
To install the MBX board in your enclosure, refer to Figure 6-1 on page 6-2
for the location of connectors and jumper headers and follow the steps
below.
You need a Phillips screwdriver for this procedure. Depending on how the
user-supplied board-to-chassis standoffs are installed, you may also need a
hex nut driver, typically 3/16 inch.
You will also need cables and connectors as appropriate for your
application.
War ni ng
To prevent serious injury or death from dangerous voltages, use extreme
caution when handling, testing, and adjusting this equipment and its
components.
Caution
Inserting or removing modules with power applied may result in damage
to module components.
Caution
Avoid touching areas of integrated circuitry; static discharge can damage
circuits.
ESD
Attach an ESD strap to your wrist. Attach the other end of the ESD strap
to an electrical ground. (Note that the system chassis may not be grounded
 Loading...