7.7 The Map menu
Narda IDA-3106 149
7.7.7 Navigating and zooming
The following functions are provided for suitably displaying the bearings and
maps:
Move to
Point of
View
Centers the map on your own current location (only possible if GPS signal
received).
Press the softkey to center the map.
Auto Fit Adjusts the section displayed on screen to match the existing bearings. If
no bearings are present, the smallest zoom level is applied to the map.
Press the softkey to adjust the map.
The softkey is labeled (Active) when it has been pressed, until you
change the section displayed by using another function.
Move
horizon-
tally
Moves the screen contents horizontally.
Press the softkey and use the rotary control knob to move the contents
or use the speed buttons:
– Move left = press 7
– Move right = press 9
Move
vertically
Moves the screen contents vertically.
Press the softkey and use the rotary control knob to move the contents
or use the speed buttons:
– Move up= press 5
– Move down = press 8
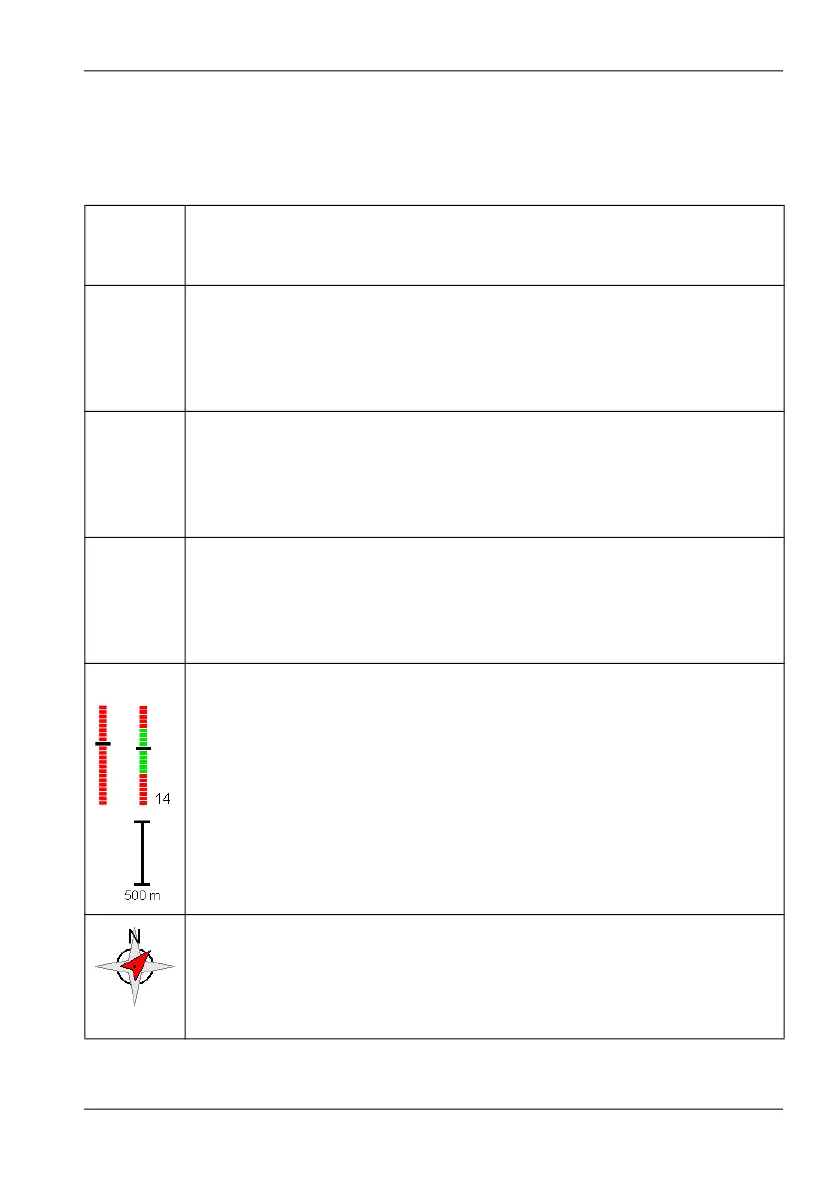
Zoom Changes the display size. The zoom bar on the right hand edge of the
screen indicates the current zoom level (graphically and numerically) and
the possible zoom range (green) for maps. If you go outside the green
range when using a map, the map can no longer be displayed.
The selected scale is shown below the zoom bar.
Press the softkey and use the rotary control knob to set the zoom level
or use the speed buttons:
– Increase = press 1
– Decrease = press 4
Bearings and maps are always positioned such that North is at the top of
the screen.
Depending on the version of your instrument a compass rose is located in
the upper right corner of the screen as an aid to orientation. The actual
direction is indicated by a red arrowhead related to magnetic north.