For example, do not attempt to replace a hard disk drive (HDD) with a solid-state disk
(SSD). Similarly, if you are replacing a secure-capable drive, make sure the replacement
drive is also secure-capable.
3. If needed, use SANtricity System Manager to locate the drive within your storage array: From
the drive's context menu, select Turn on locator light.
The drive's Attention LED (amber) blinks so you can identify which drive to replace.
Note: If you are replacing a drive in a shelf that has a bezel, you must remove the bezel to
see the drive LEDs.
After you finish
Go to
Remove drive
.
Remove drive
You remove a failed drive to replace it with a new one.
Before you begin
• You have an ESD wristband, or you have taken other antistatic precautions.
• You have reviewed
Requirements for replacing drives
.
• You have prepared a flat, static-free work surface.
About this task
When you remove a drive, you must slide the drive partly out of the shelf and wait for the drive to
spin down. Then, you can remove the drive completely.
Steps
1. Unpack the replacement drive, and set it on a flat, static-free surface near the shelf.
Save all packing materials.
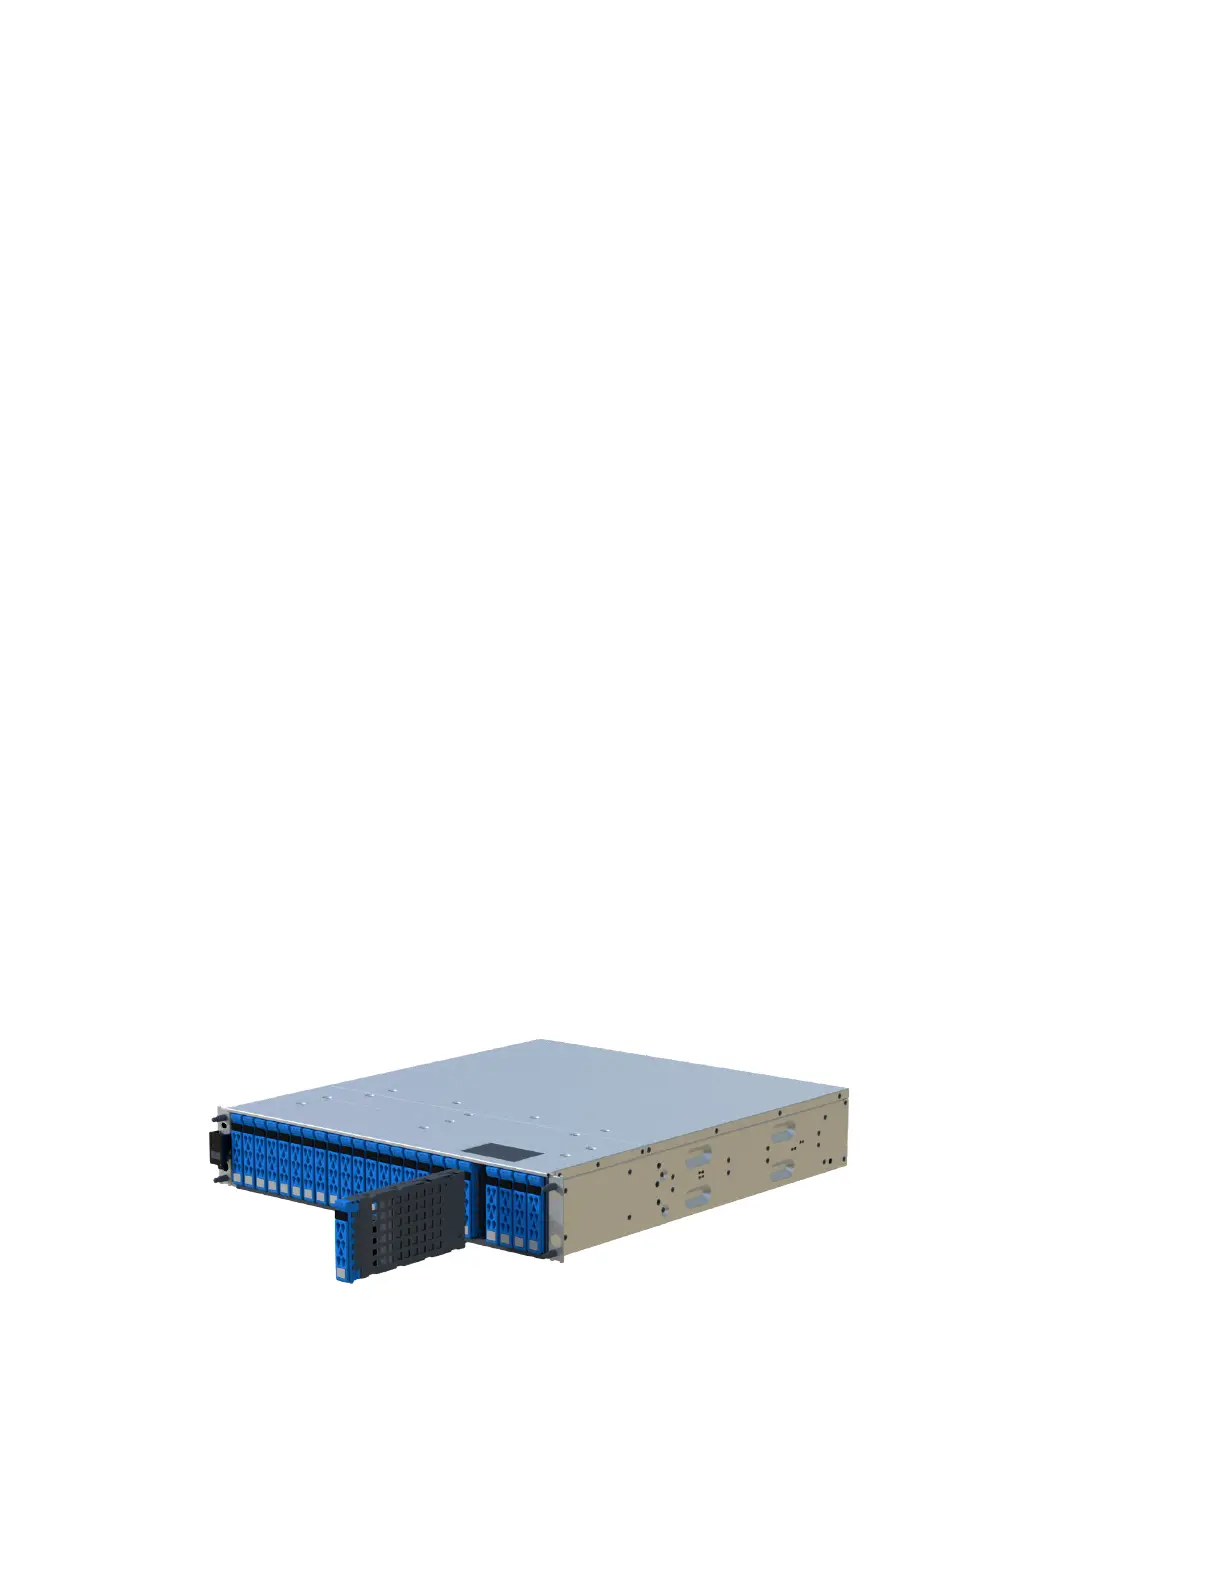
2. Press the black release button on the failed drive.
The latch on the drive springs open partially, and the drive releases from the controller.
3. Open the cam handle, and slide out the drive slightly.
4. Wait 30 seconds.
5. Using both hands, remove the drive from the shelf.
6. Place the drive on an antistatic, cushioned surface away from magnetic fields.
7. Wait 30 seconds for the software to recognize that the drive has been removed.
Note: If you accidentally remove an active drive, wait at least 30 seconds, and then reinstall
it. For the recovery procedure, refer to the storage management software.
Maintaining EF300 and EF600 Hardware
41
Drives