Test a Cable Connection
You can use the cable diagnostic feature to easily find out the health status of network
cables. If any problems exist, this feature helps to quickly locate the point where the
cabling fails, allowing connectivity issues to be fixed much faster, potentially saving
technicians hours of troubleshooting.
If an error is detected, the distance at which the fault is detected is stated in feet. (This
is the distance from the port.)
To test one or more cable connections:
1.
Open a web browser from a computer that is connected to the same network as the
switch or to the switch directly through an Ethernet cable.
2. Enter the IP address that is assigned to the switch.
The login page displays.
3. Enter the switch password.
The default password is password. The password is case-sensitive.
The HOME page displays.
4.
From the menu at the top of the page, select DIAGNOSTICS.
The CABLE TEST page displays.
5. Select one or more ports to test by clicking the port icons.
The icons for selected ports display purple.
6.
Click the NEXT button.
The switch sends a signal to the cables for the selected ports, causing the ports to
be temporarily out of service and traffic on the ports to be temporarily affected.
When the test is complete, the results are displayed. If a fault was detected, the
distance (from the switch port) to that fault is displayed in feet.
7.
Click the DONE button.
The section with the test results closes.
Manage Loop Prevention
By default, loop prevention is enabled. If the switch detects a loop, the switch blocks
one of the ports that are part of the loop and the port LED for that port blinks at a
constant speed. If two ports are part of a loop, the port with the highest port number
User Manual103Diagnostics and
Troubleshooting
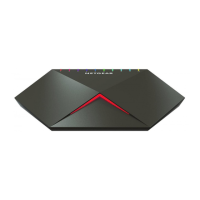
Nighthawk SX10 Pro Gaming Advanced 8-Port Gigabit Ethernet Switch Model GS810EMX
 Loading...